Connecting Google Drive to Zeta Alpha
Step-by-Step Instructions
Step 1: Create new project on console.cloud.google.com
Open your browser and navigate to the Google Cloud Console. Create a new project.
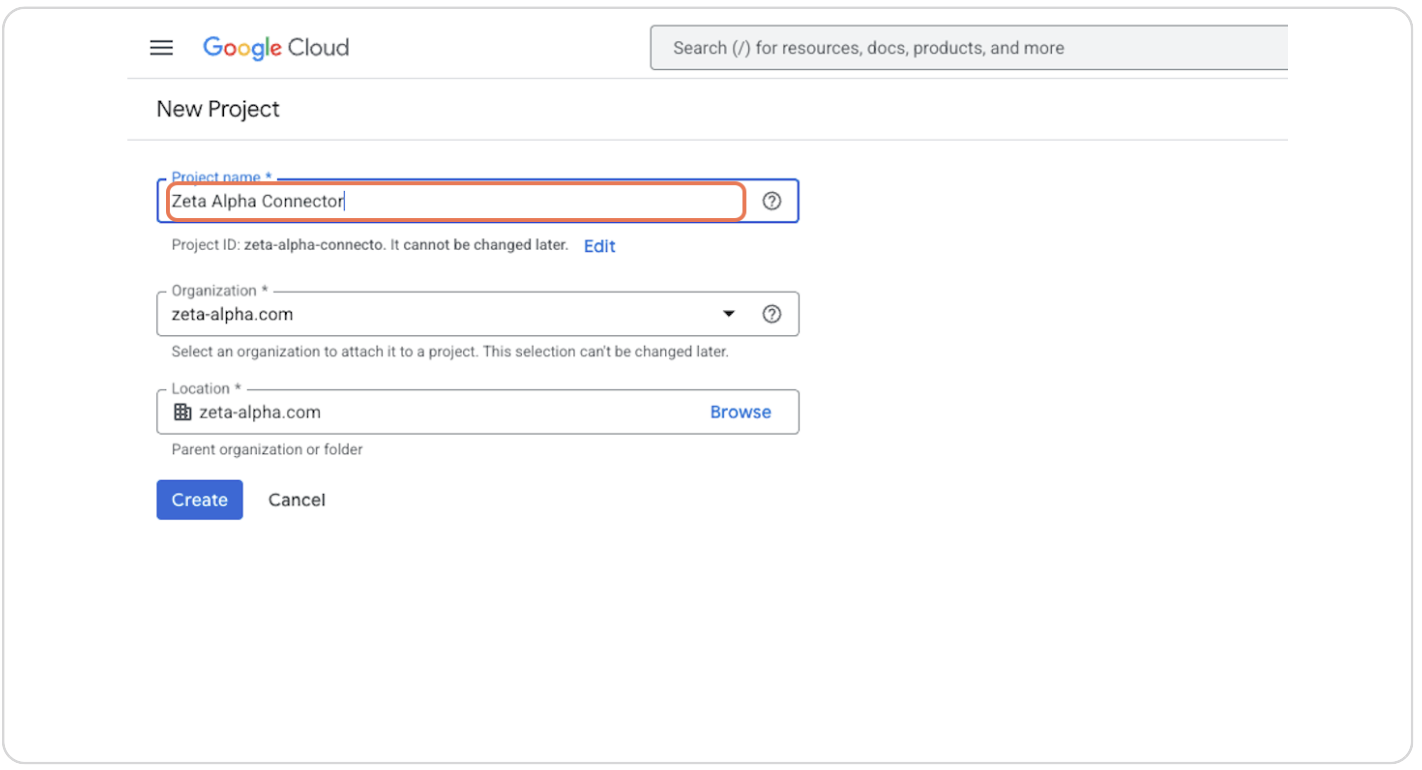
Step 2: Type "Zeta Alpha Connector"
Enter "Zeta Alpha Connector" as the project name. Choose an available organization or set it to "No organization".
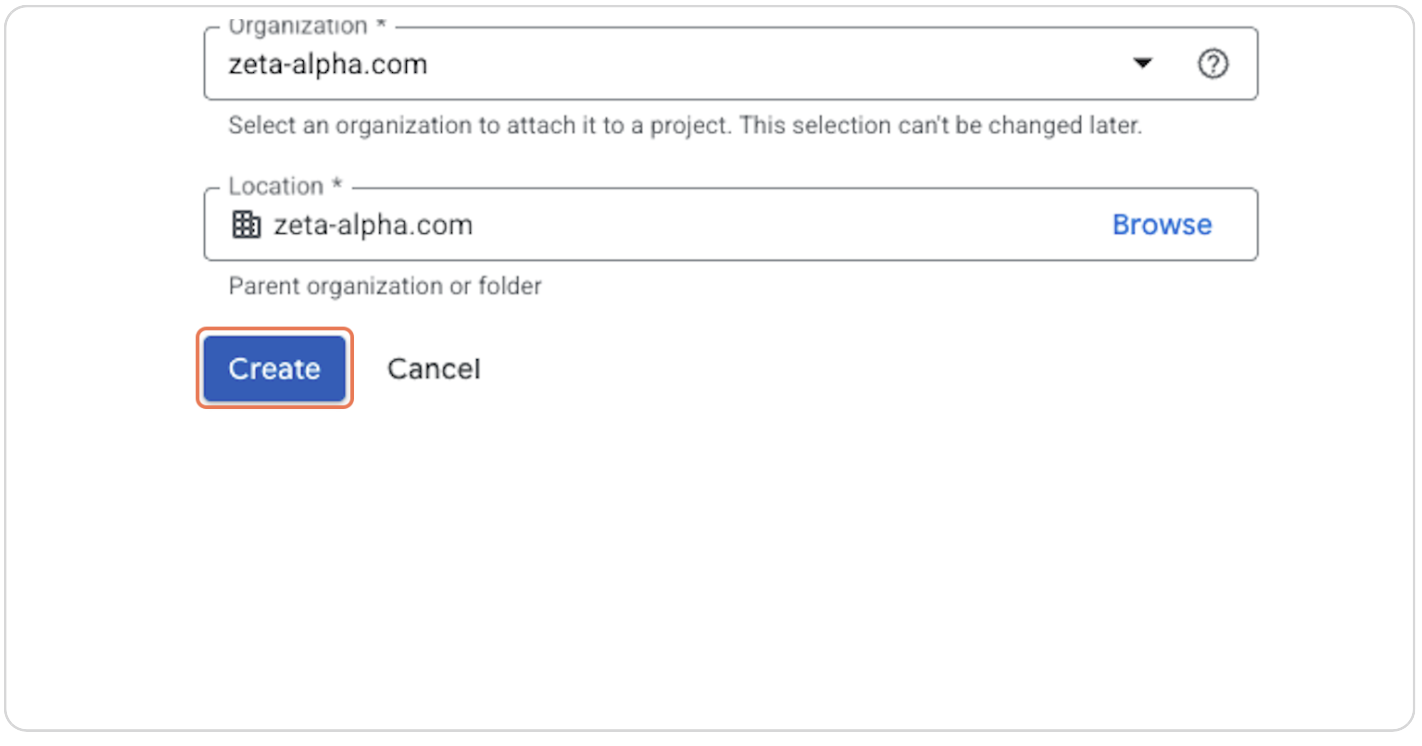
Step 3: Click on Create
Click the "Create" button to create the project.
Step 4: Once the New Project Is Created, Click on SELECT PROJECT
After the project is created, click on "SELECT PROJECT".

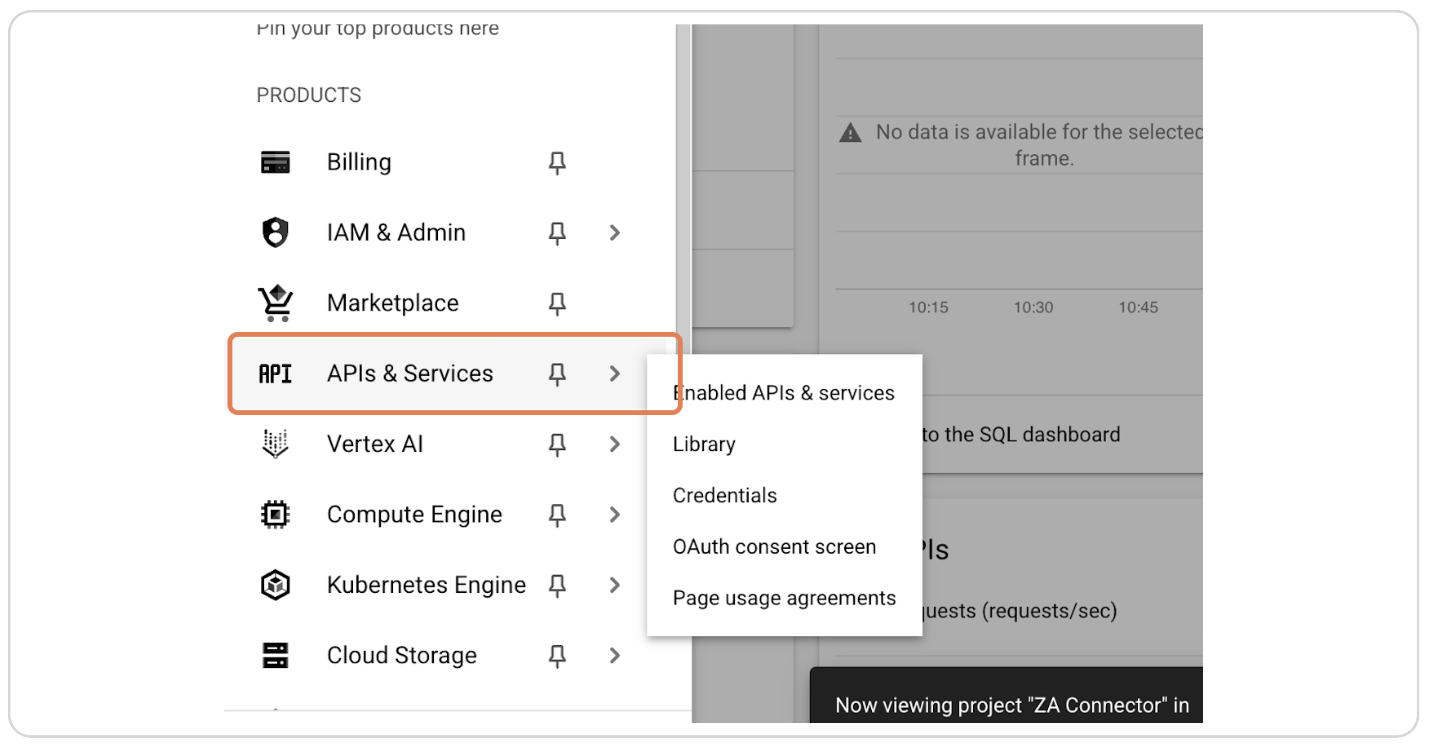
Step 5: Click on APIs & Services
In the left sidebar, click on "APIs & Services".
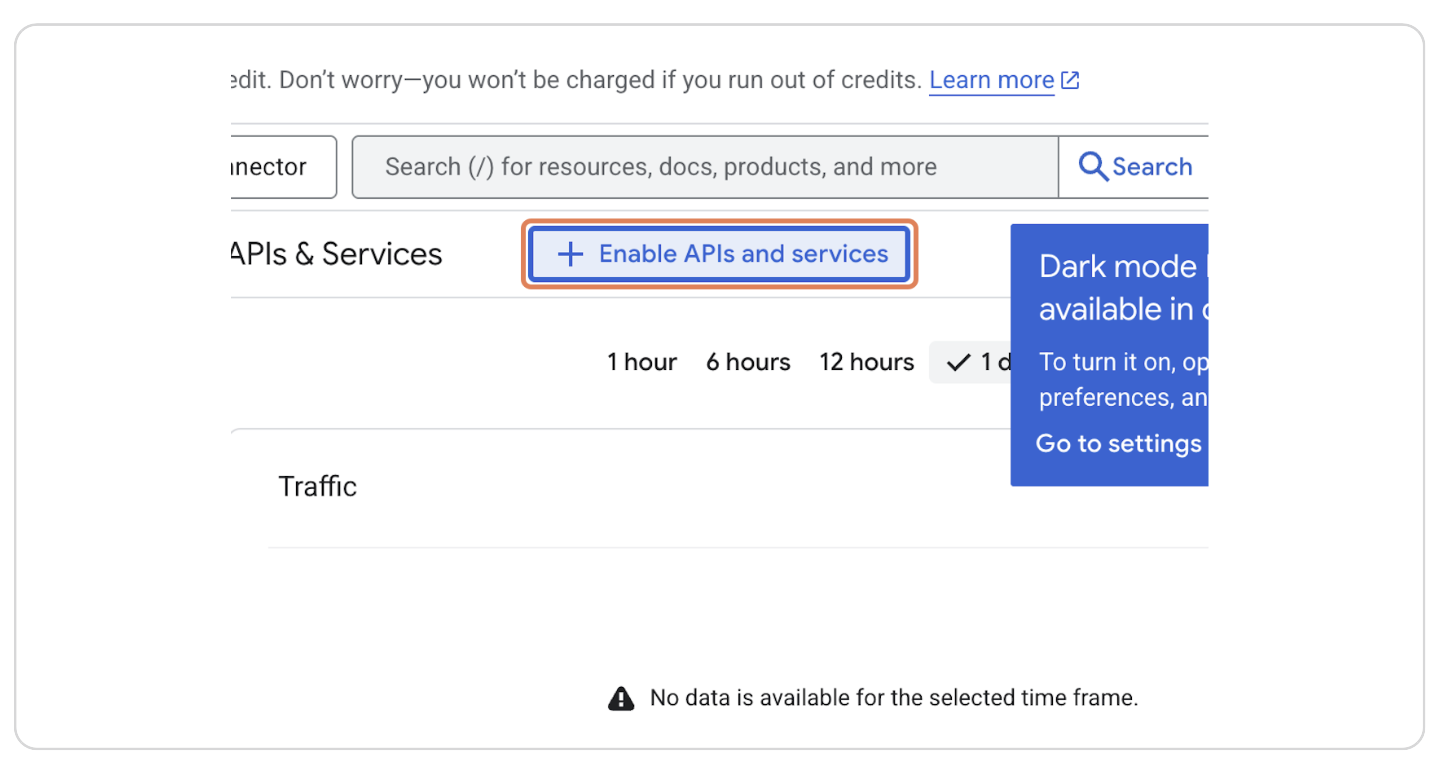
Step 6: Click on Enable APIs and Services
Click on "Enable APIs and services".
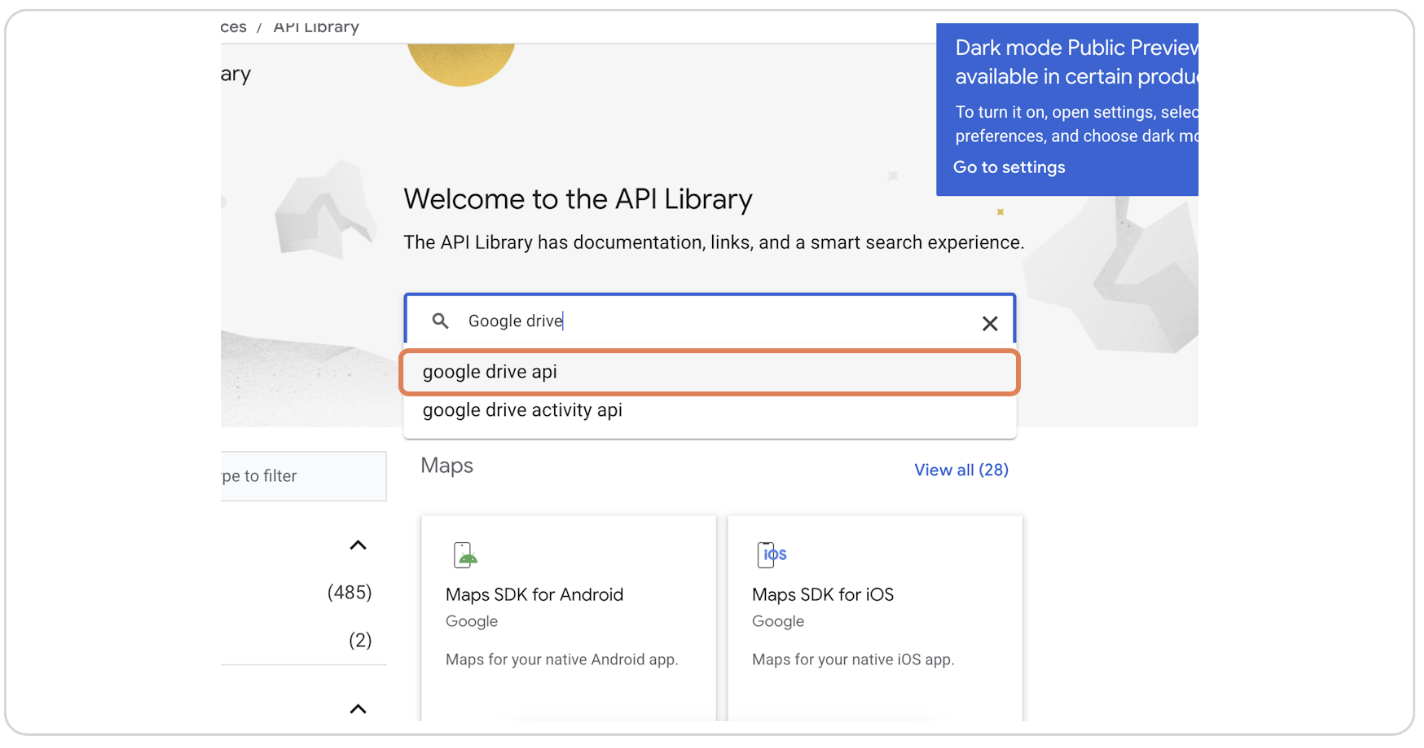
Step 7: Type "Google Drive" and Select "Google Drive API"
Search for "Google Drive" and select the "Google Drive API" from the results.
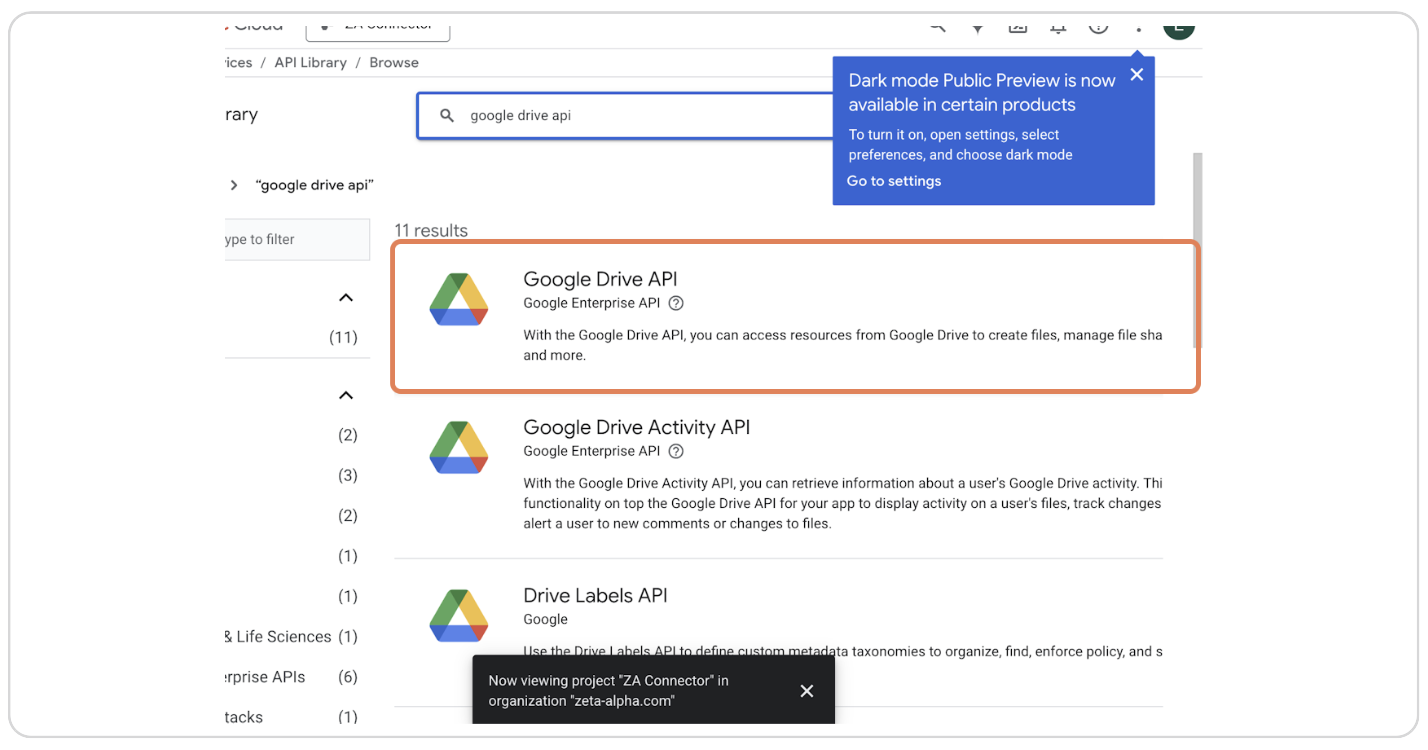
Step 8: Click on Google Drive API
Click on the "Google Drive API" option.
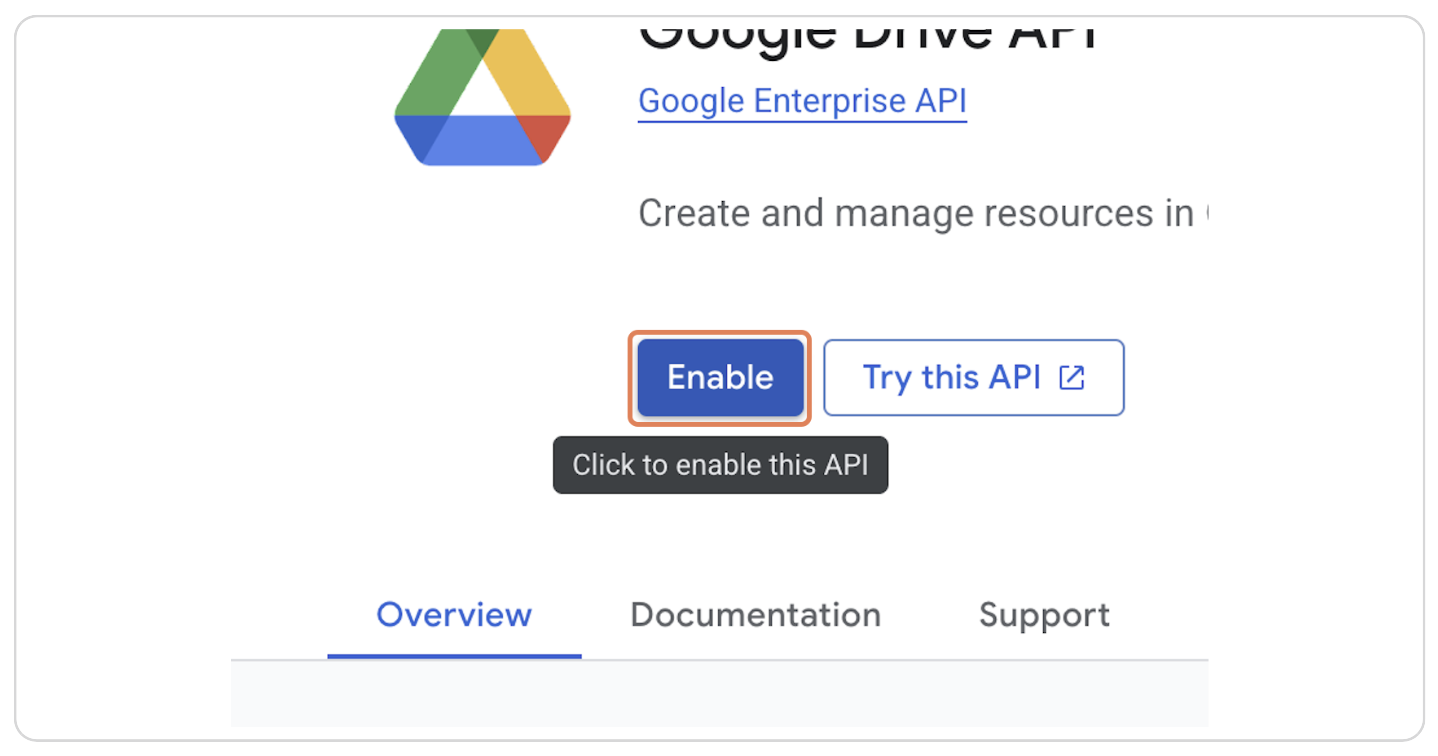
Step 9: Click on Enable
Click the "Enable" button to enable the Google Drive API.
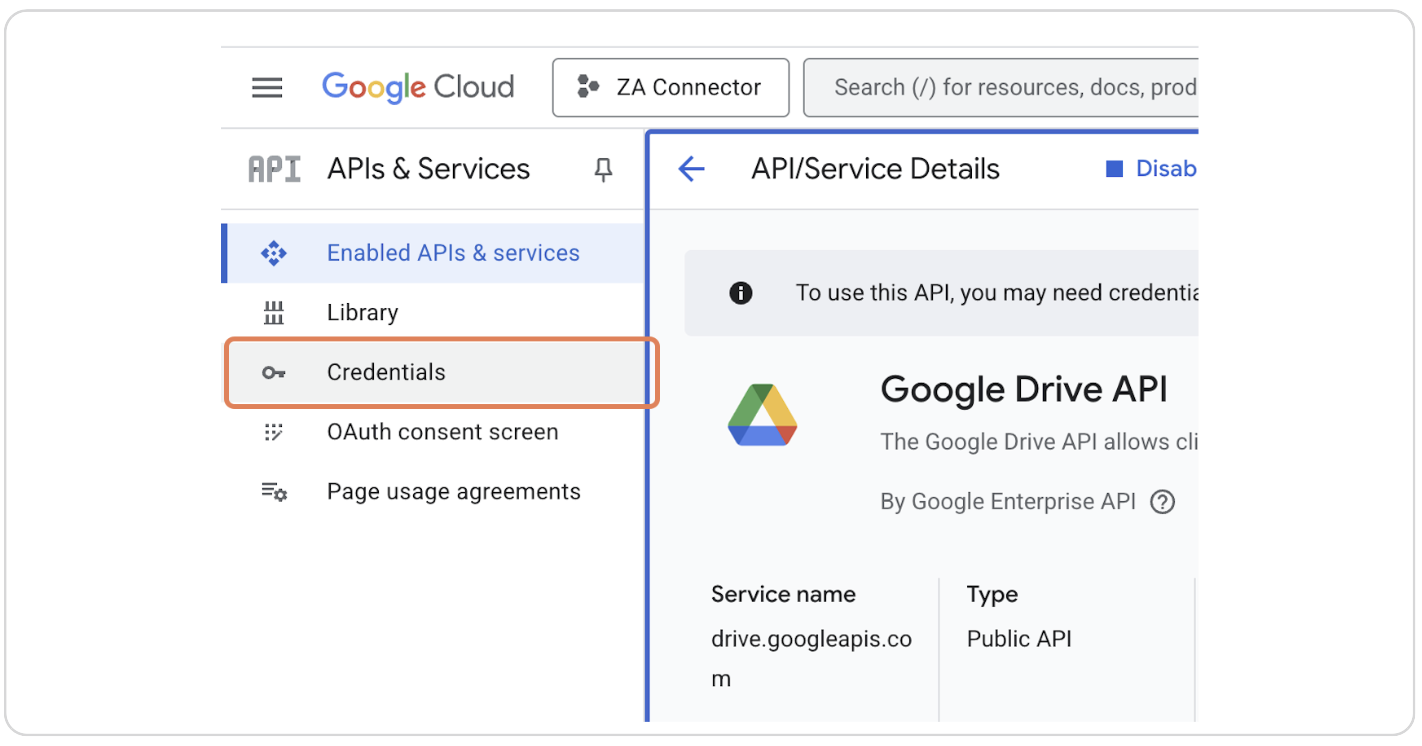
Step 10: Click on Credentials
In the left sidebar, click on "Credentials".
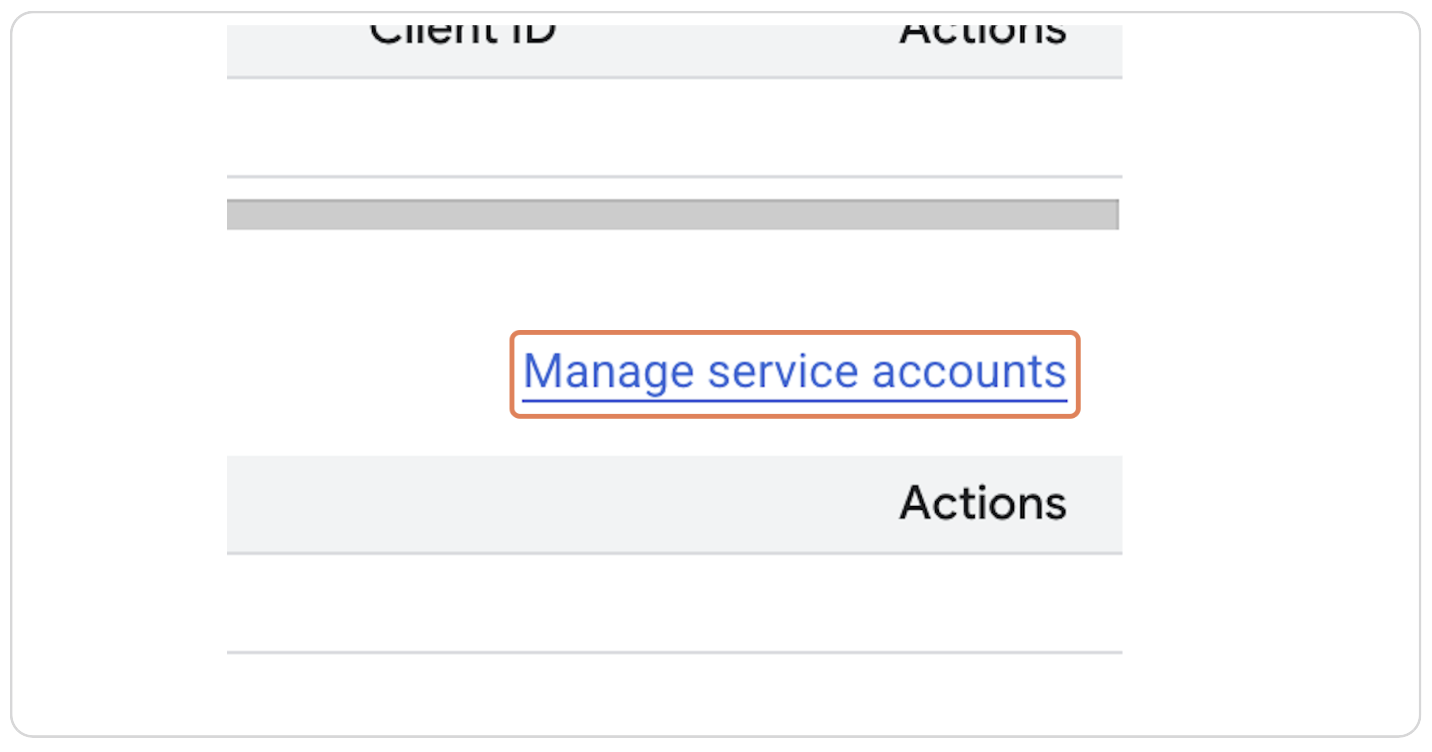
Step 11: Click on Manage Service Accounts
Click on "Manage service accounts".
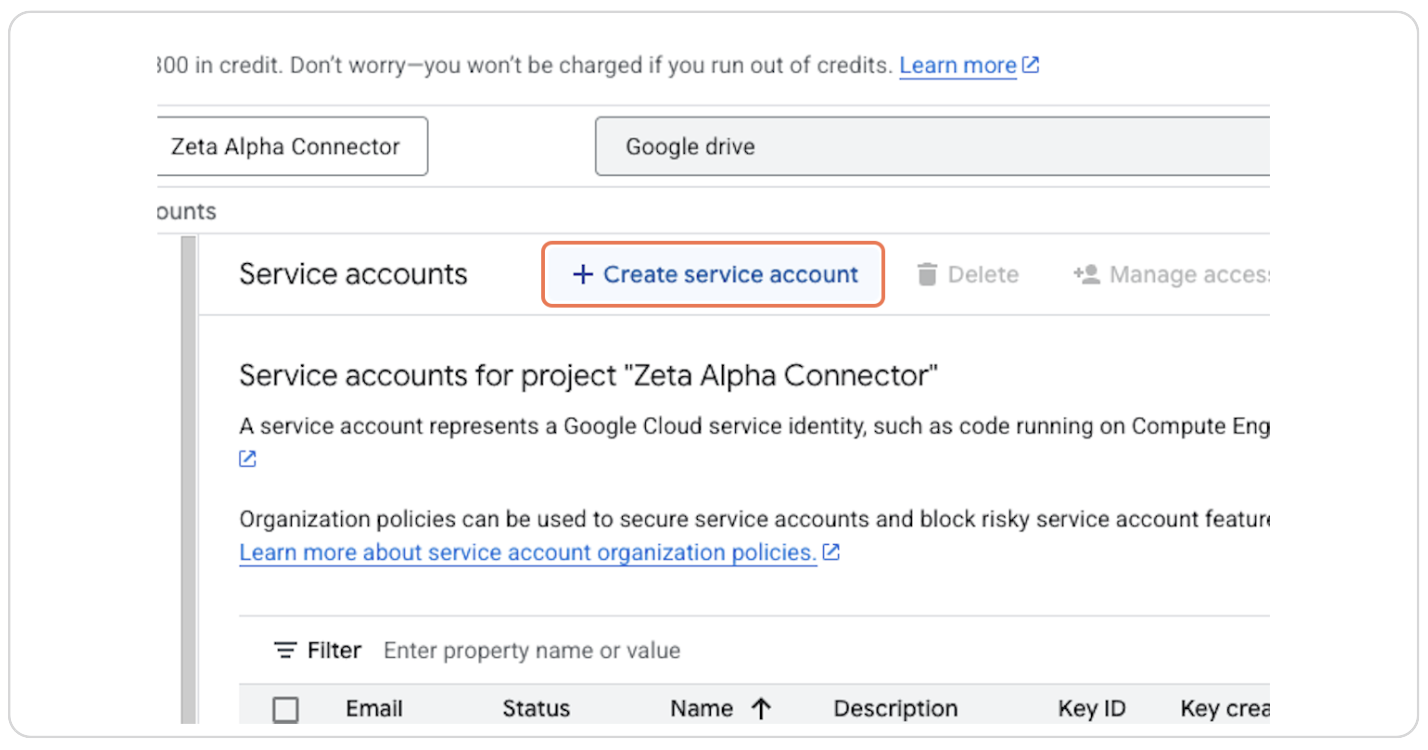
Step 12: Click on Create Service Account
Click the "Create service account" button.
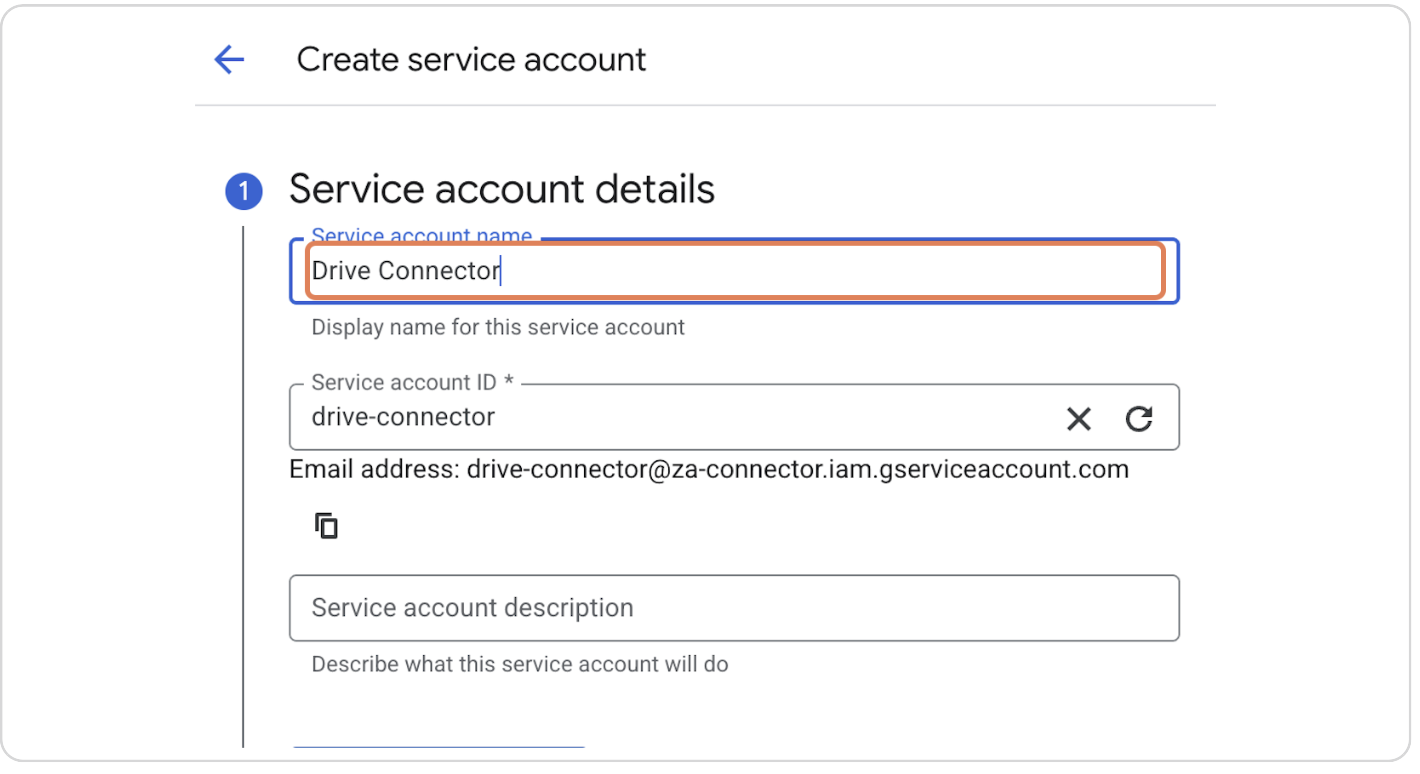
Step 13: Type the Name of Your Service Account
Enter a name for your service account (e.g., "Drive Connector").
Step 14: Click on Create and Continue
Click the "Create and continue" button.

Step 15: Click on Service Account Details
Click on the newly created service account to view its details.
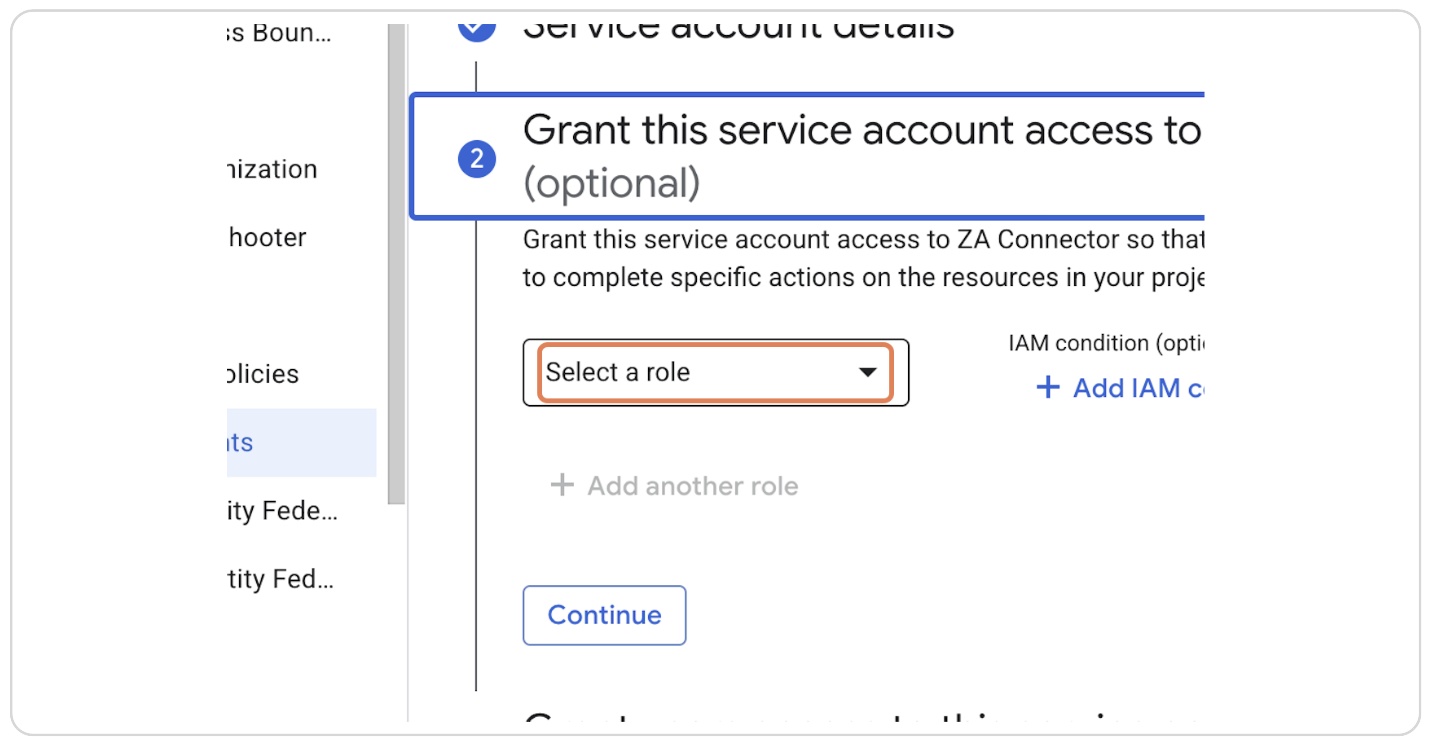
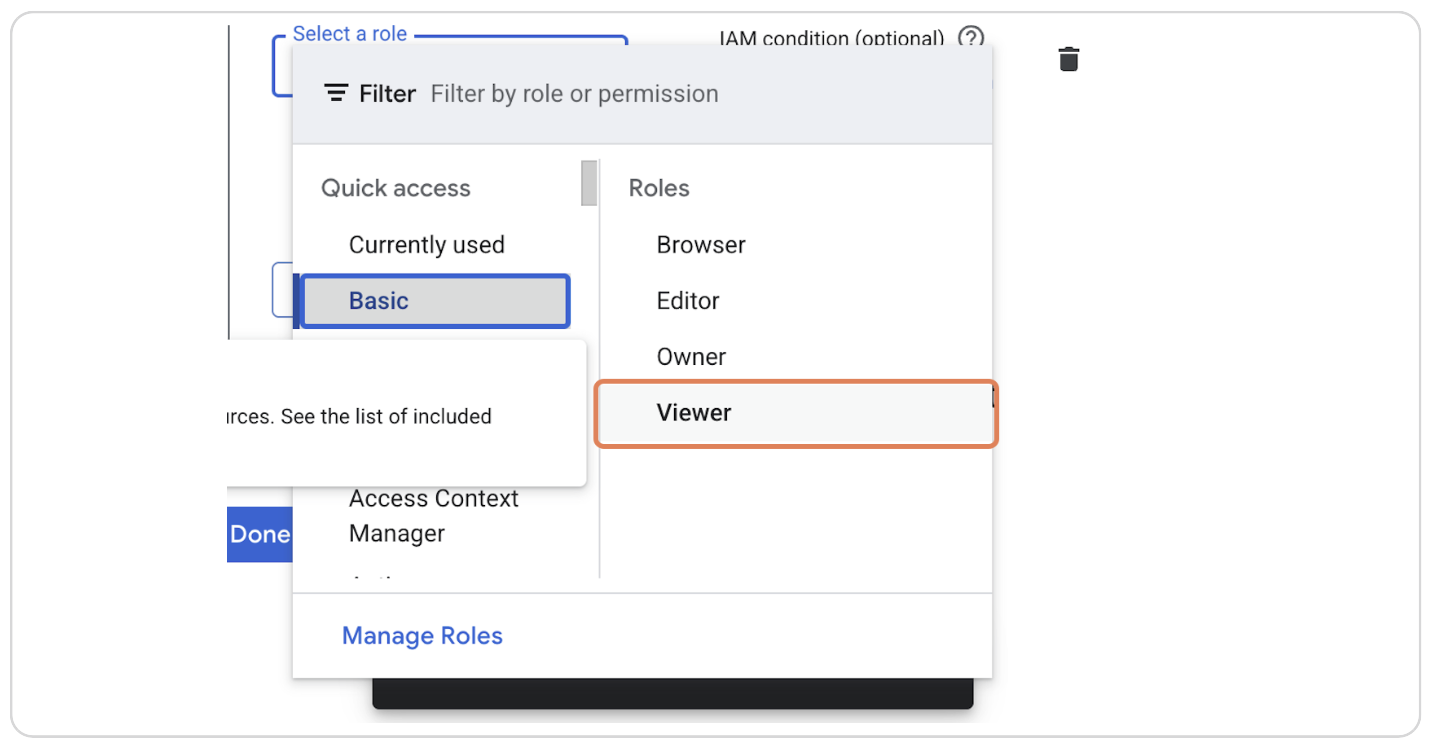
Step 16: Click on Basic and Select Viewer
Under the "Basic" tab, select the "Viewer" role.
Step 17: Click on Continue
Click the "Continue" button.

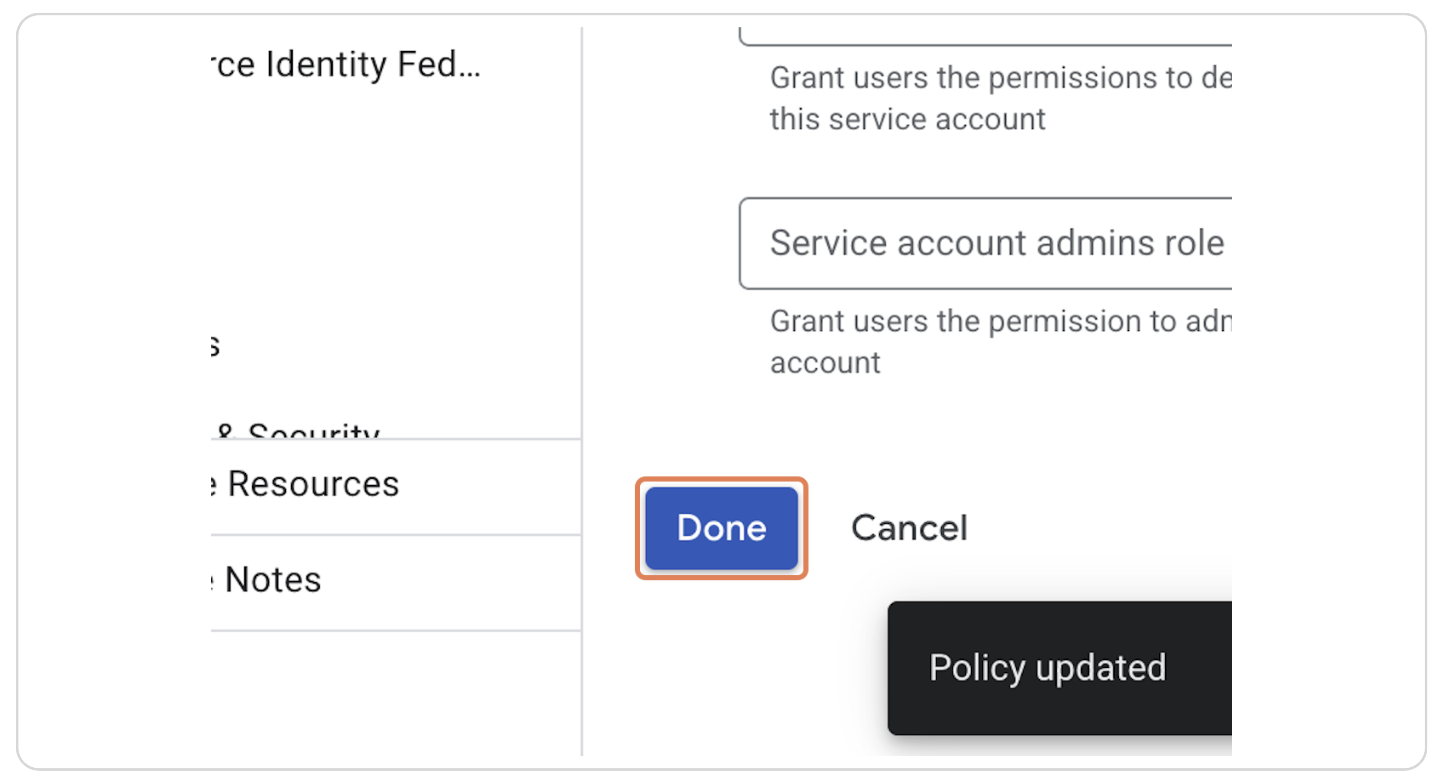
Step 18: Click on Done
Click the "Done" button to finalize the setup.
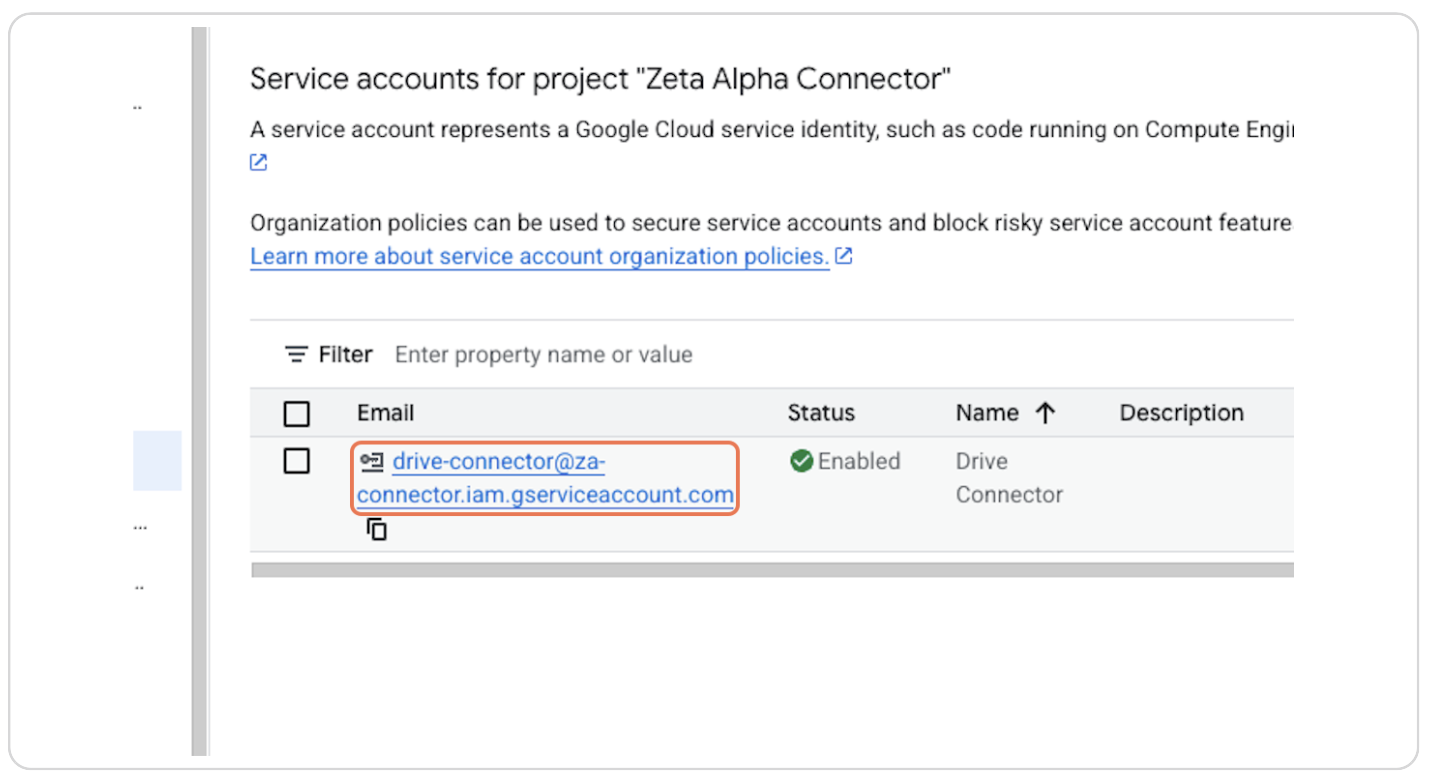
Step 19: Click on Your Newly Created Service Account Email
Click on the email of the newly created service account. Keep this email handy, as it will be used to share documents with the service account.
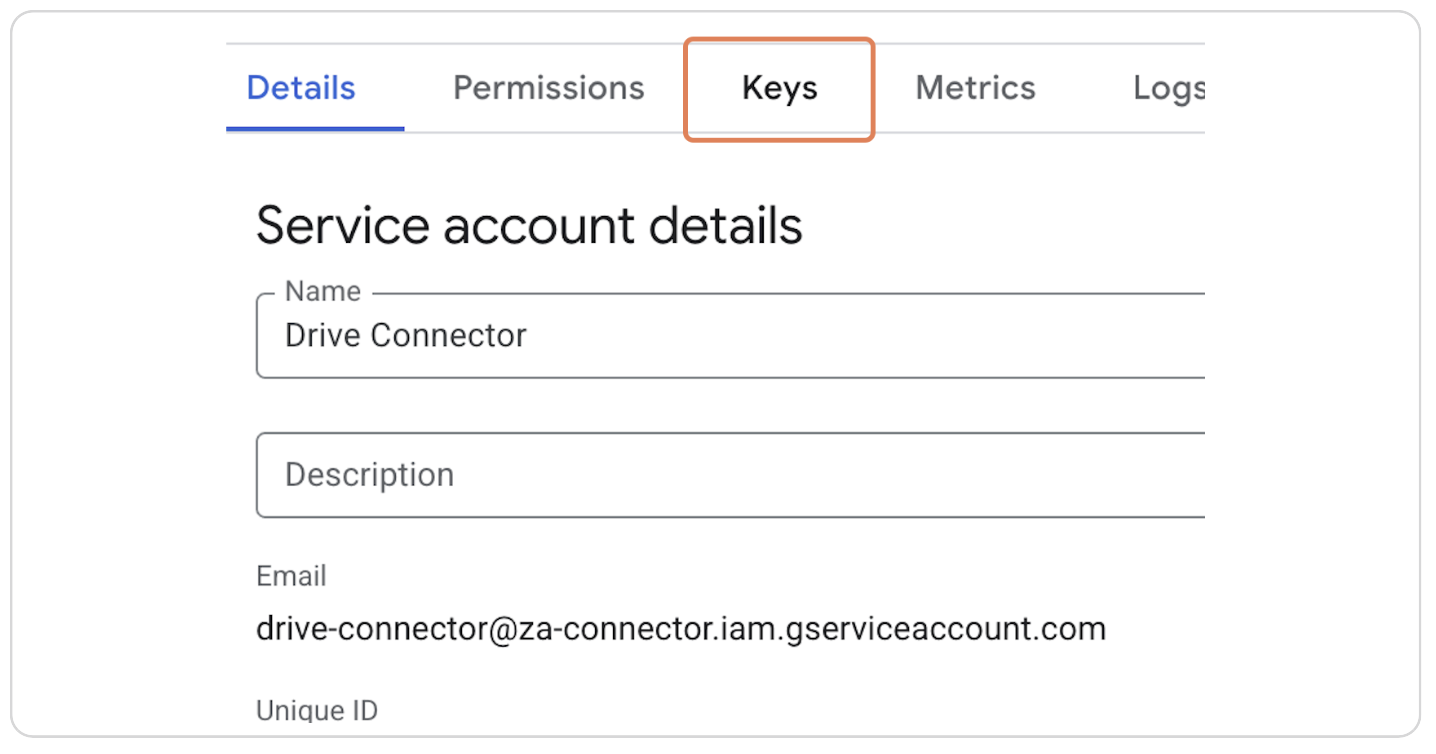
Step 20: Click on Keys
Click on the "Keys" tab.
Step 21: Click on Add Key
Click the "Add key" button.

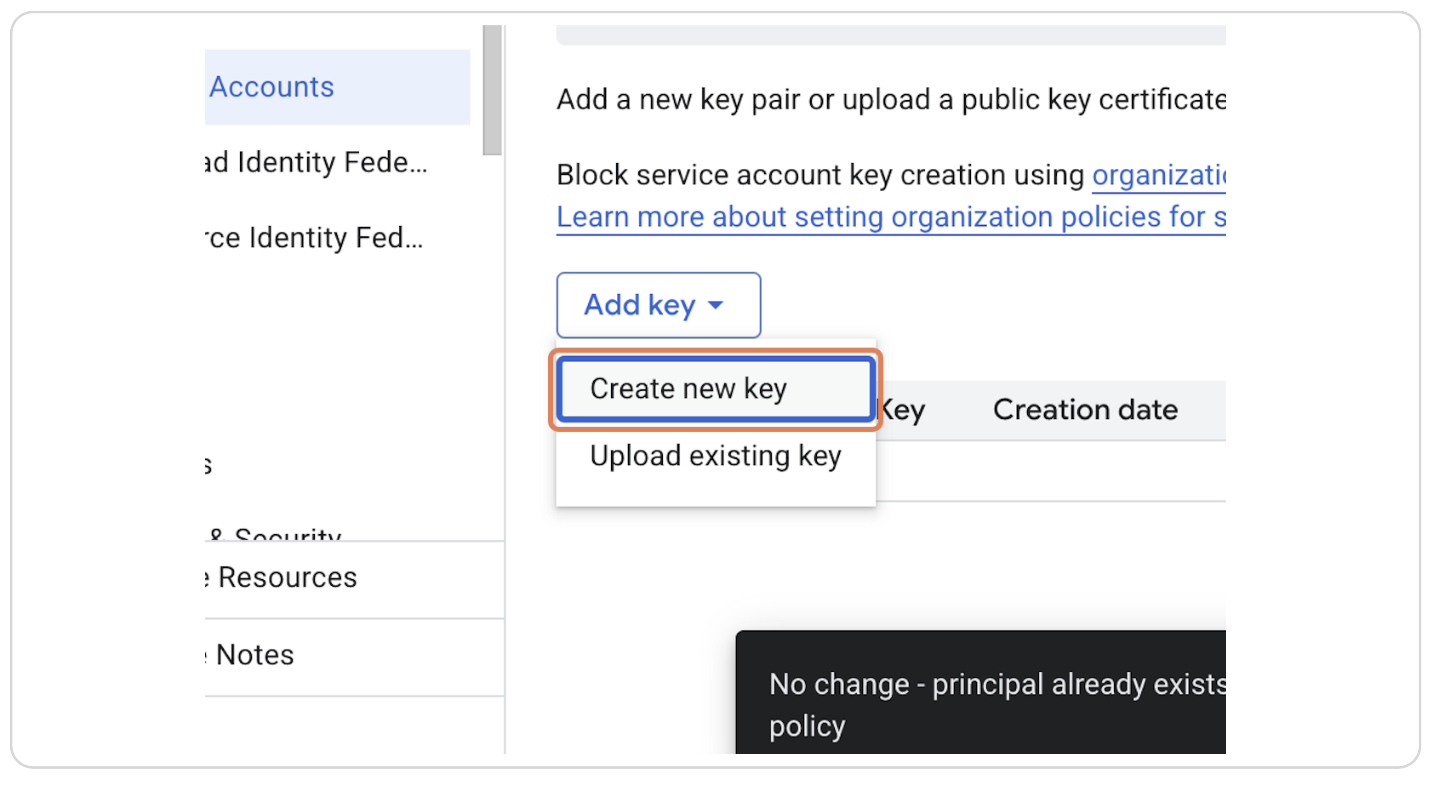
Step 22: Click on Create New Key
Click the "Create new key" button.
Step 23: Select JSON Key Type and Click on Create
Select the "JSON" key type and click the "Create" button. A JSON file will be downloaded to your computer.
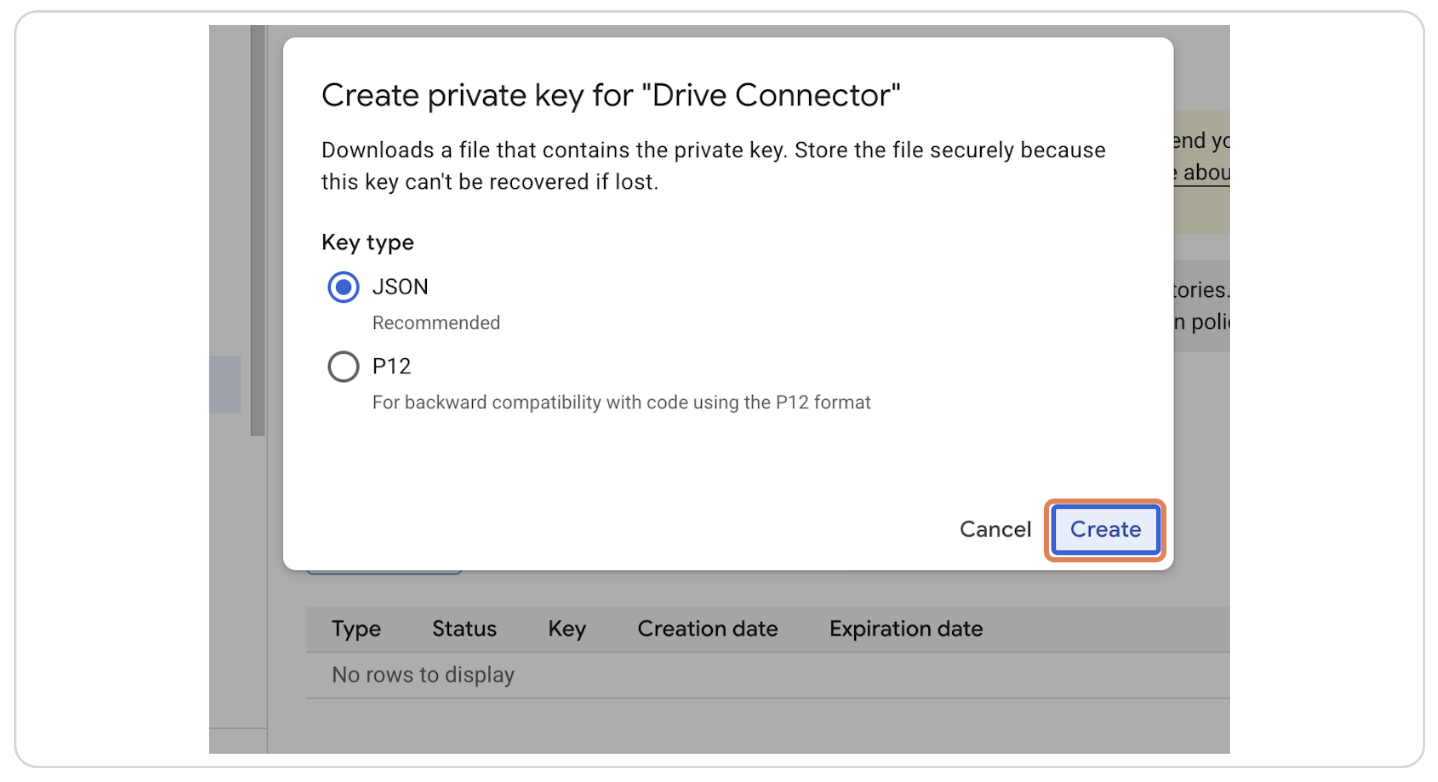
All the values in this JSON file need to be sent to the Zeta Alpha platform.
Go to Google Drive to Share Your Files
To share files or folders with the service account, use the email address from Step 18. You can do so following the next steps.
Step 24: On the Desired File or Folder, Click on the Three Dots
Navigate to the file or folder you want to share and click on the "three dots" menu.

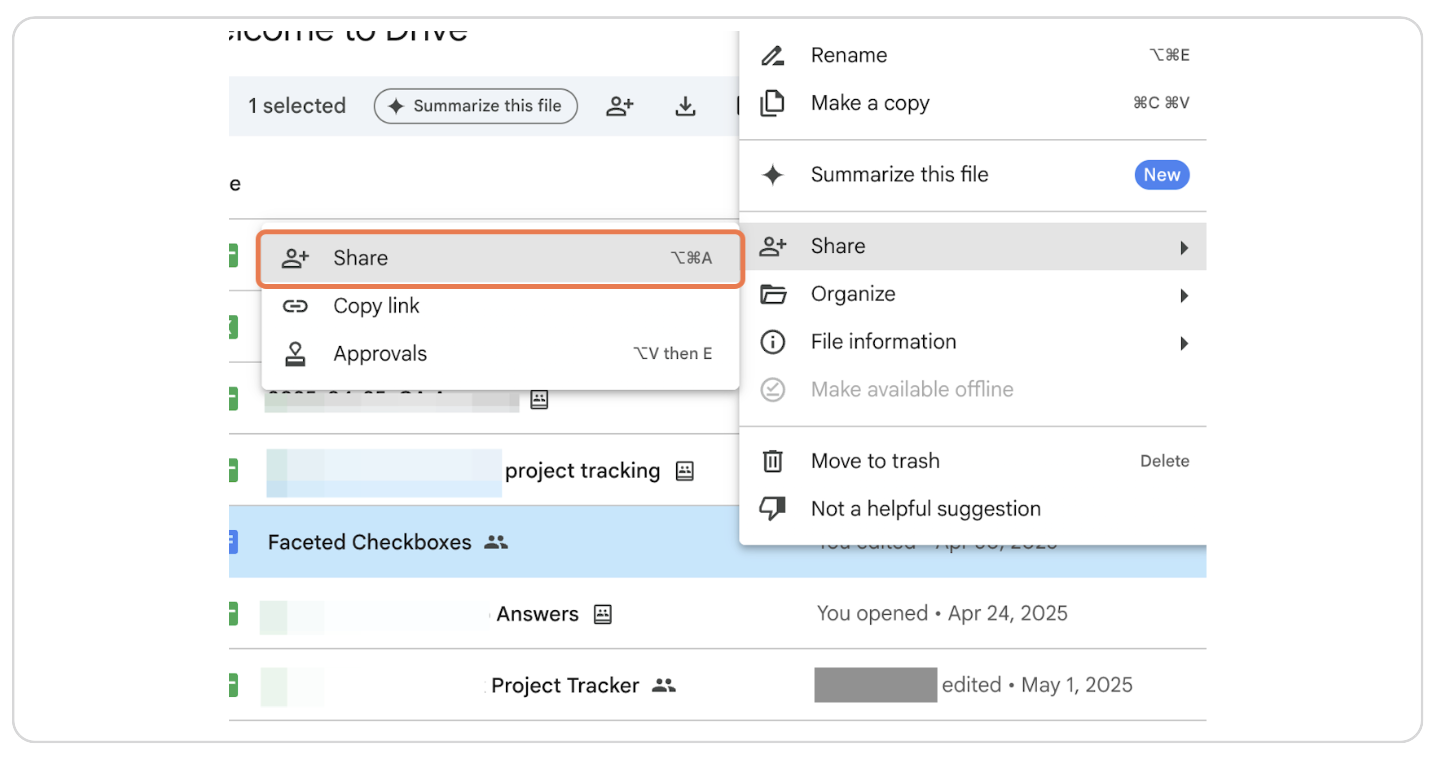
Step 25: Click on Share
Click the "Share" option.
Step 26: Paste the Email of the Service Account
Paste the service account email (from Step 18). Set the permissions to "Editor" or "Contributor".
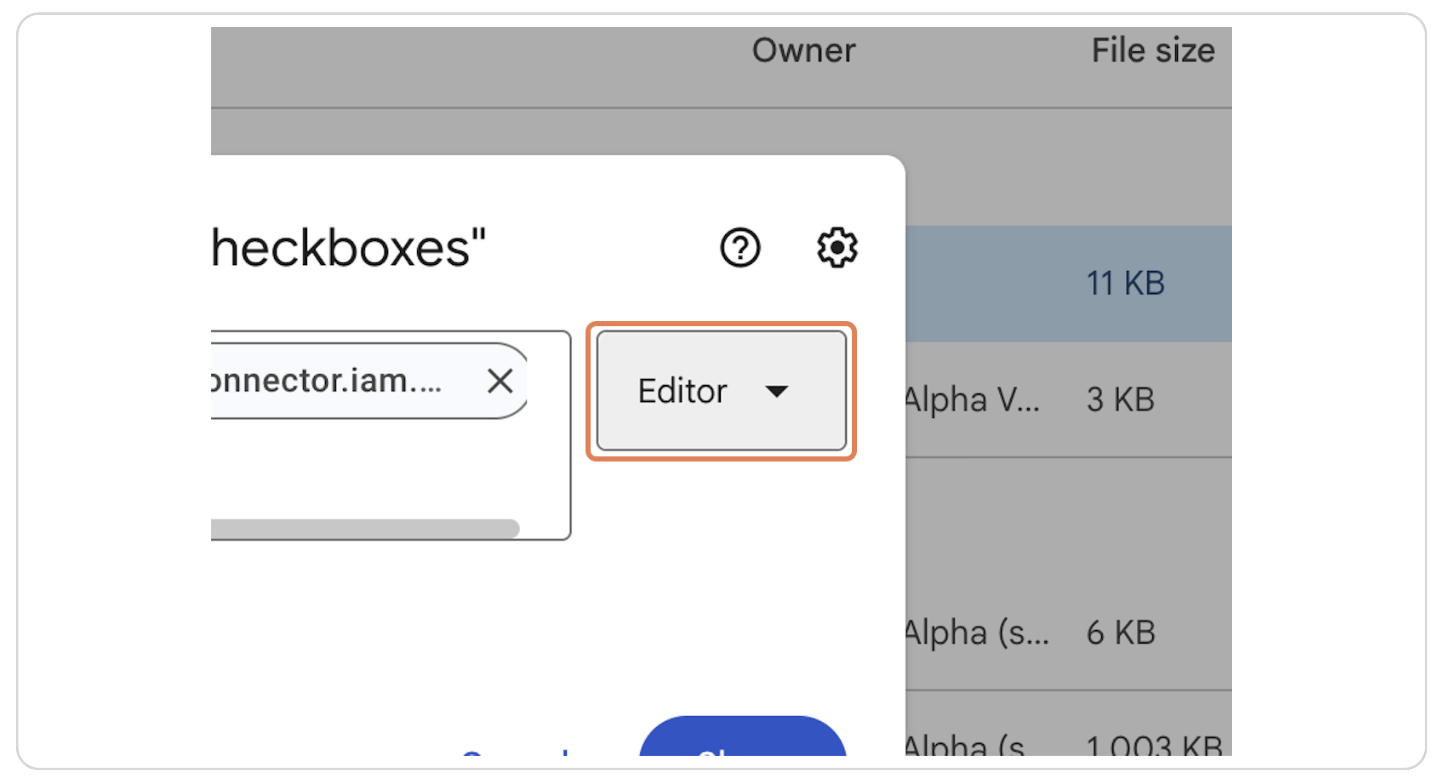
Step 27: Set Permissions to Editor or Contributor and Click on Share
Set the permissions to "Editor" or "Contributor" and click the "Share" button.

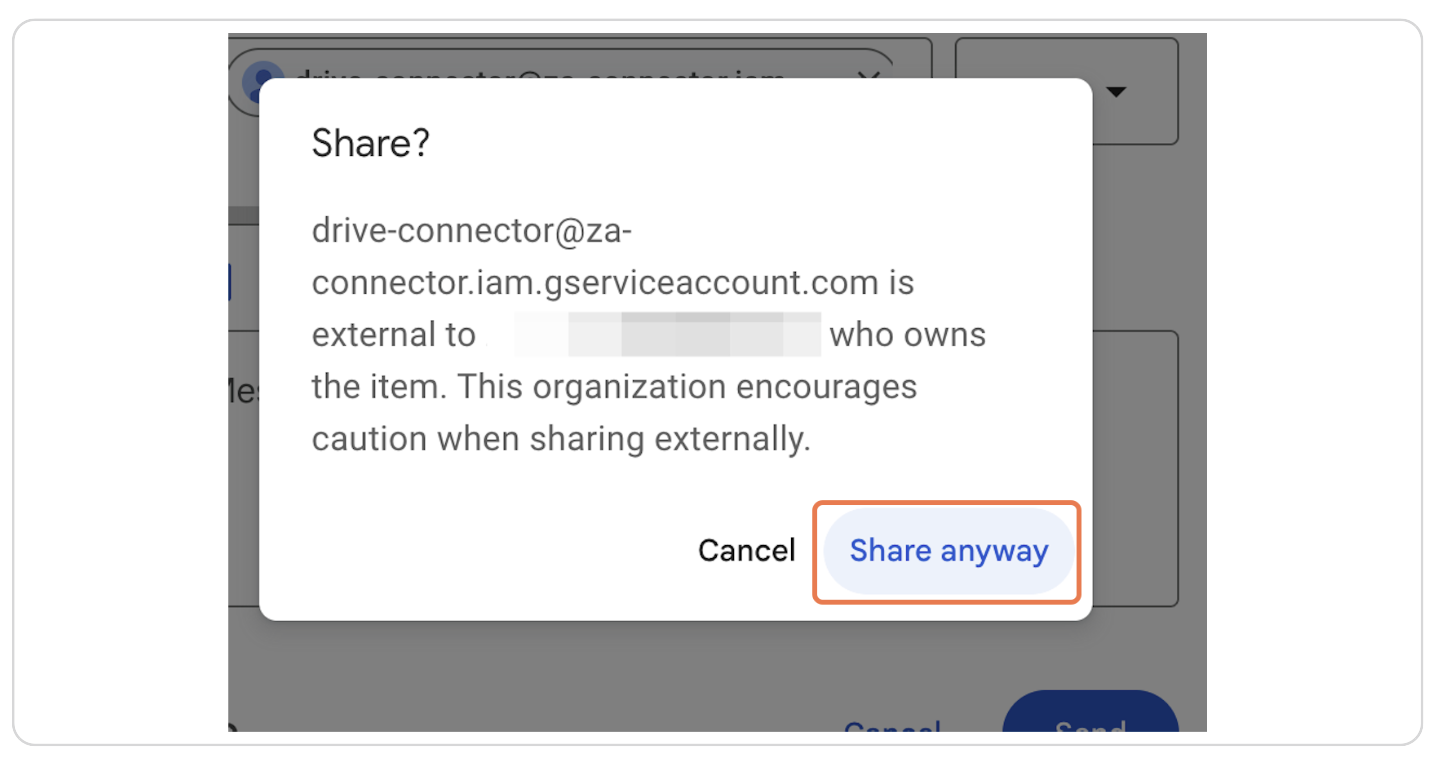
Step 28: If Prompted with a Confirmation, Click on "Share Anyway"
If a confirmation dialog appears, click "Share anyway".
Step 29: Repeat Sharing with All Desired Documents or Folders
Repeat the sharing process for all the documents or folders you want to ingest.
What's next?
If applicable, set up the Zeta Alpha Google Drive connector!