Connecting Box to Zeta Alpha
Step-by-Step Instructions
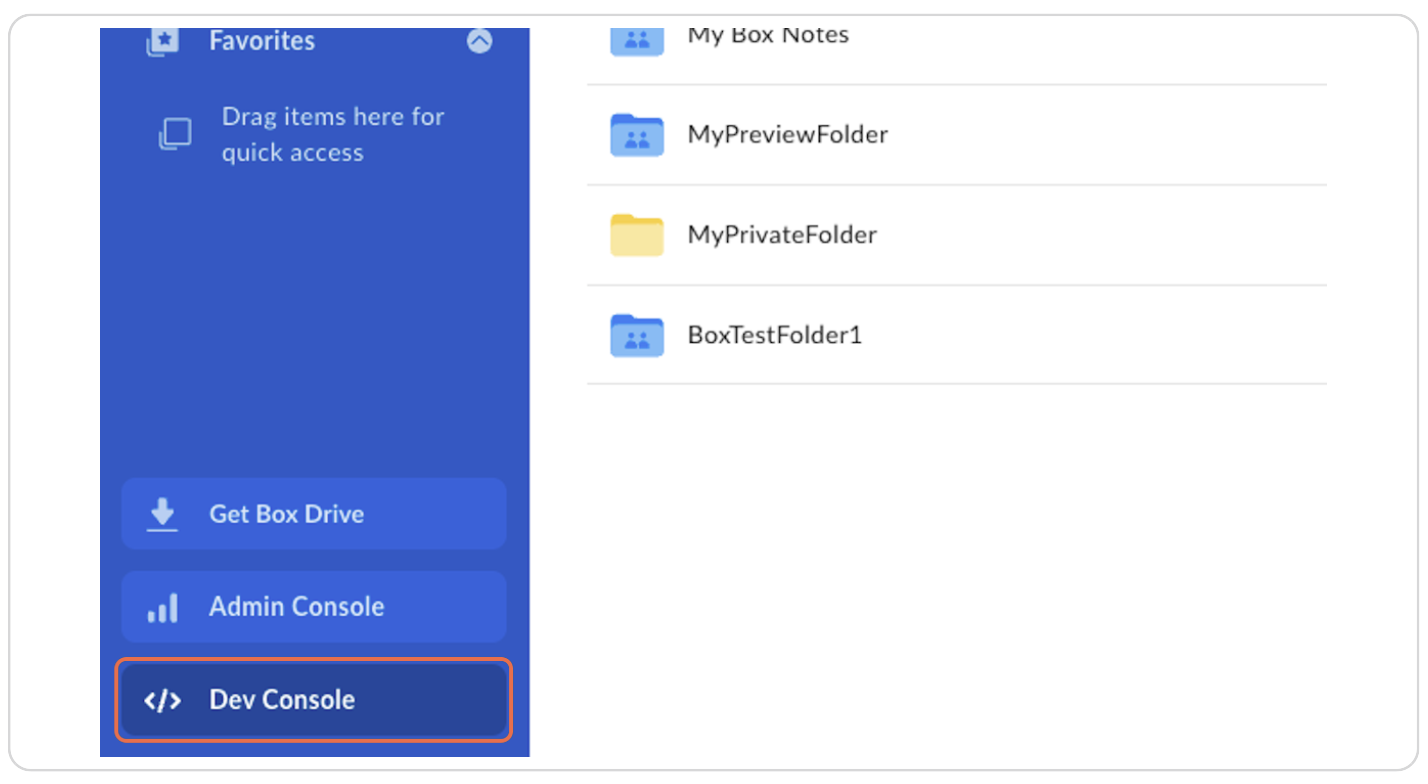
Step 1: On Your Box Developer Account, Click on Dev Console
Log in to your Box developer account and click on "Dev Console" in the left sidebar (or go directly to https://app.box.com/developers/console).
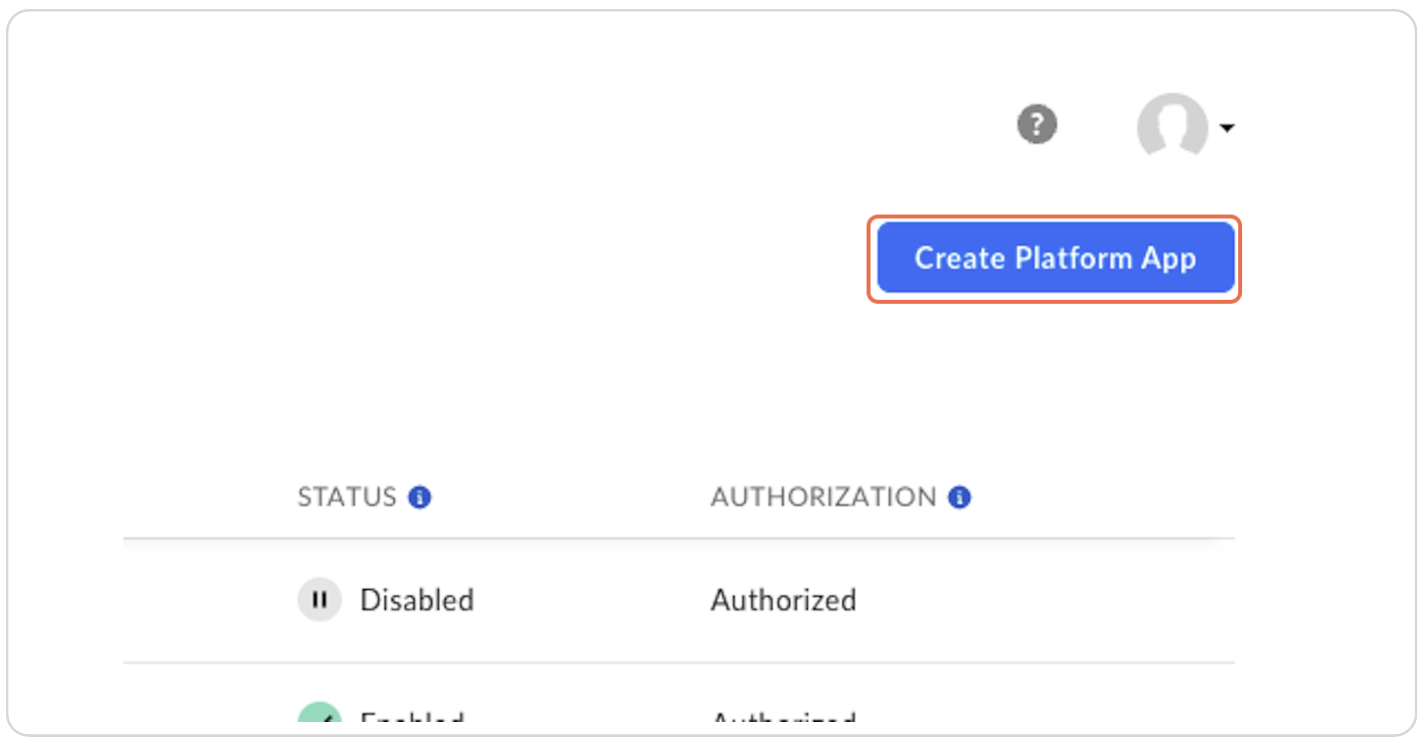
Step 2: Click on Create Platform App
Click the "Create Platform App" button.
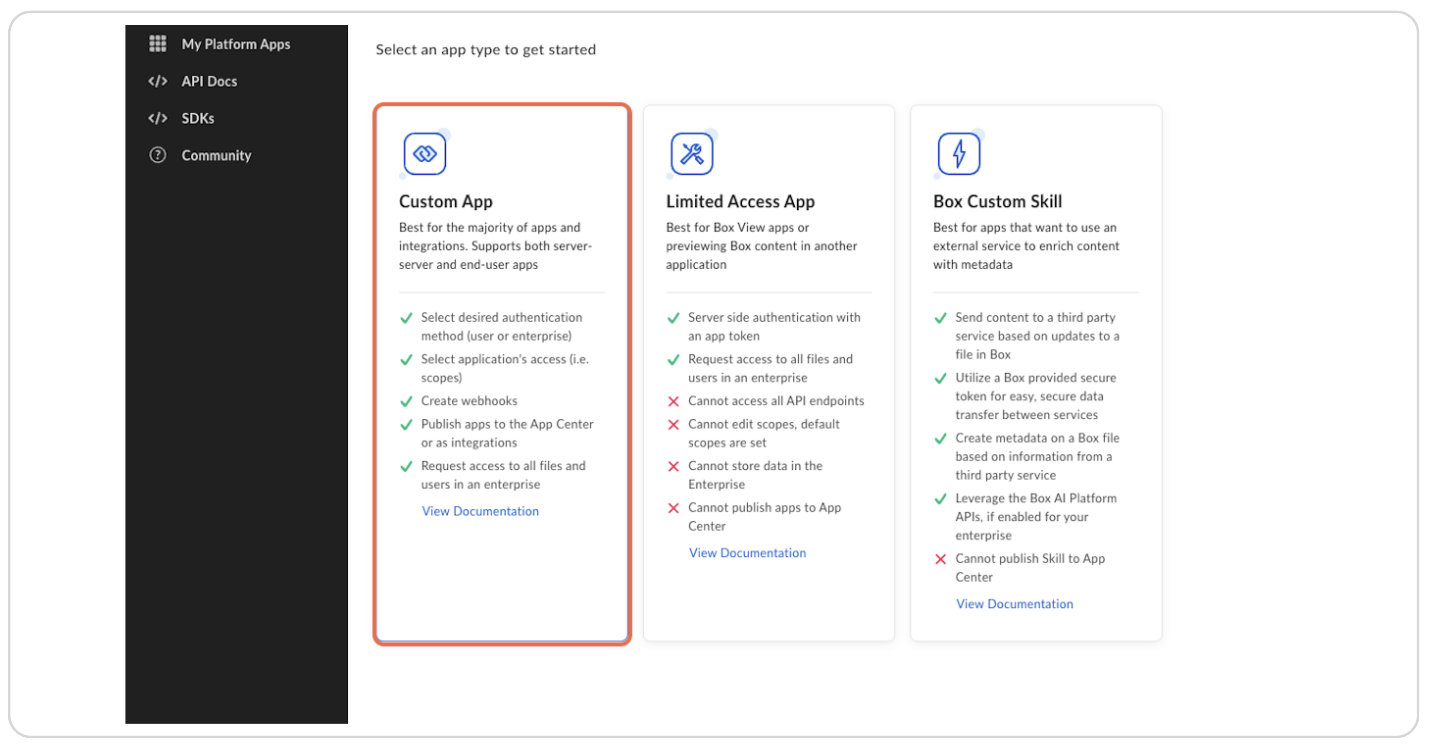
Step 3: Click on Custom App
Select the "Custom App" option.
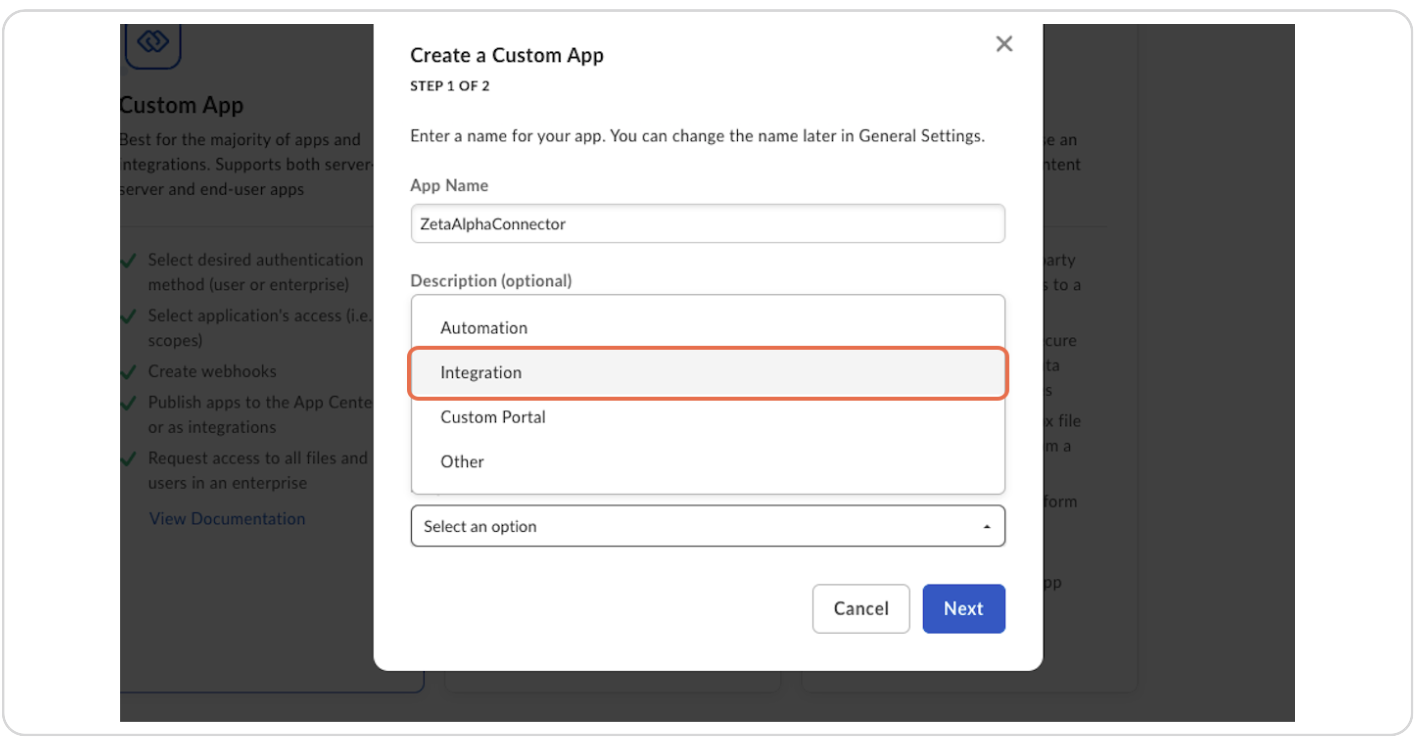
Step 4: Add the Application Name "ZetaAlphaConnector"
Enter "ZetaAlphaConnector" as the app name.
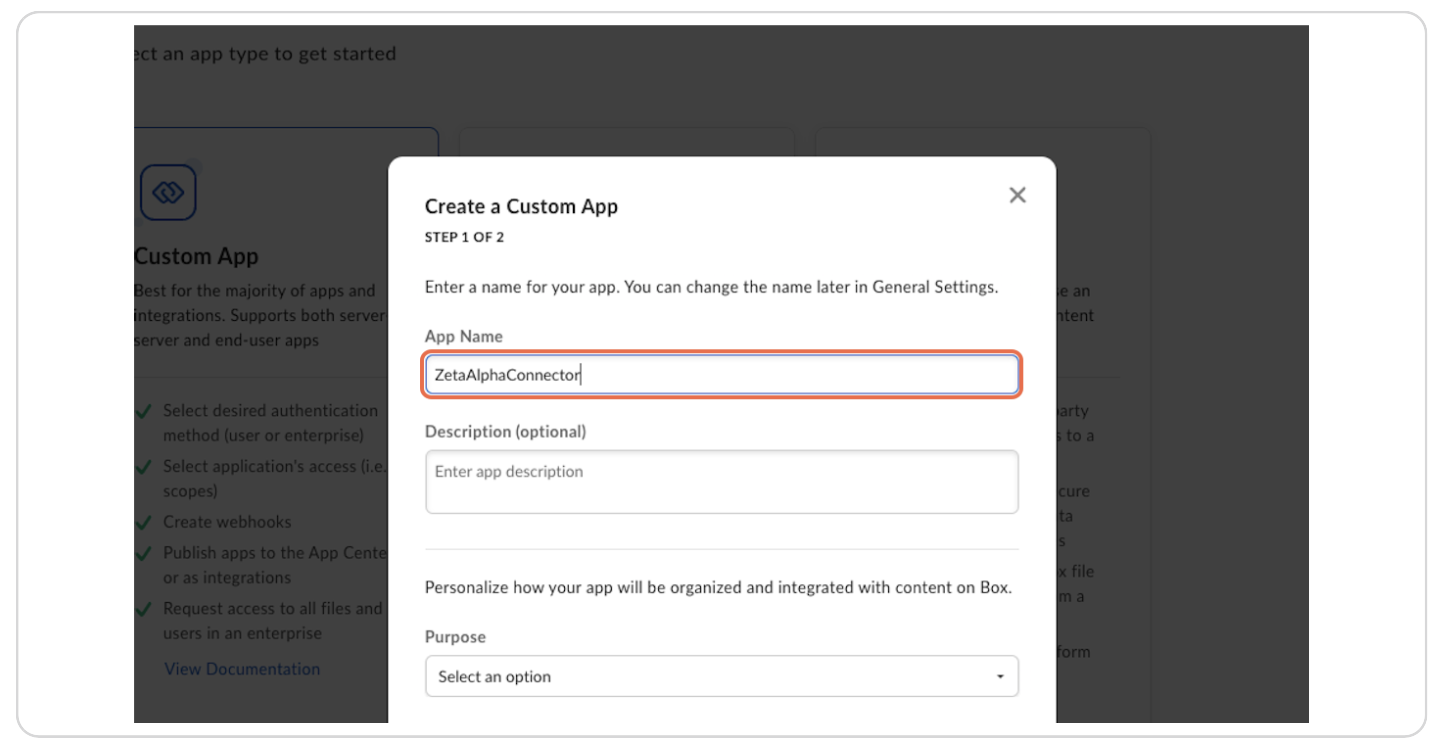
Step 5: For "Purpose," Select "Integration"
Choose "Integration" as the purpose of the app.
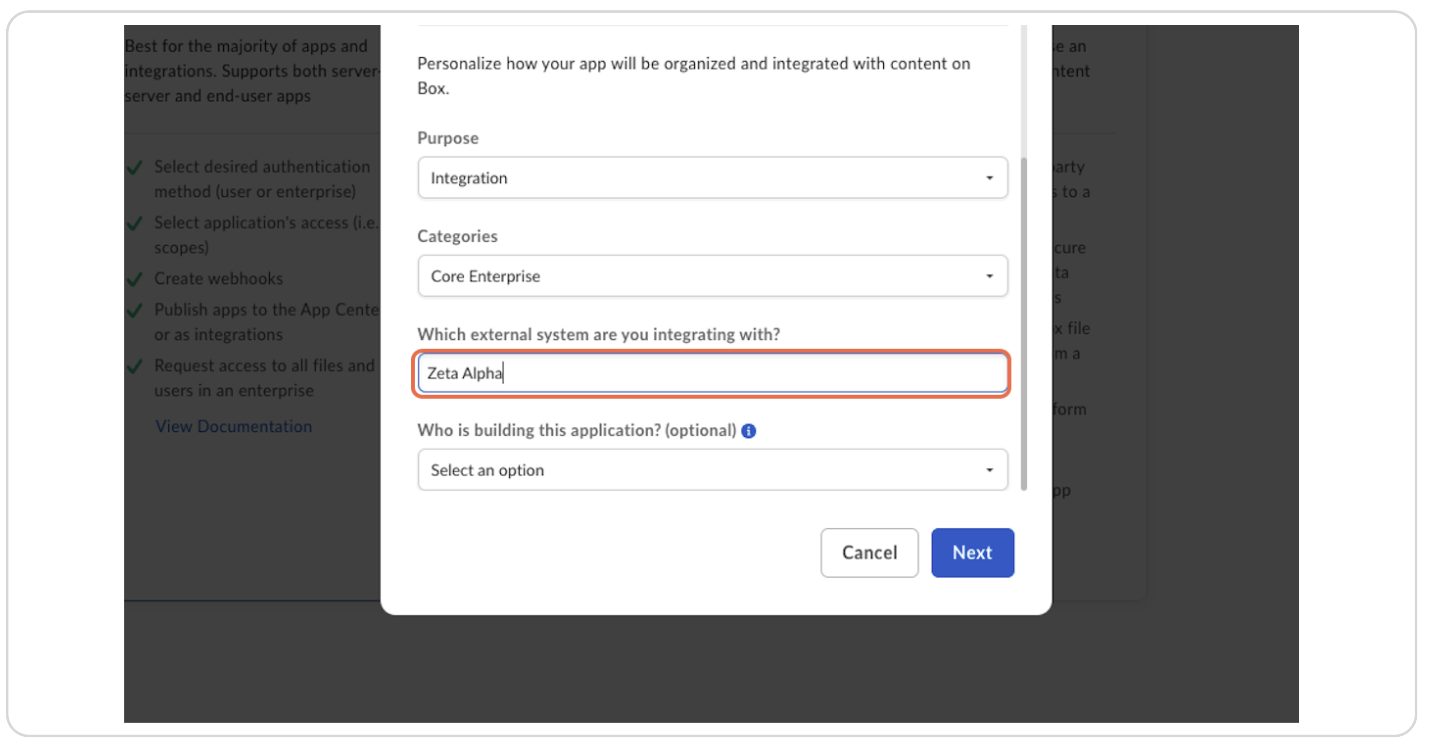
Step 6: Select "Core Enterprise" on "Categories"
Select "Core Enterprise" from the categories list.

Step 7: Type "Zeta Alpha" as External System
Enter "Zeta Alpha" as the external system name and click "Next".
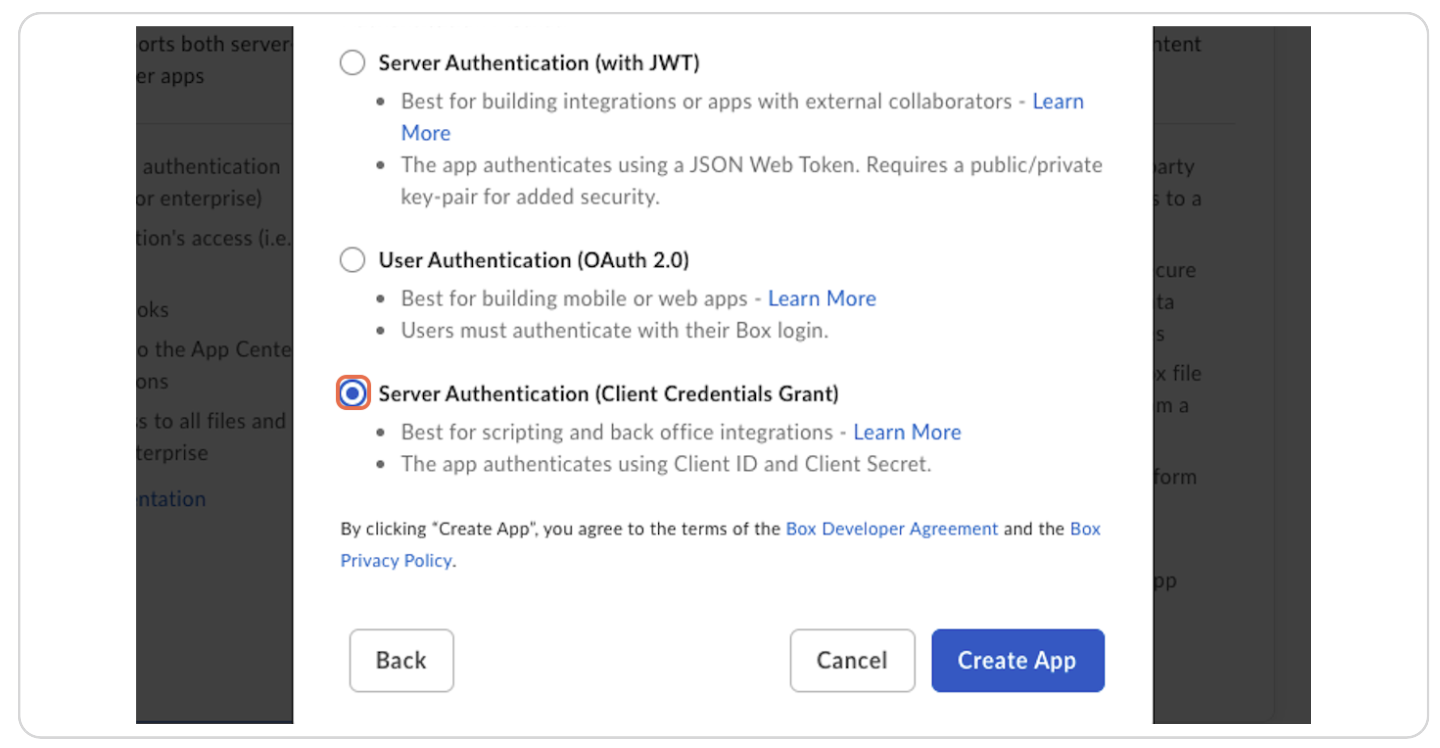
Step 8: Select "Server Authentication" and Click on "Create App"
Choose "Server Authentication" and click "Create App".
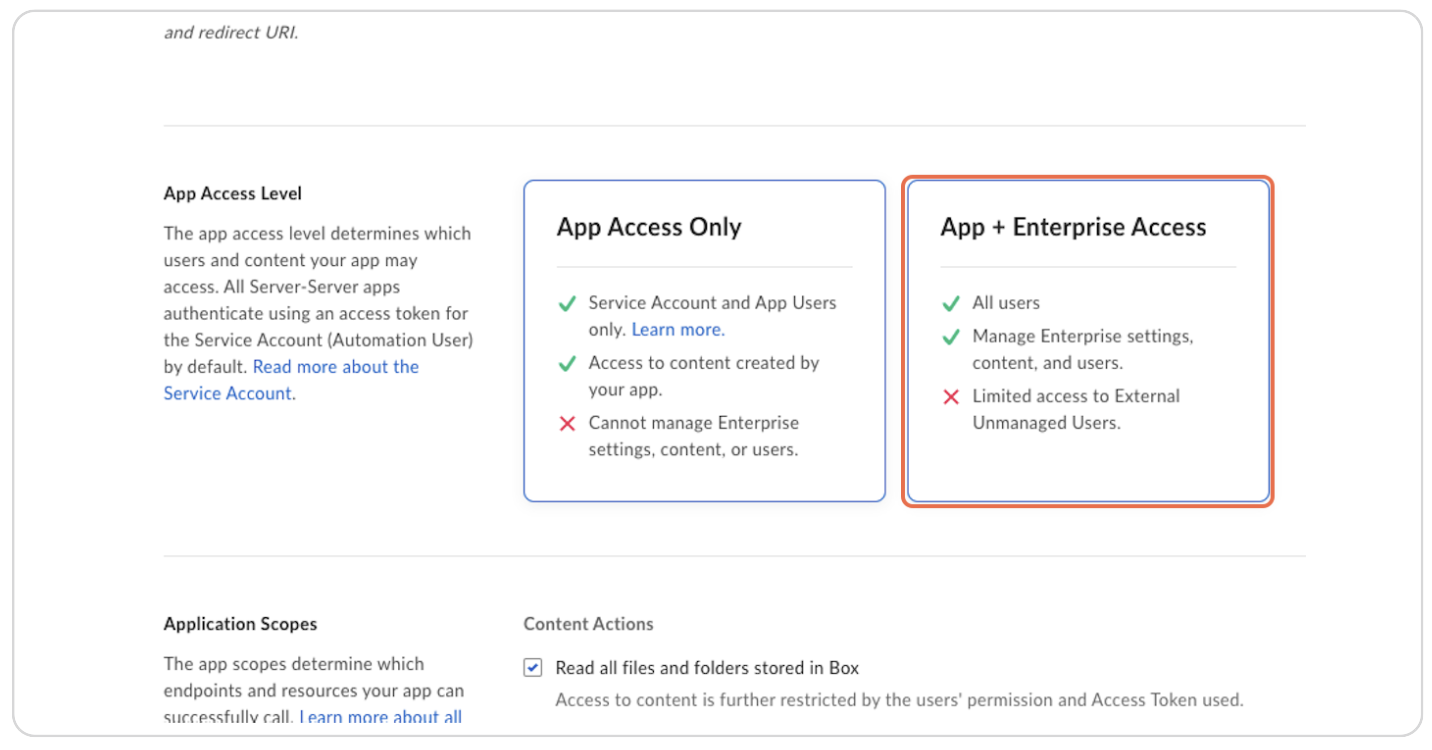
Step 9: On the "Configuration" Tab, Grant "App + Enterprise Access"
On the "Configuration" tab, grant "App + Enterprise Access".
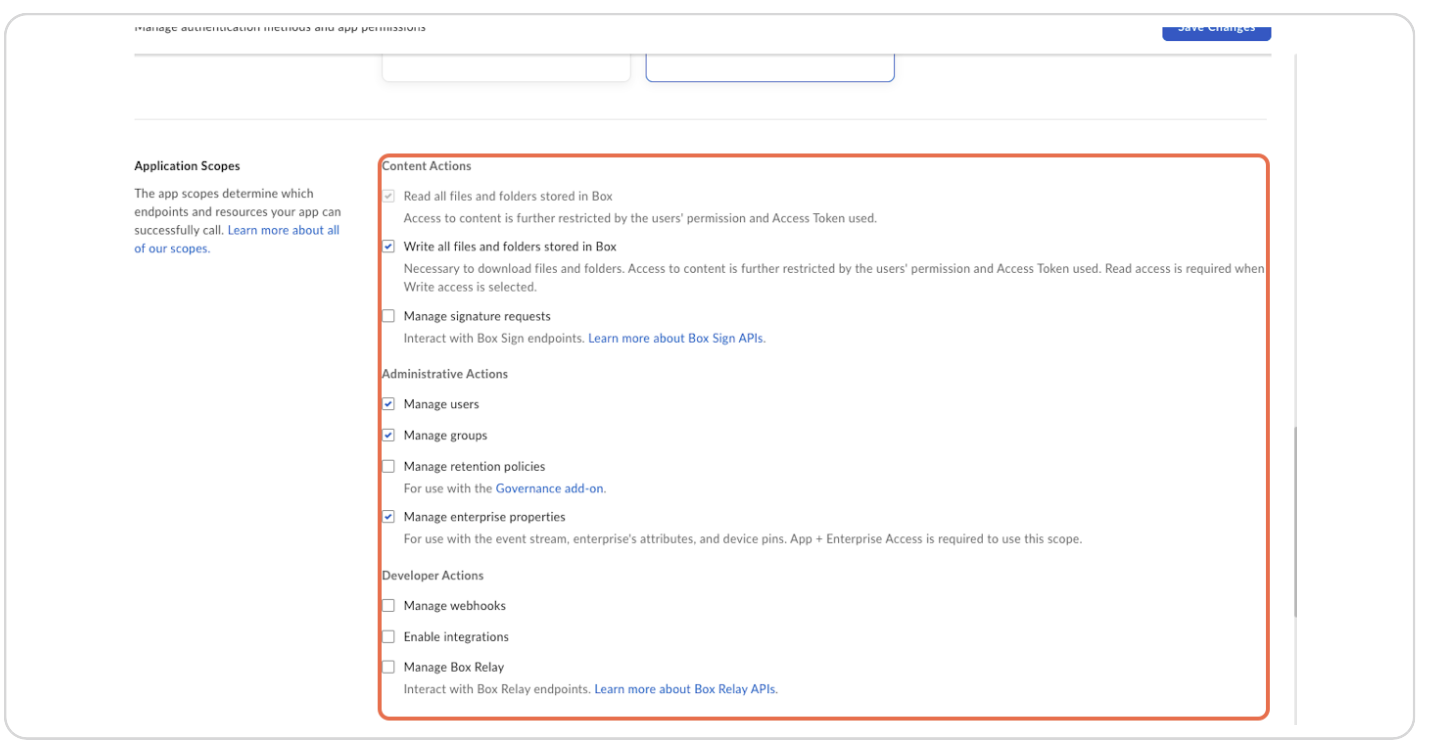
Step 10: Ensure the Following Application Scopes
Make sure the following scopes are selected:
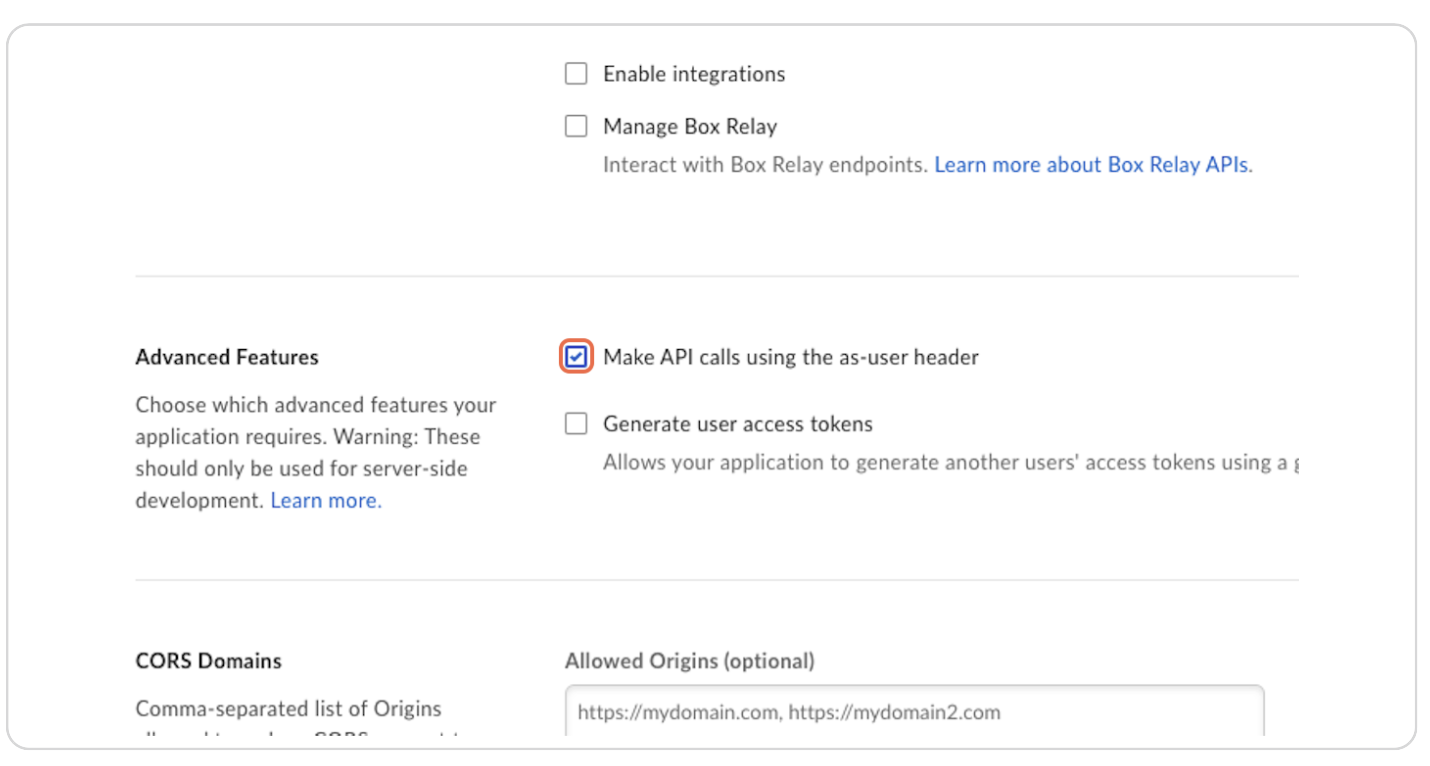
Step 11: Check "Make API Calls Using the As-User Header"
Enable the option to "Make API calls using the as-user header".
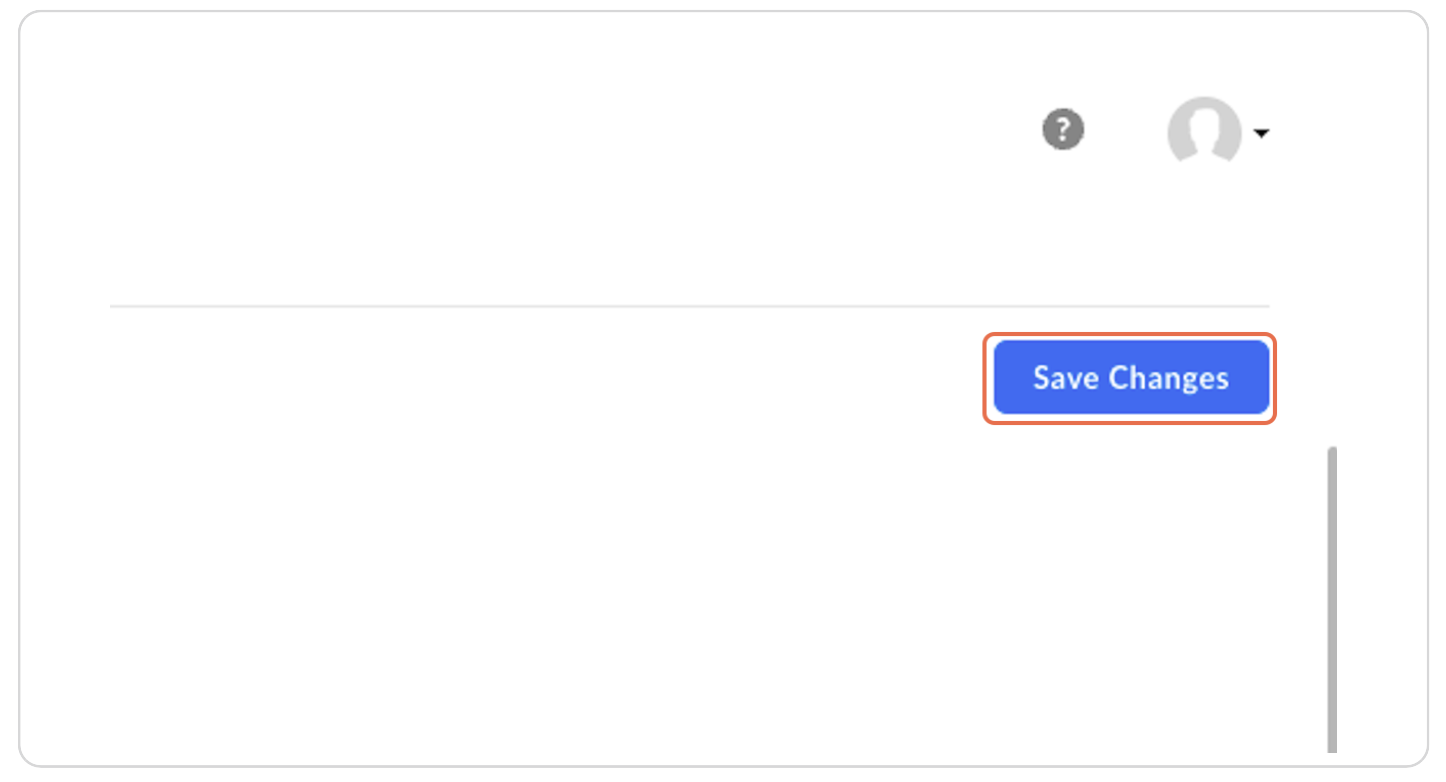
Step 12: Click on Save Changes
Save the configuration changes.
Step 13: Copy the Client ID and Fetch the Client Secret
Copy both the Client ID and Client Secret. These will be used to configure the connector on the Zeta Alpha platform.

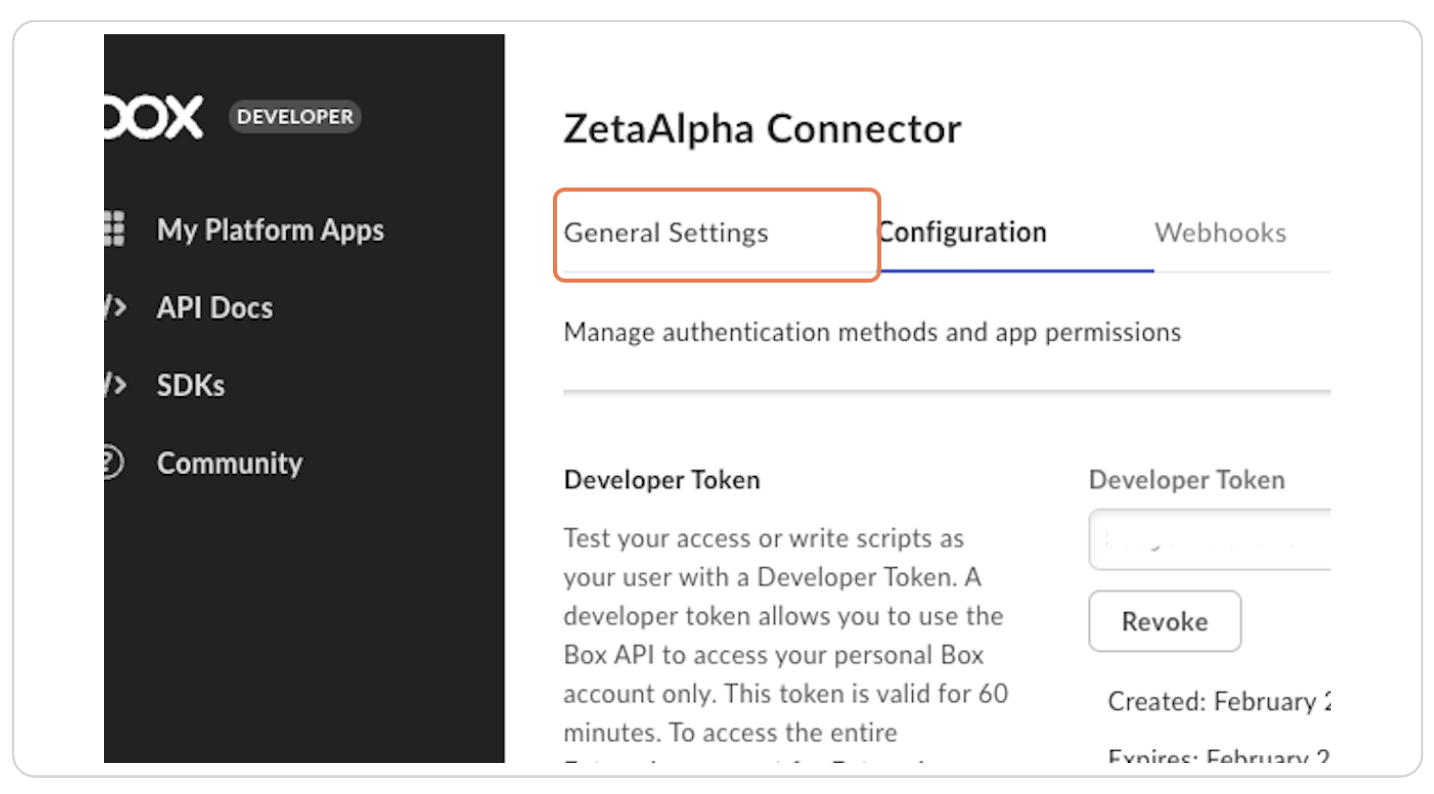
Step 14: Click on General Settings
Navigate to the "General Settings" tab.
Step 15: Copy the Enterprise ID and Service Account ID
Copy the Enterprise ID and Service Account ID.
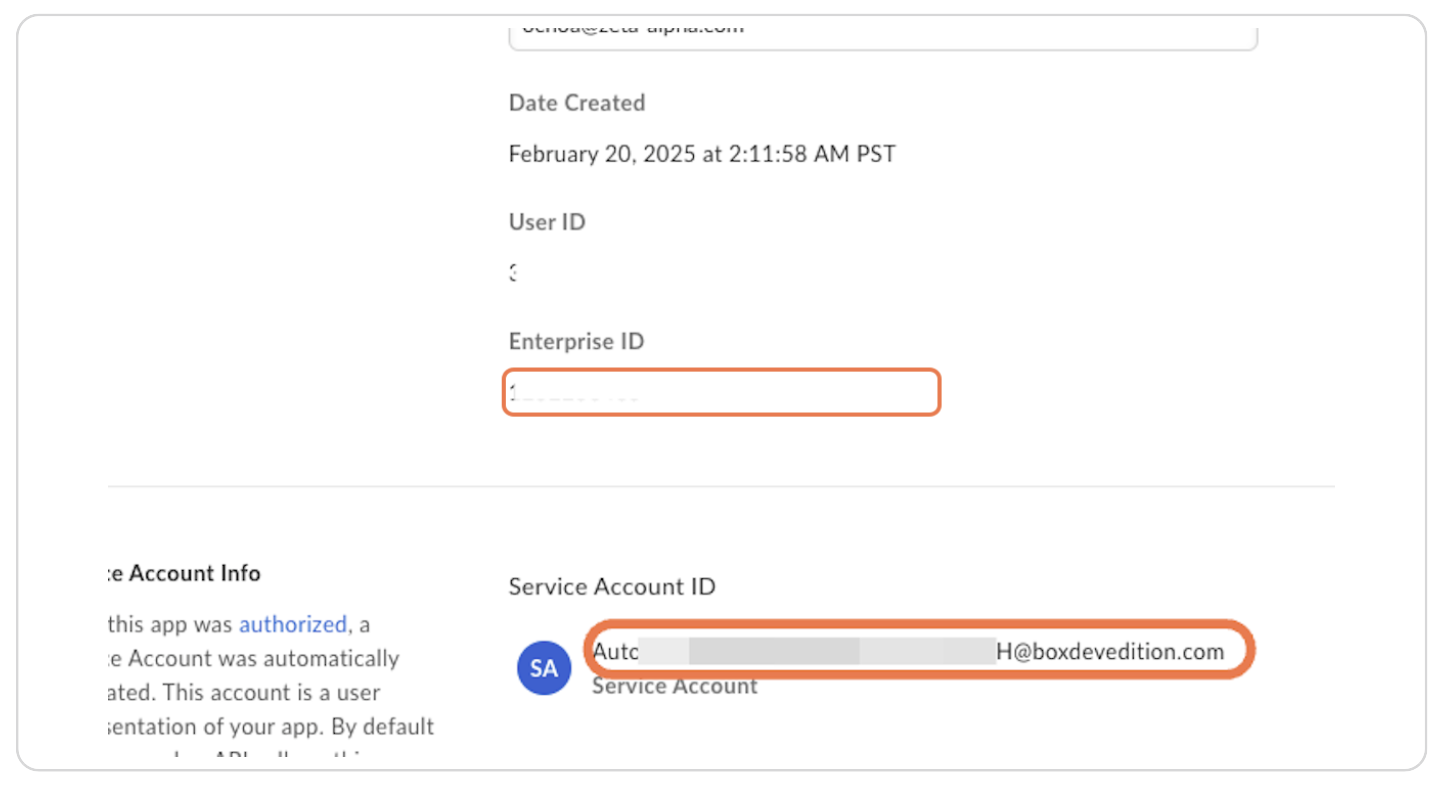
The following values need to be sent to the Zeta Alpha platform:
- Client Secret
- Client ID
- Enterprise ID The Service Account ID is required to share files with the application.
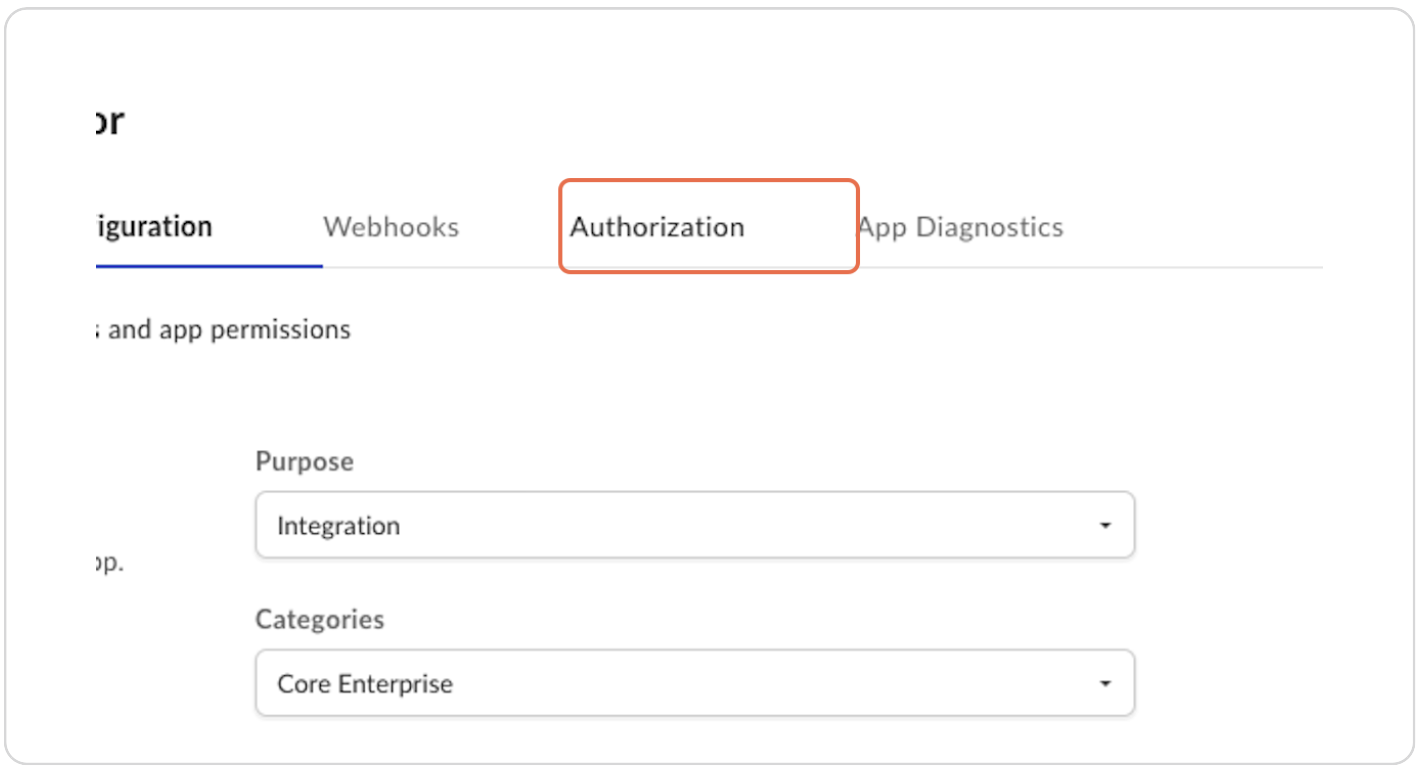
Step 16: Authorize the Application
Click on "Authorization".
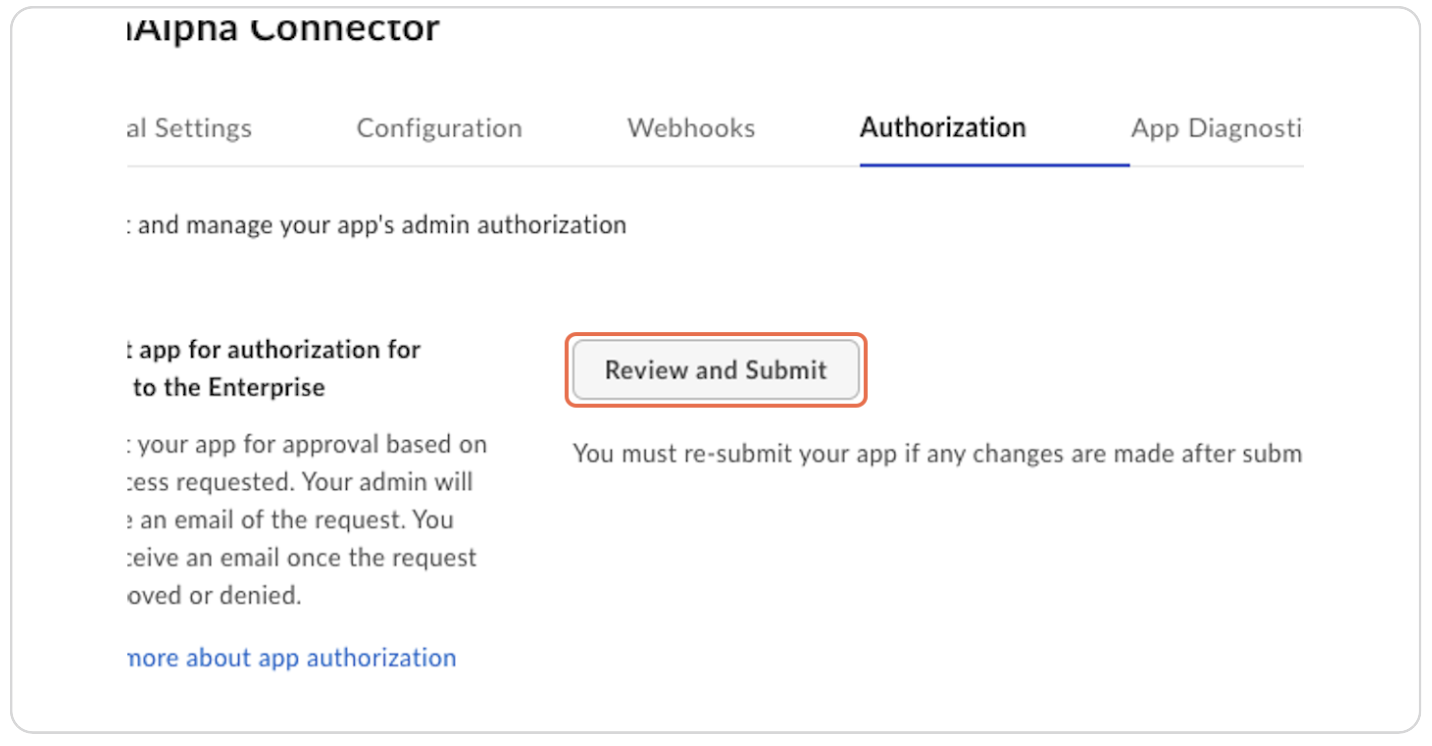
Step 17: Click on Review and Submit
Click "Review and Submit" to send the app for admin approval.
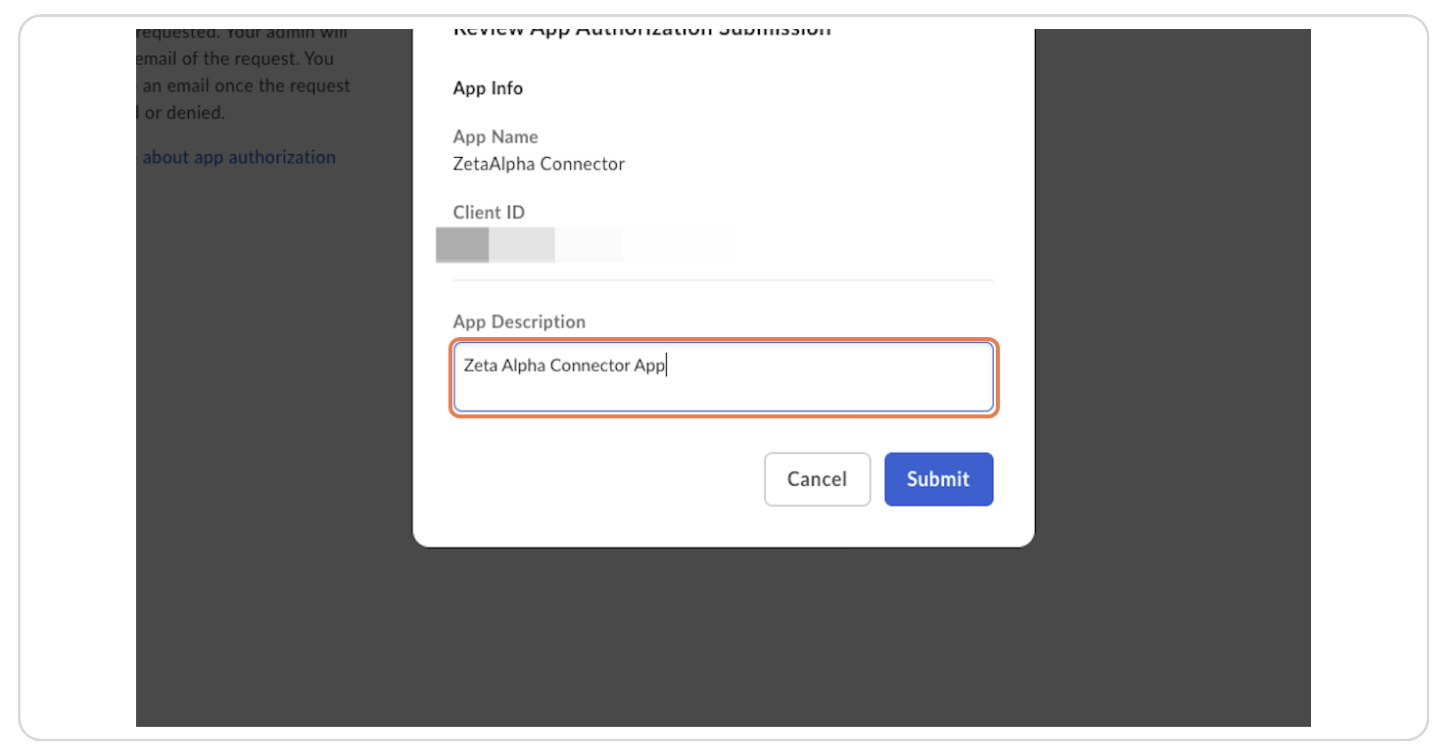
Step 18: Type "Zeta Alpha Connector App" and Click Submit
Enter the app name and submit the request.
Step 19: Admins Review the Application
An admin will receive an email to review and approve the application. They should click "Review Platform App Details" in the email and follow the authorization steps.

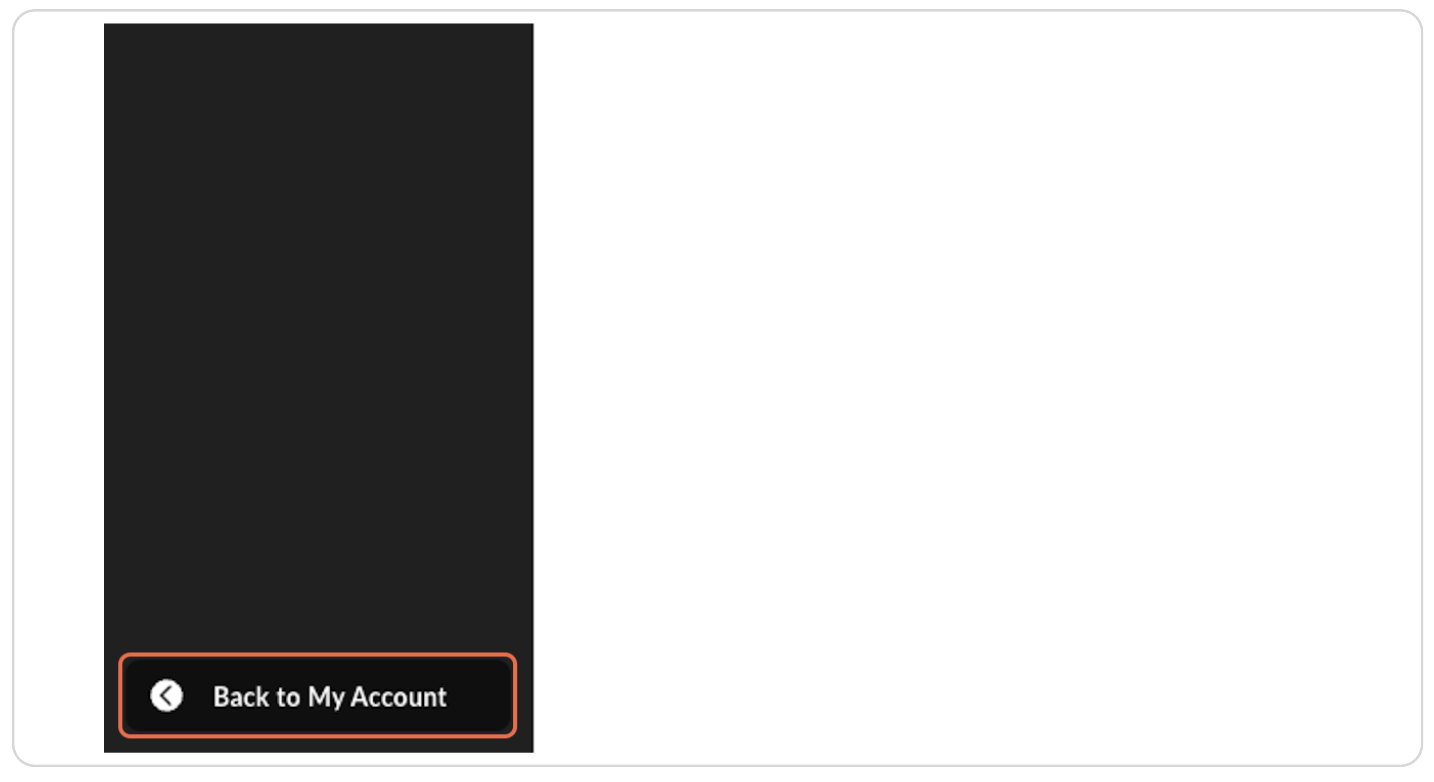
Step 20: If You Have Admin Permissions, Click "Back to My Account"
If you are an admin, click "Back to My Account".
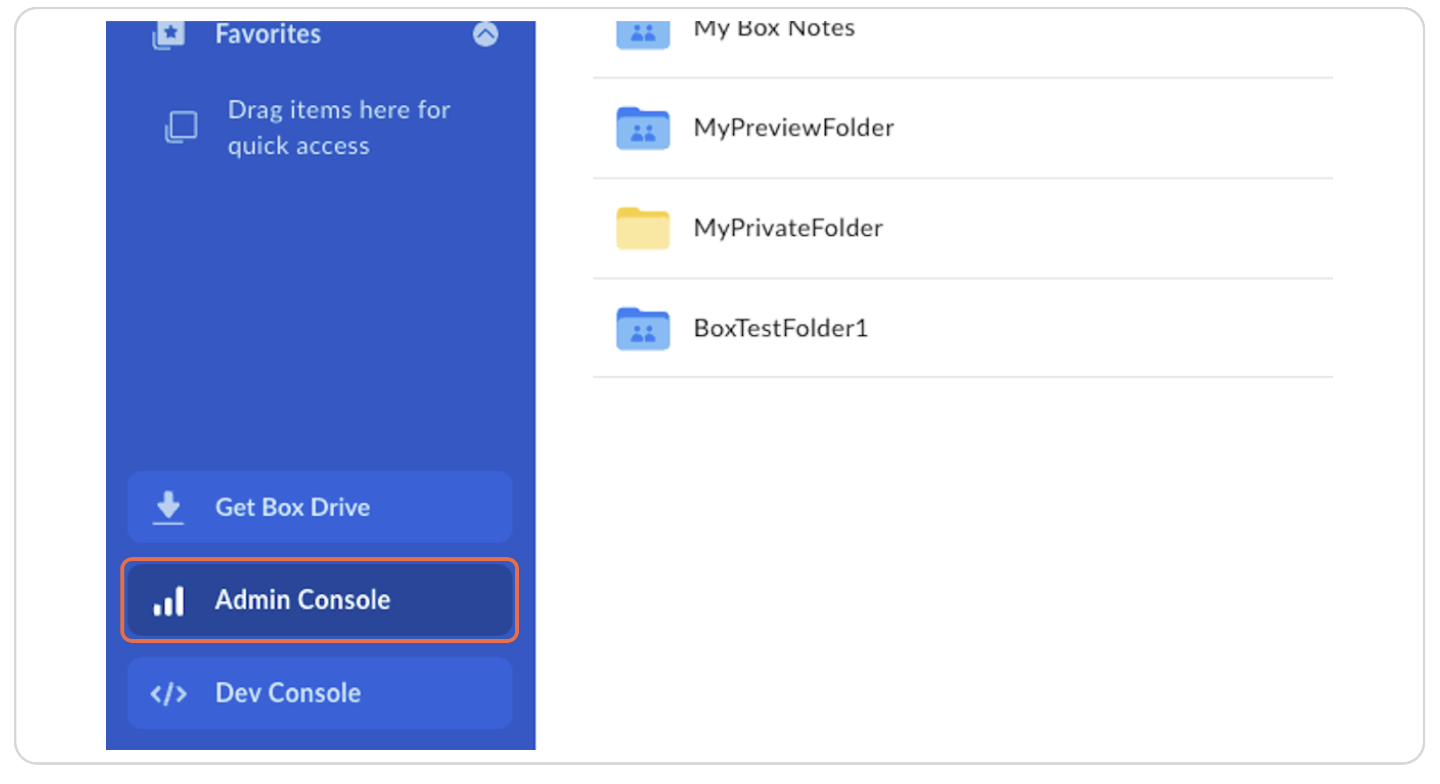
Step 21: Click on "Admin Console"
Navigate to the "Admin Console" in the bottom left corner.
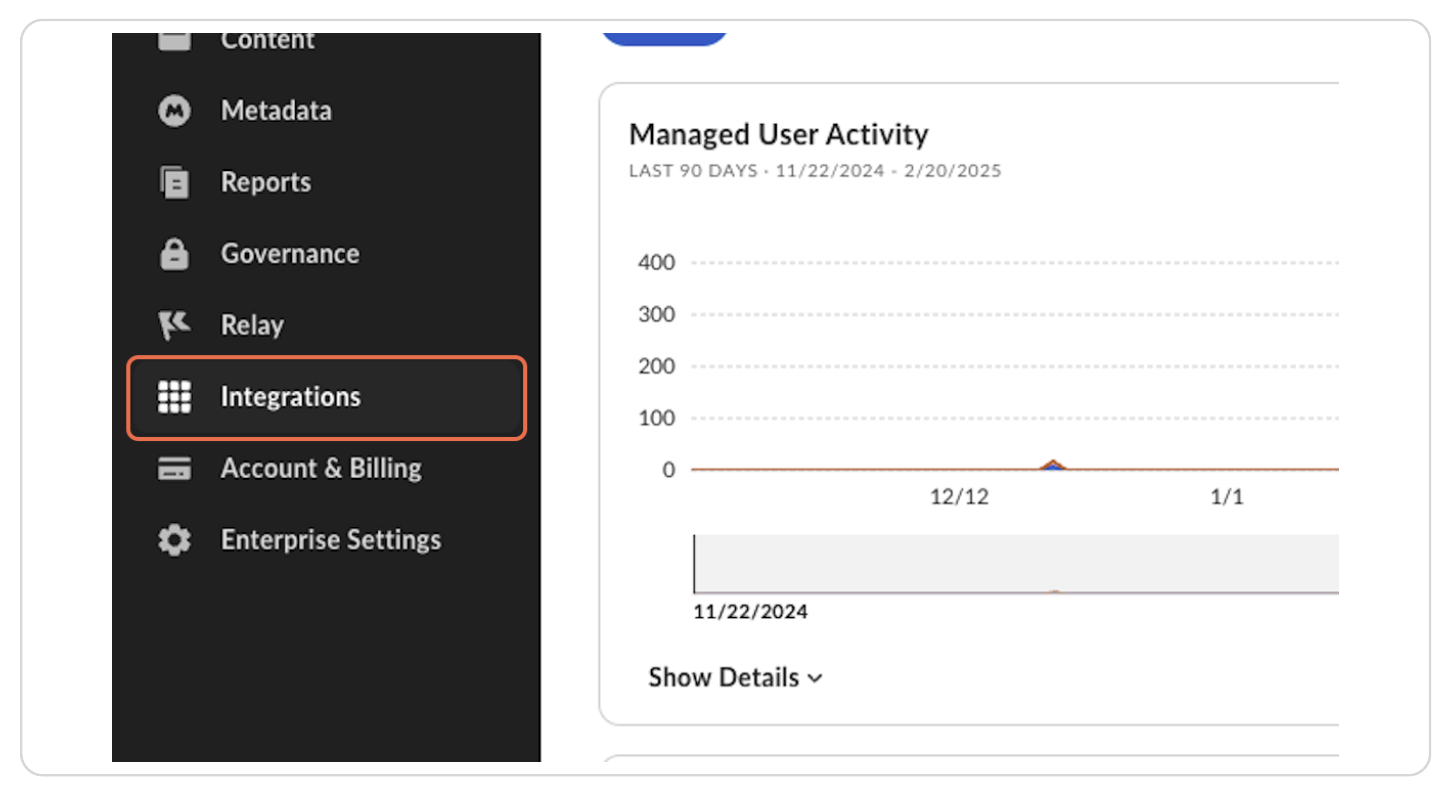
Step 22: Click on Integrations
Go to the "Integrations" section.
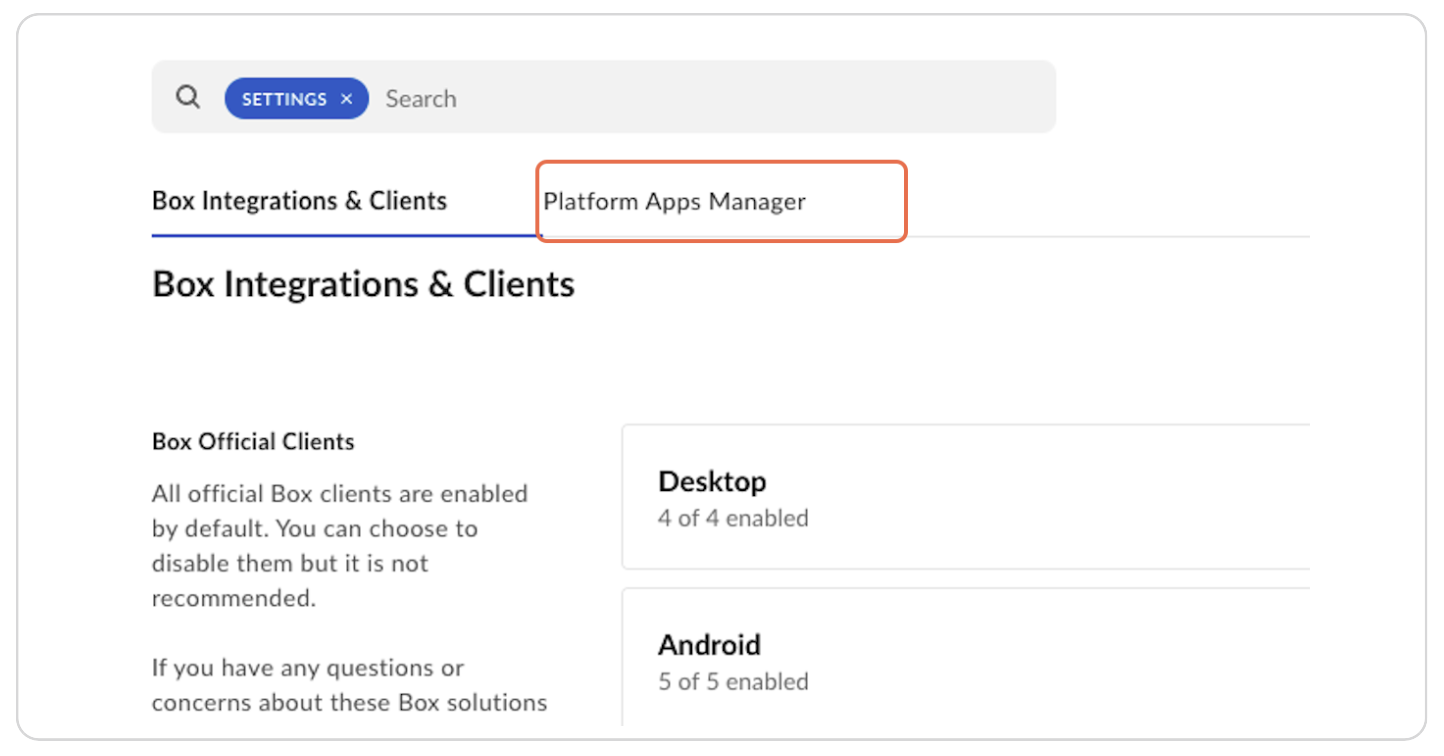
Step 23: Click on Platform Apps Manager
Select "Platform Apps Manager".
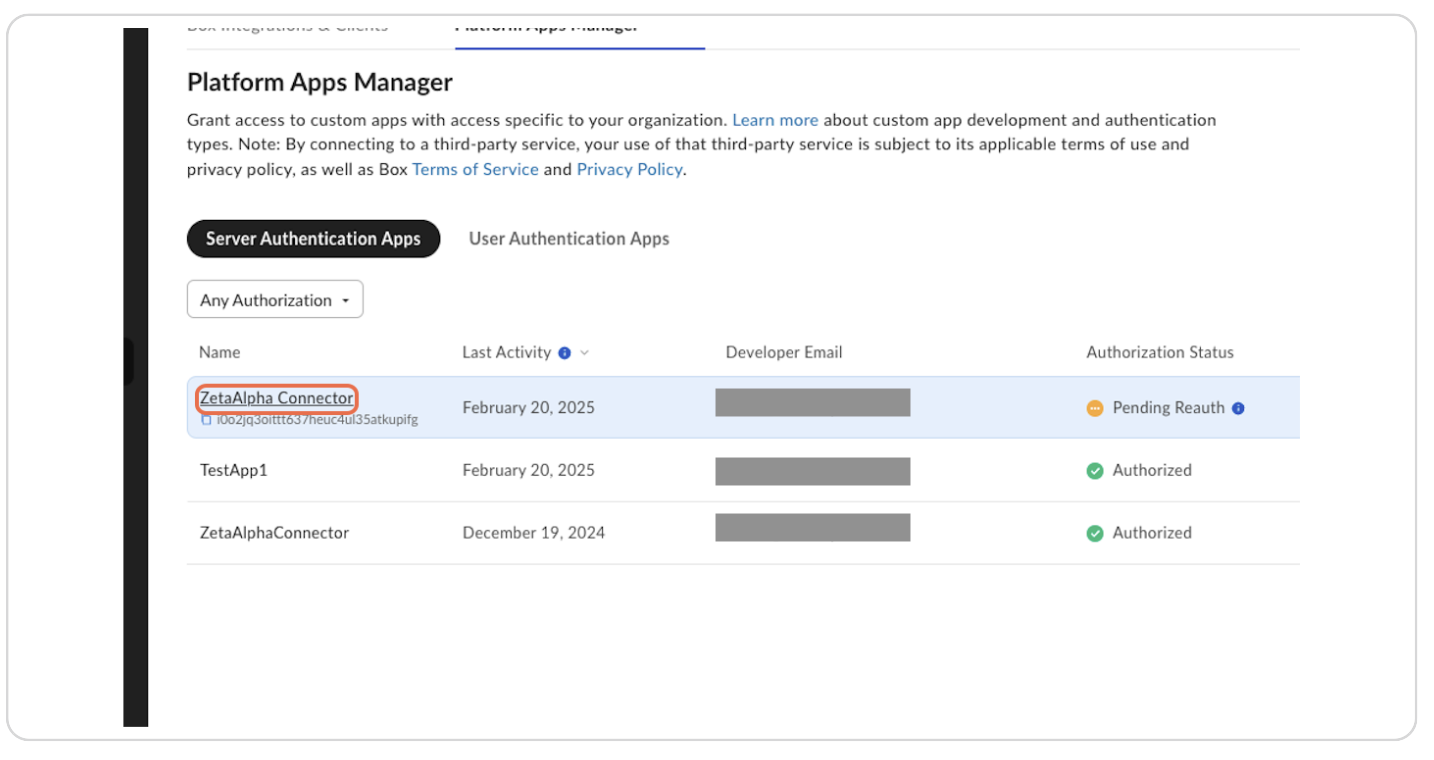
Step 24: Click on ZetaAlpha Connector Application
Find and click on the "ZetaAlpha Connector" application.
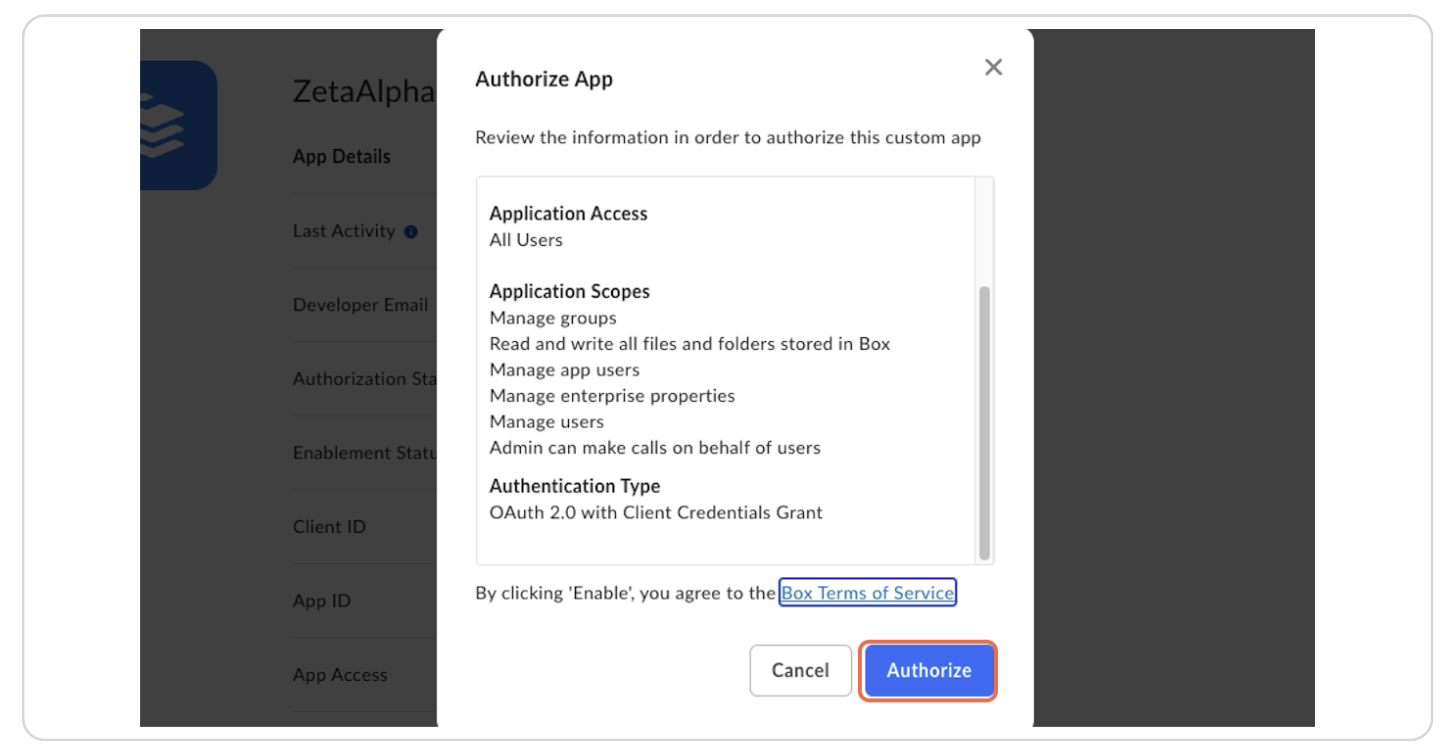
Step 25: Click on Authorize
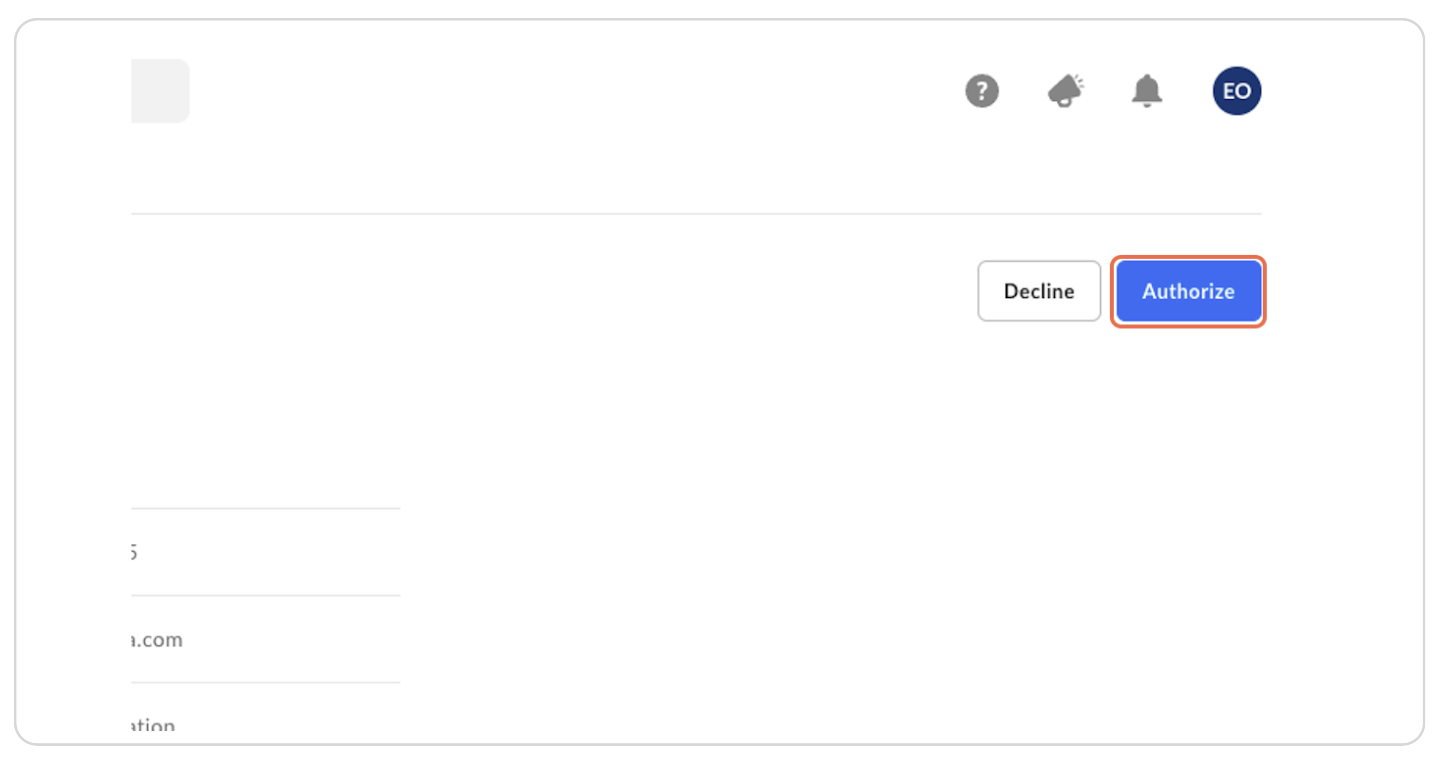
Step 25: Click on Authorize again
Authorize the application.
Share Desired Files with the Zeta Alpha Connector
The connector app needs at least "Viewer" permissions for the files and folders you want to ingest.
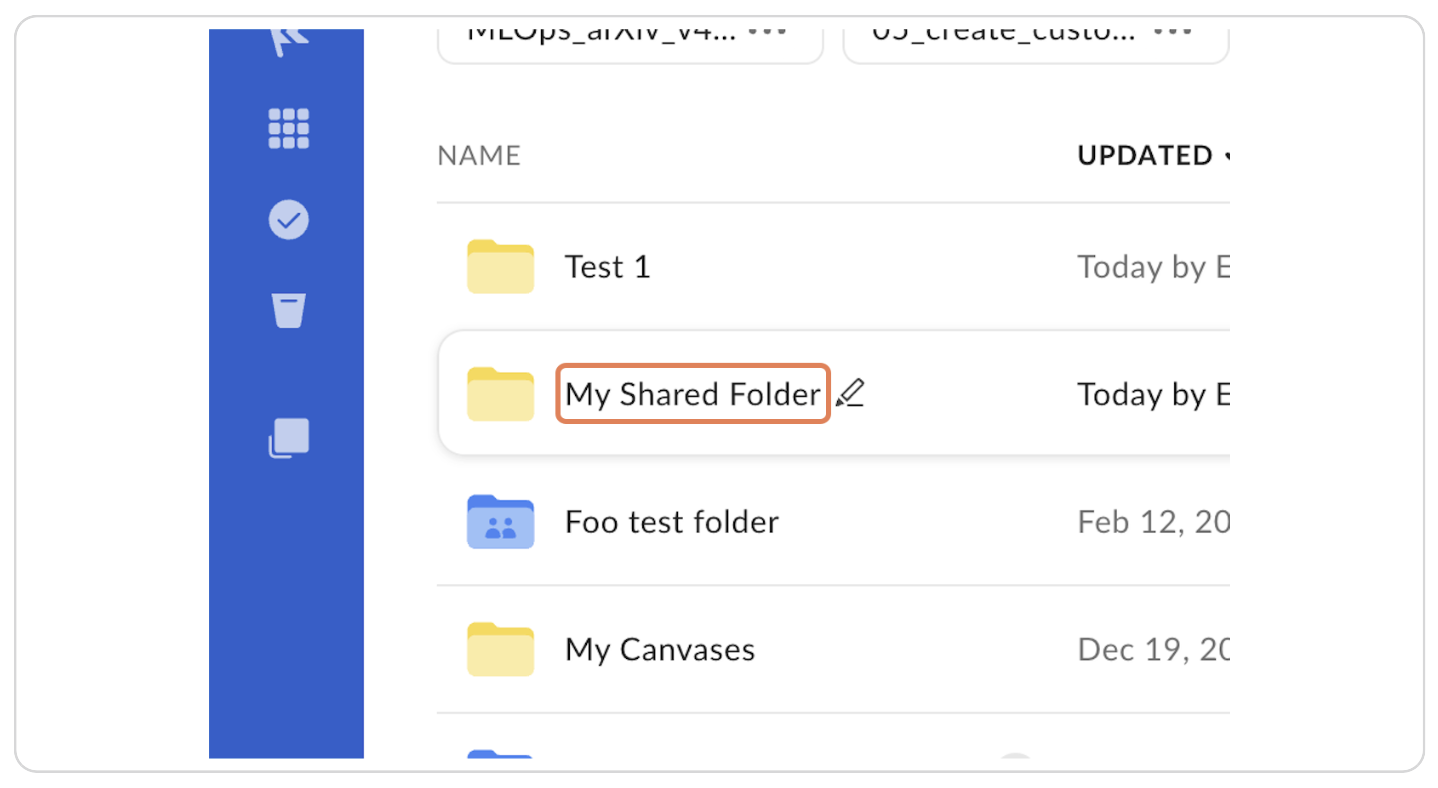
Step 27: Navigate to the Folder or File
In the Box app, navigate to the folder or file you want to share.
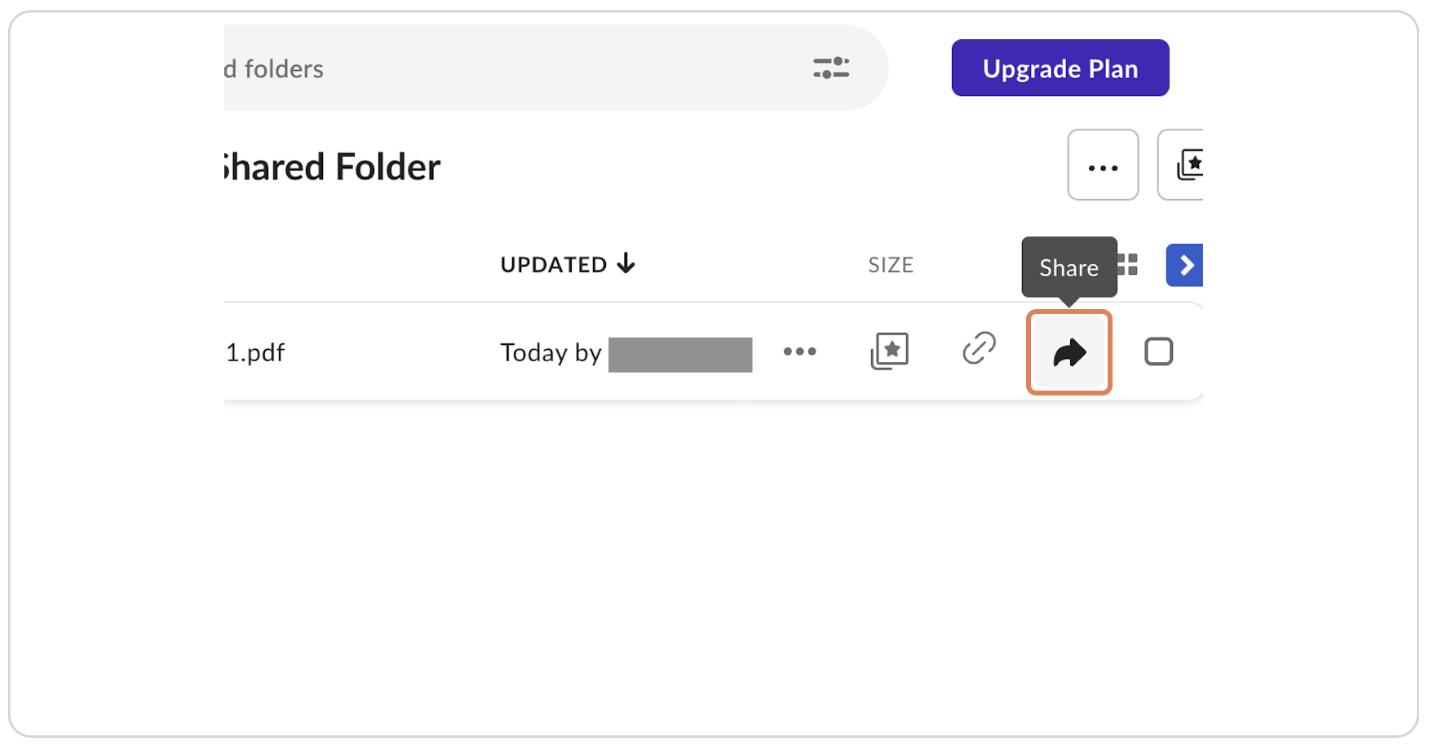
Step 28: Click on the Share Button
Click the "Share" button for the file or folder.
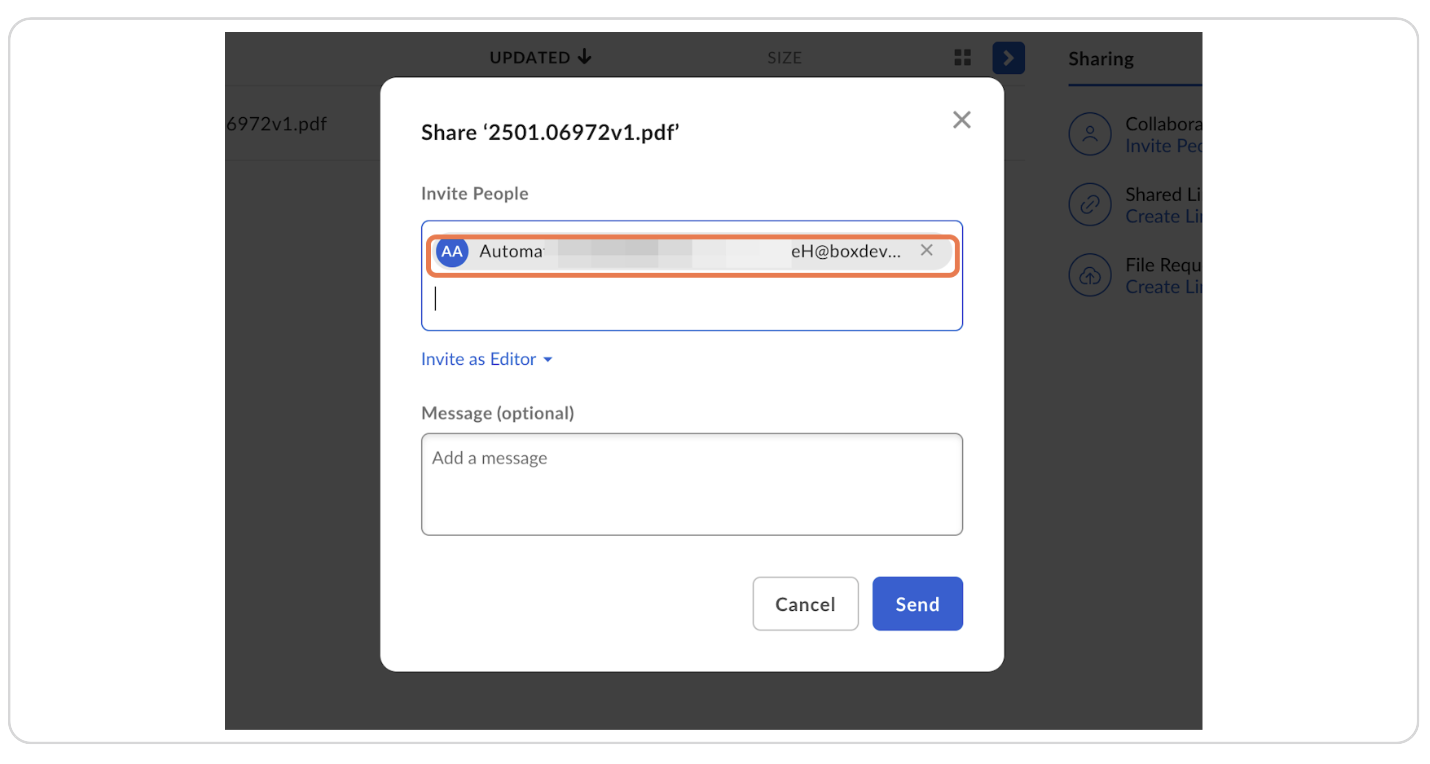
Step 29: Paste the Service Account ID
Paste the Service Account ID of the connector application and click "Send".
Step 30: Repeat Sharing for All Desired Files and Folders
Repeat the sharing process for all files and folders you want to ingest.
What's next?
If applicable, set up the Zeta Alpha Box connector!