Connecting Azure DevOps to Zeta Alpha
This guide helps you set up access for the Zeta Alpha Azure DevOps connector.
For external apps authentication methods for Azure DevOps are currently limted to a Personal Access Token (PAT). This guide follows 3 actions:
- Create new user in Microsoft Entra
- Add user to the Azure DevOps project
- Create PAT for user
NOTE: In case you already have a MS Entra (service) user account you want to use, skip straight to step 9 and continue from there.
Below is a step-by-step guide for each of the 3 actions.
Action 1: Create new user in Microsoft Entra
Log in to Microsoft Entra as a admin user (https://entra.microsoft.com/).
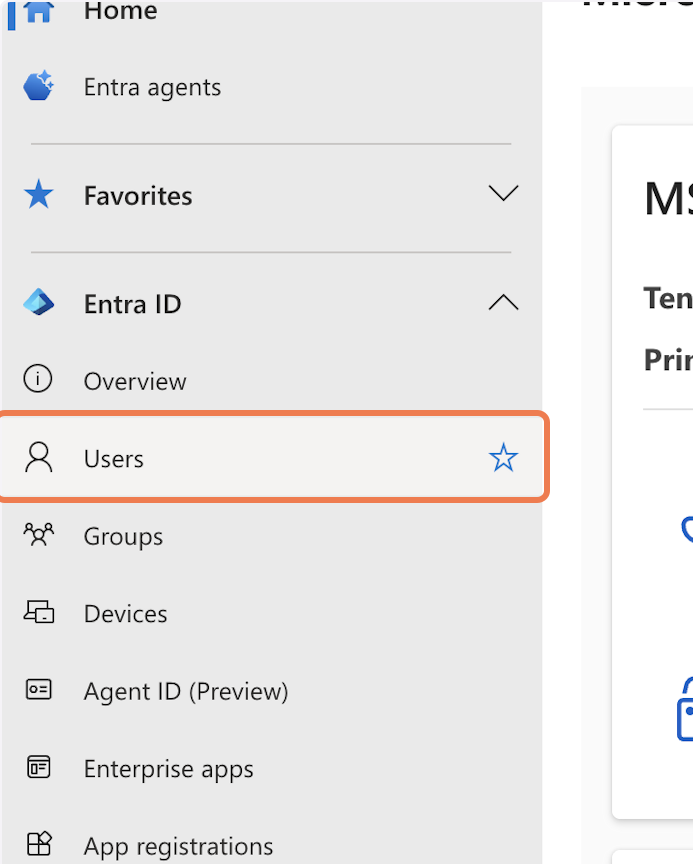
1. Click on Users
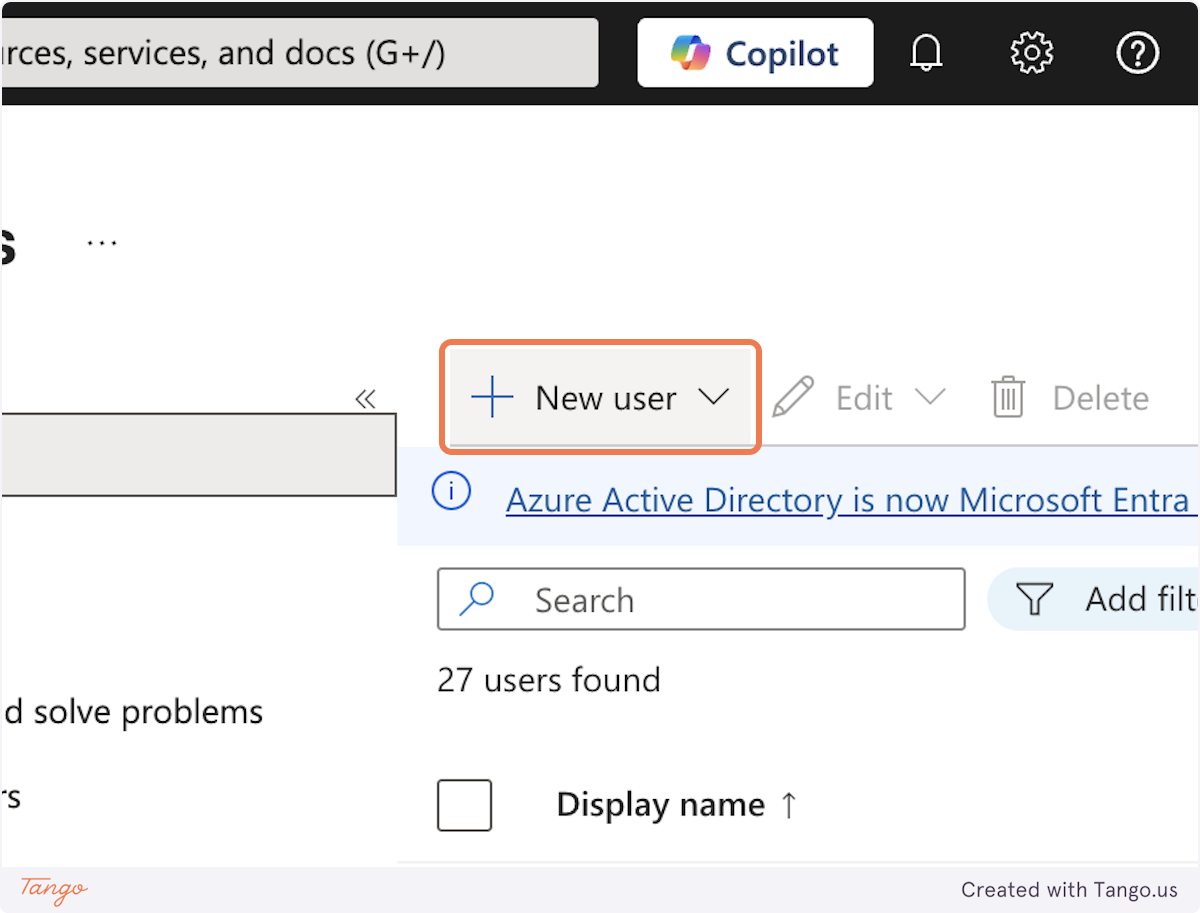
2. Click on New user
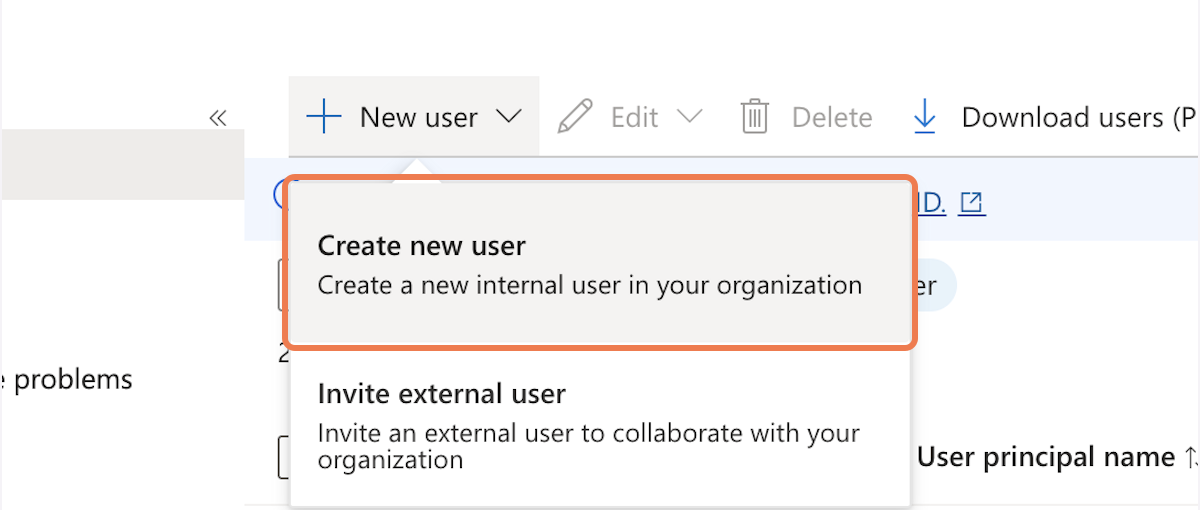
3. Click on Create new user…
4. Type "zeta-alpha-crawler"
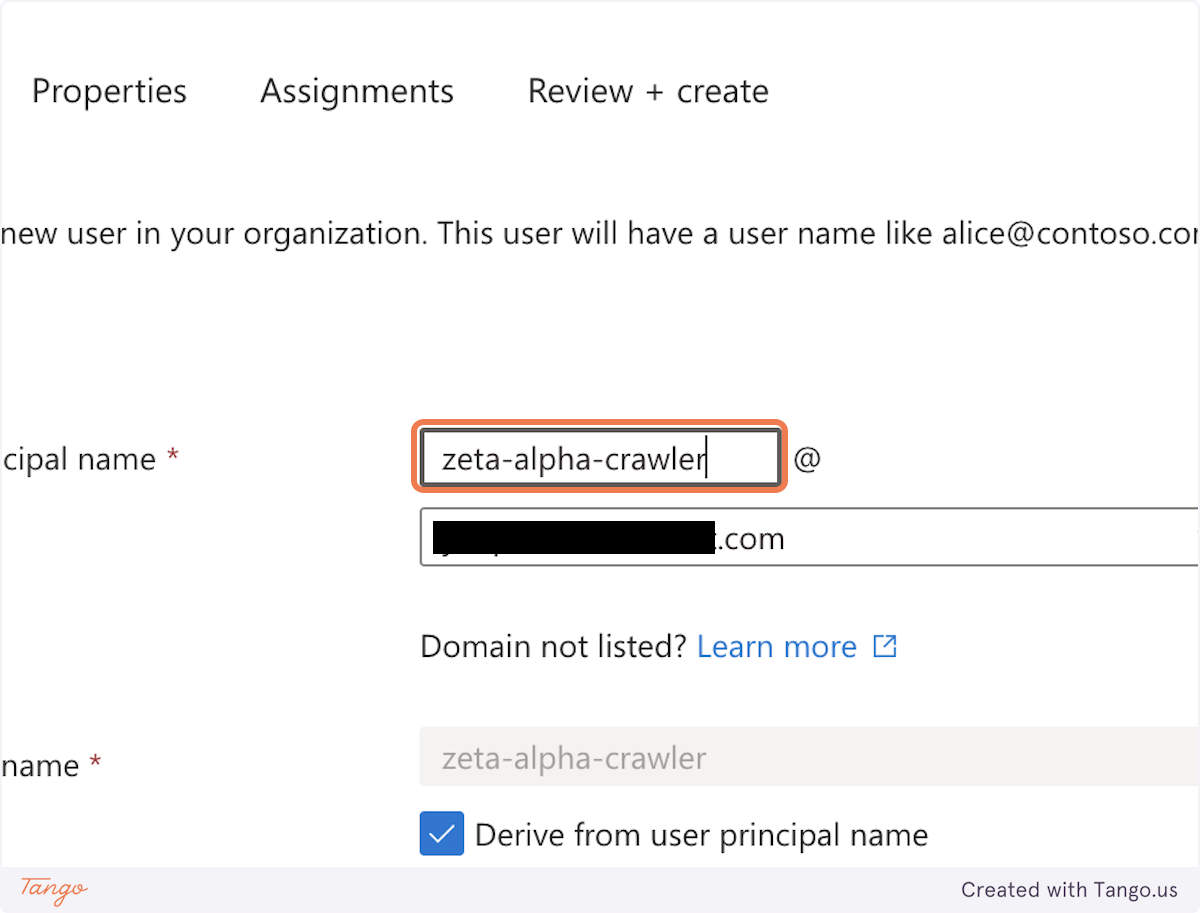
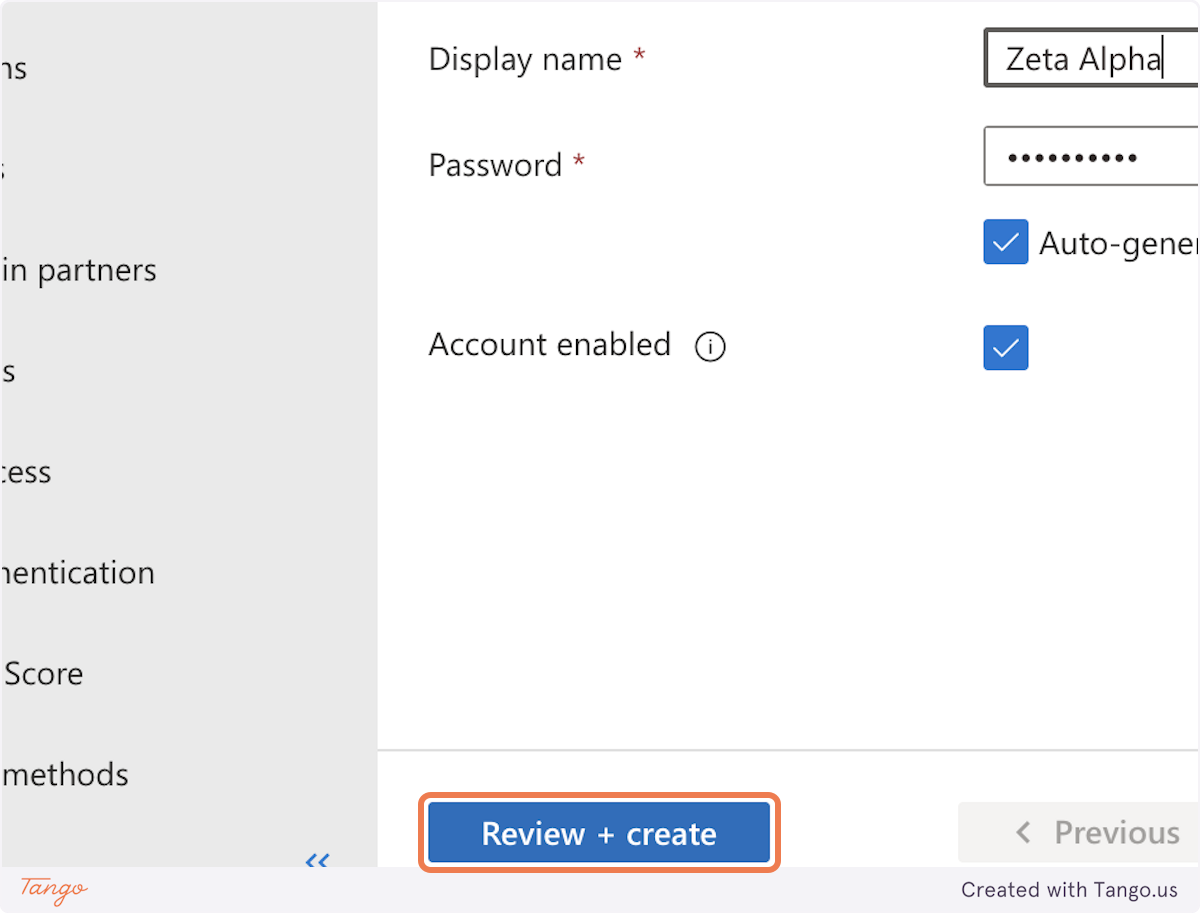
5. Type "Zeta Alpha"

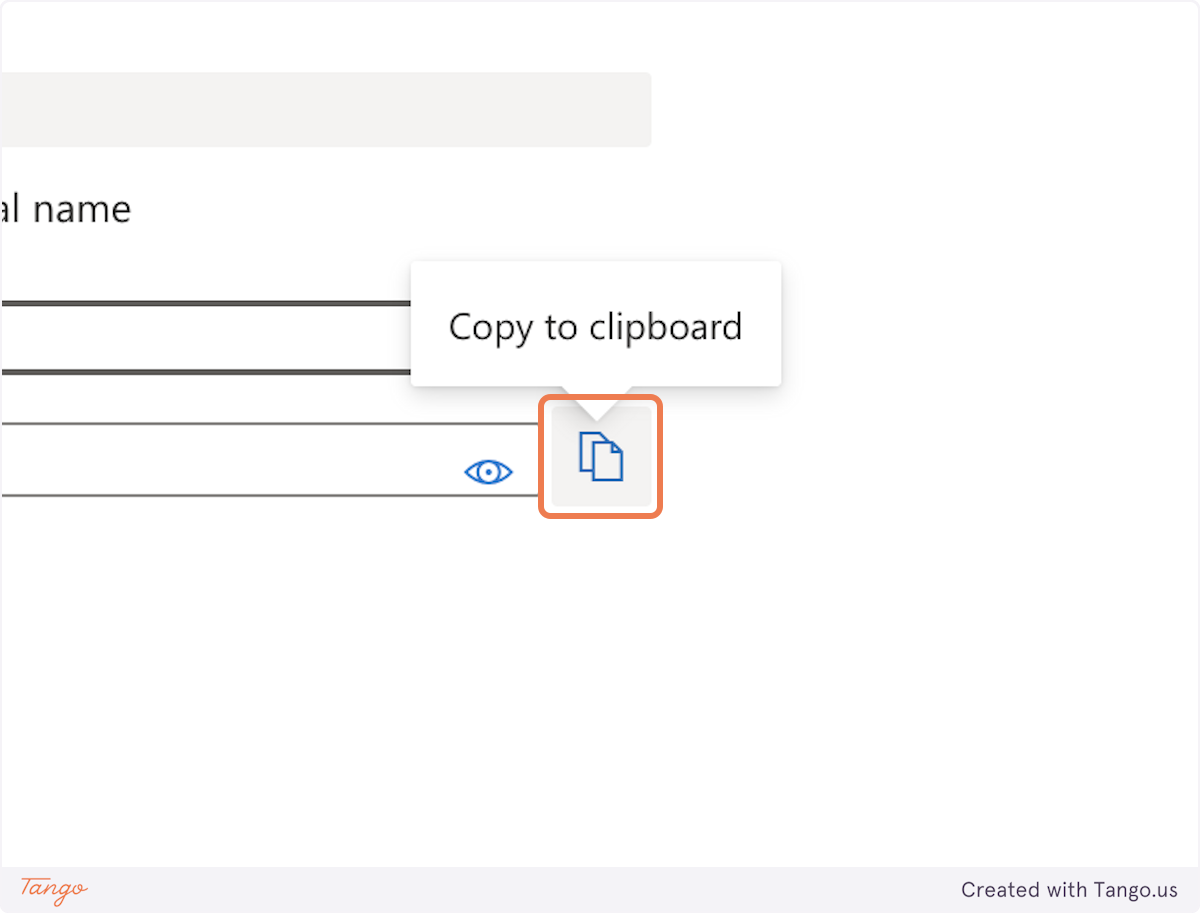
6. Click on Copy Password to clipboard
IMPORTANT: Be sure to keep the account email and password somewhere so you can access them later.
7. Click on Review + create
8. Click on Create
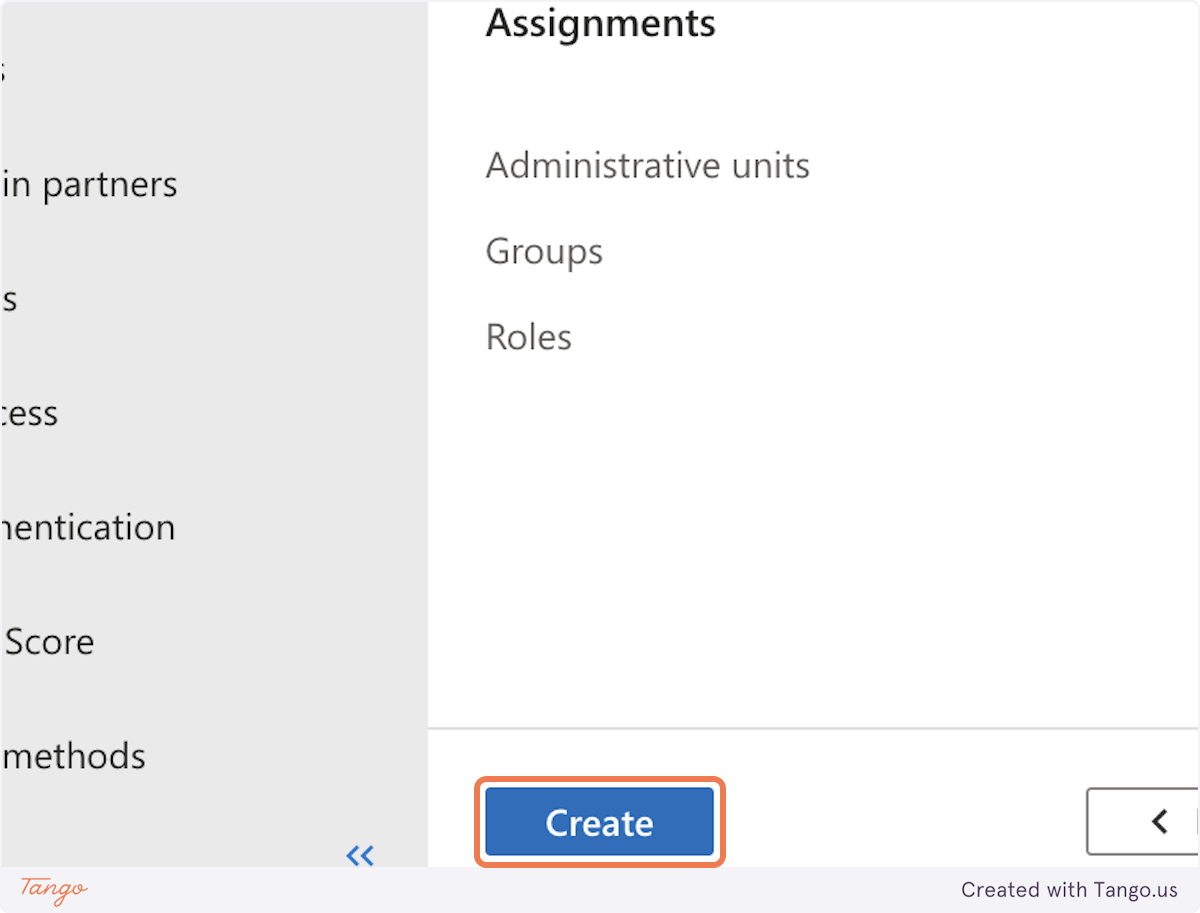
Now we finished creating the Microsoft Entra user.
Action 2: Add the new user to Azure DevOps organization
Now log into your organization's Azure DevOps as an admin user: https://dev.azure.com/my-organization.
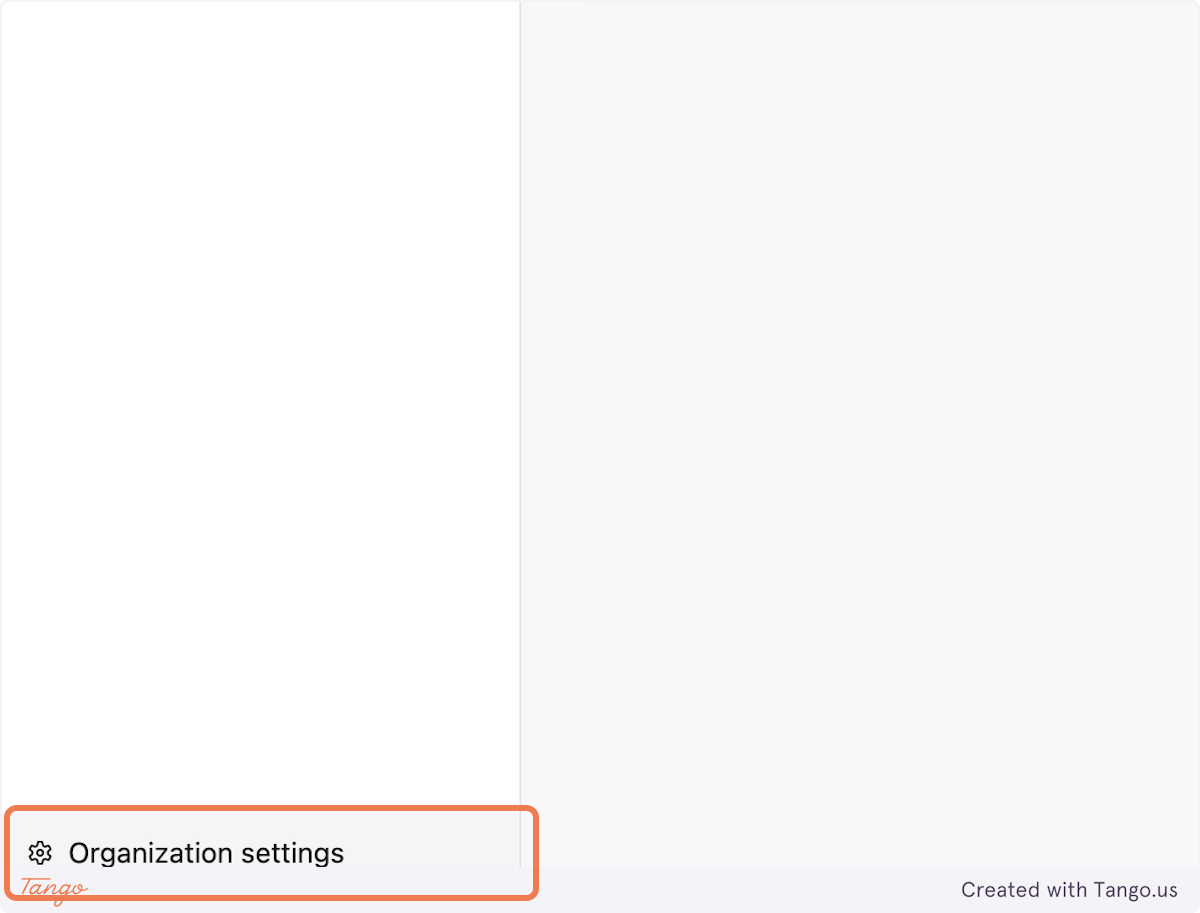
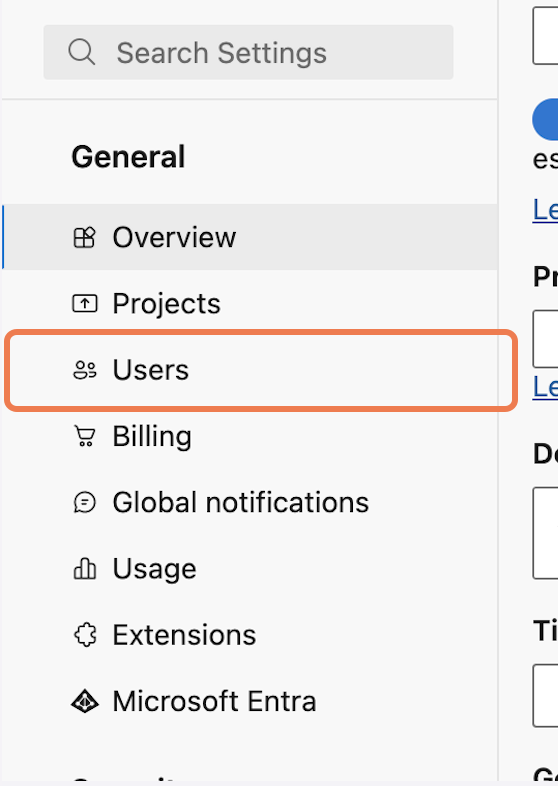
9. Click on Organization settings
10. Click on Users
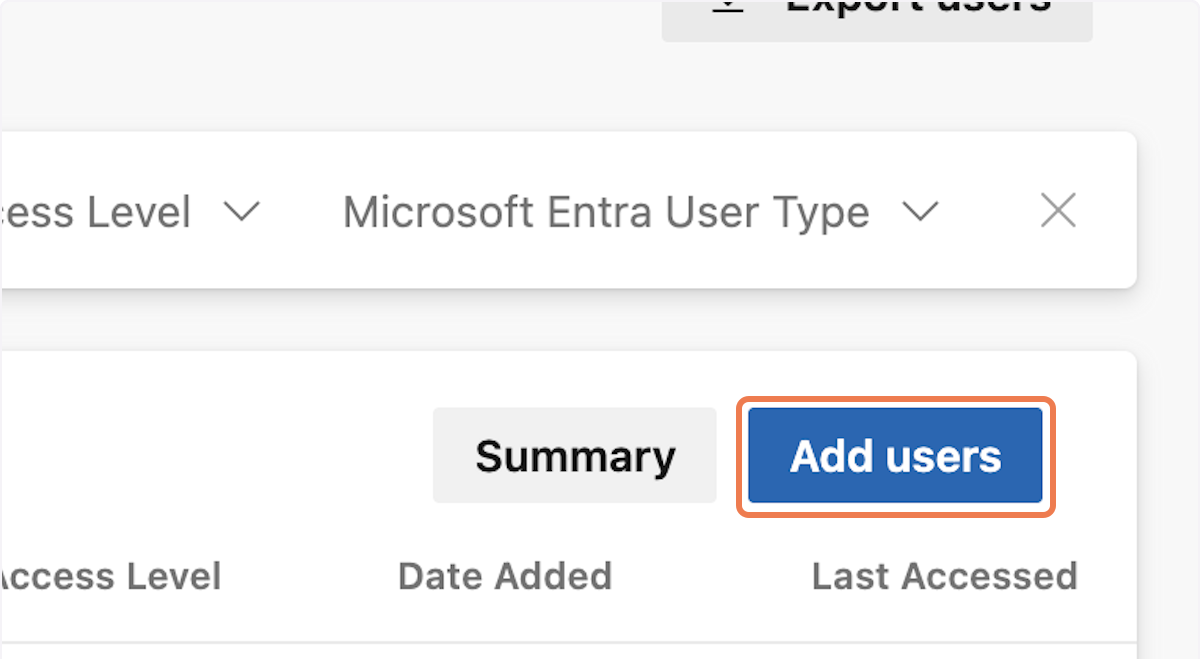
11. Click on Add users
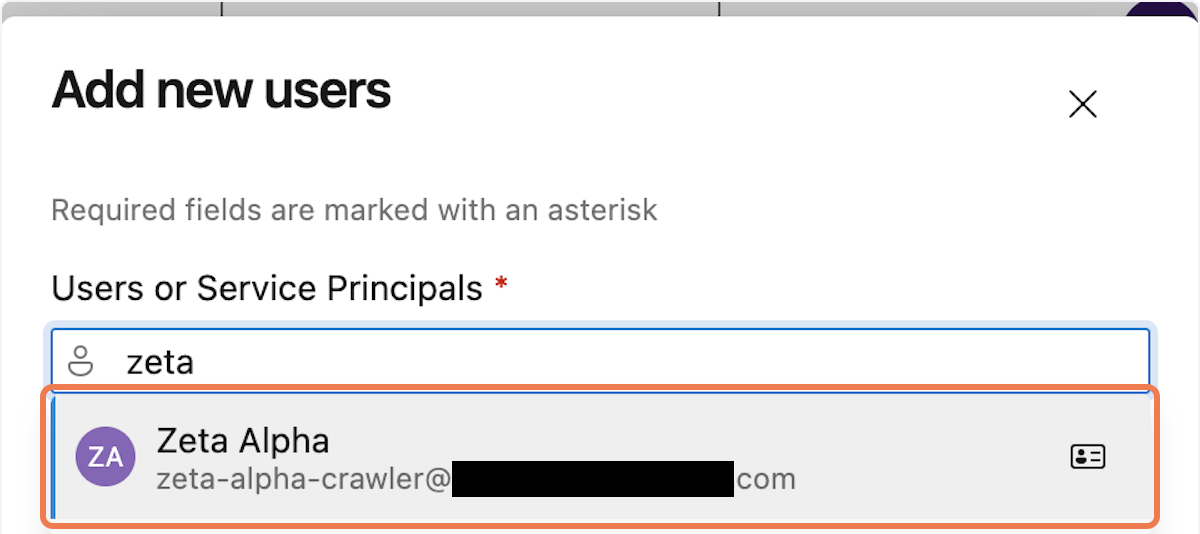
12. Type "zeta"

13. Select the user
Select the user created in Entra in Action 1 (step 1-8). Be sure to double check whether the email address matches the intended user.
14. Click on Add new users…
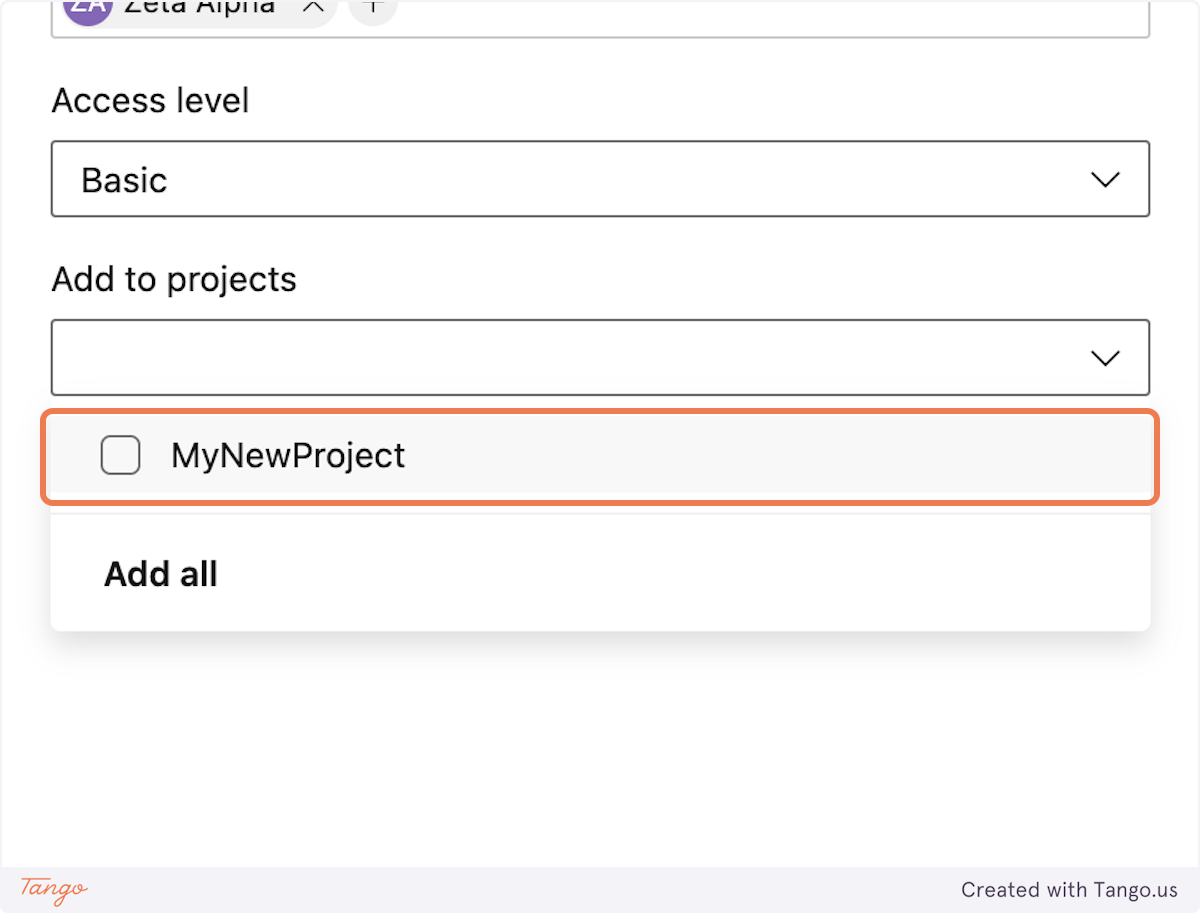
Click on the arrow under "Add to project".
15. Click on the project that the Zeta Alpha crawler needs to access
NOTE: Make sure the Access Level is set to 'Basic'.
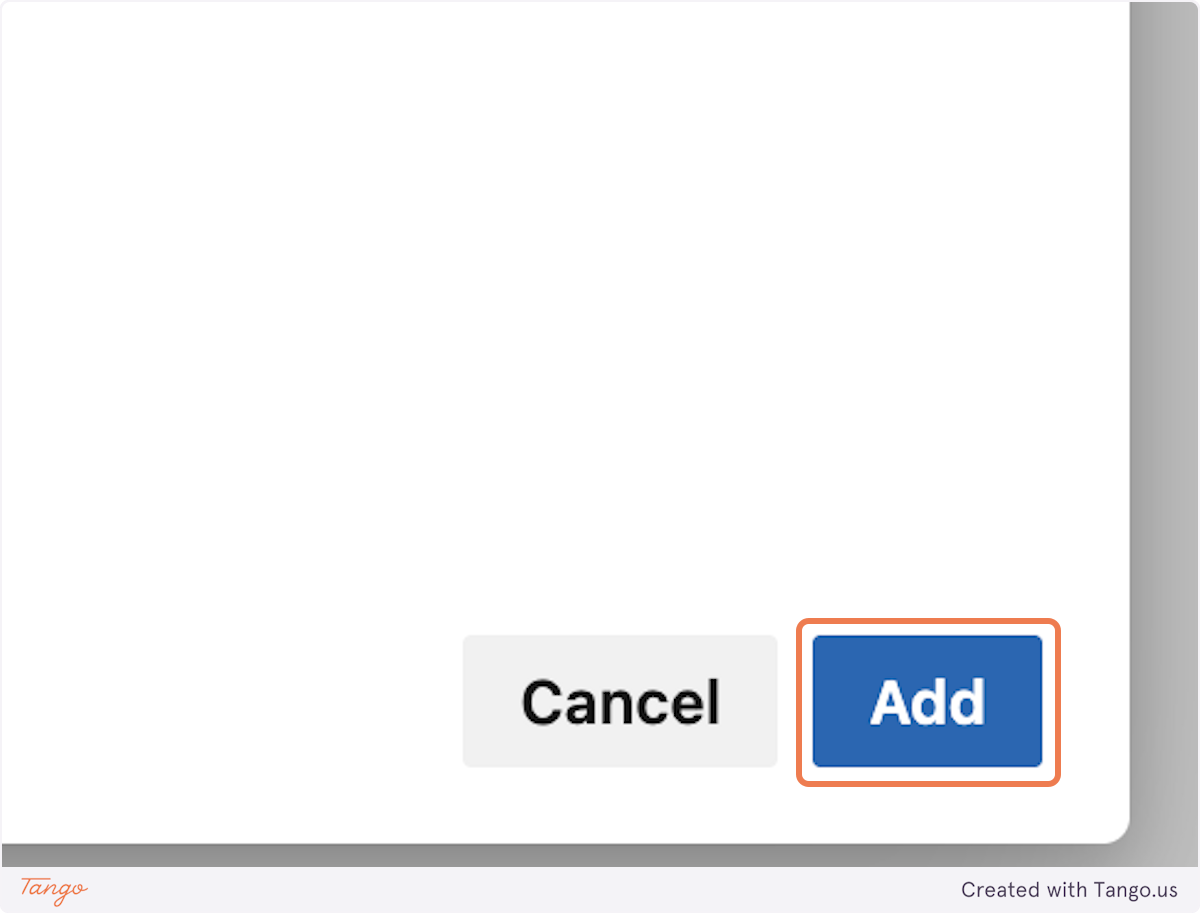
16. Click on Add
Action 3: Generate a Personal Access Token
To create a Personal Access Token, first we need to log in with our newly created account.
17. Click on your user initials

18. Click on Sign in with a different account

Sign in with your newly created account using the credentials from step 6. Because this is a new account, you may need to follow a number of additional steps before you are actually login, like setting a new password. Please follow the instructions until you are actually logged in, and then proceed with the next step.
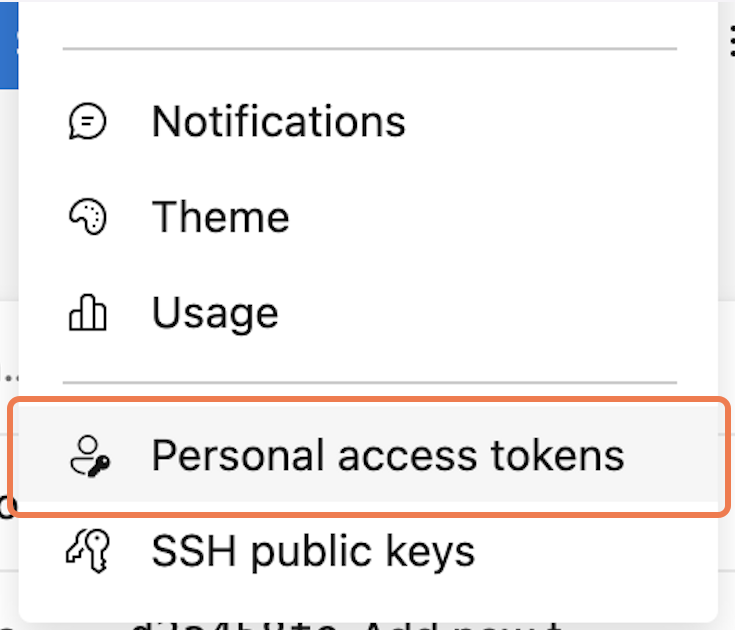
19. Click on User settings

20. Click on Personal access tokens
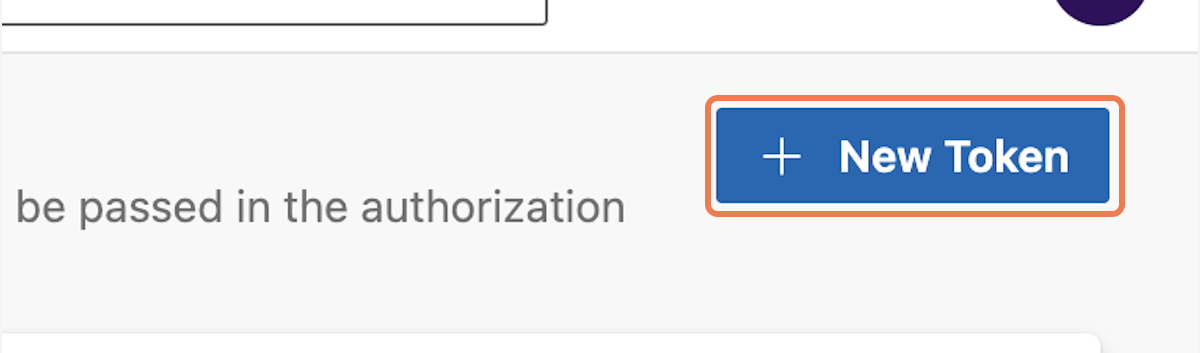
21. Click on New Token
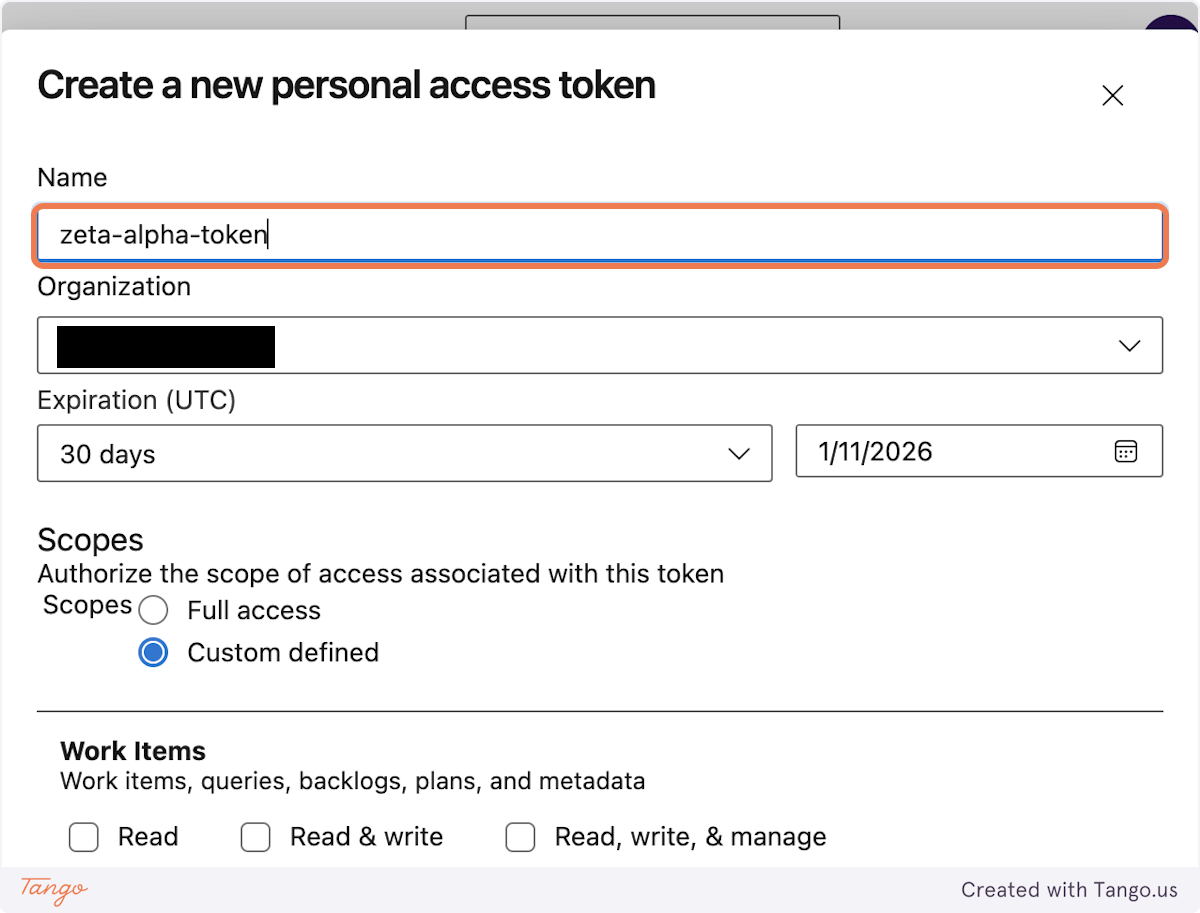
22. Type "zeta-alpha-token"
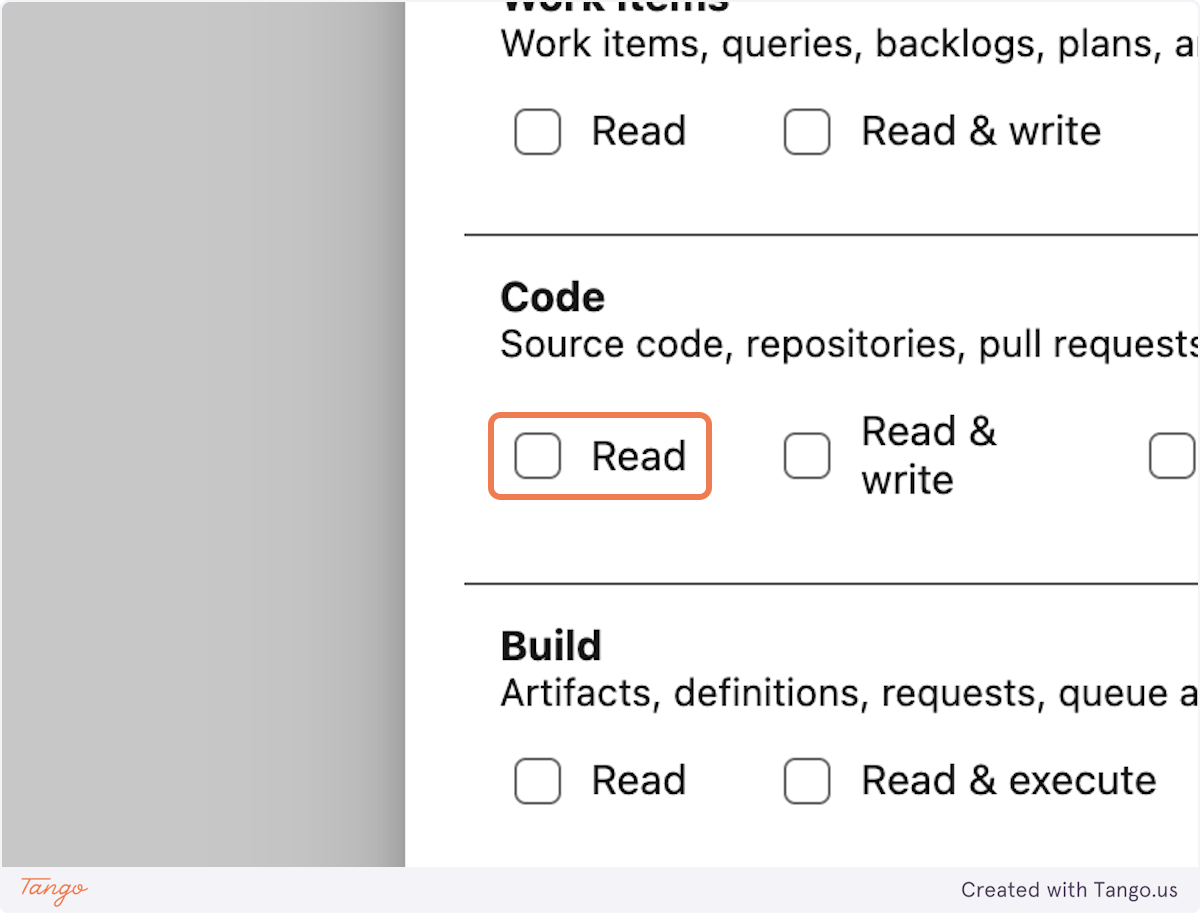
23. Click on Code Read
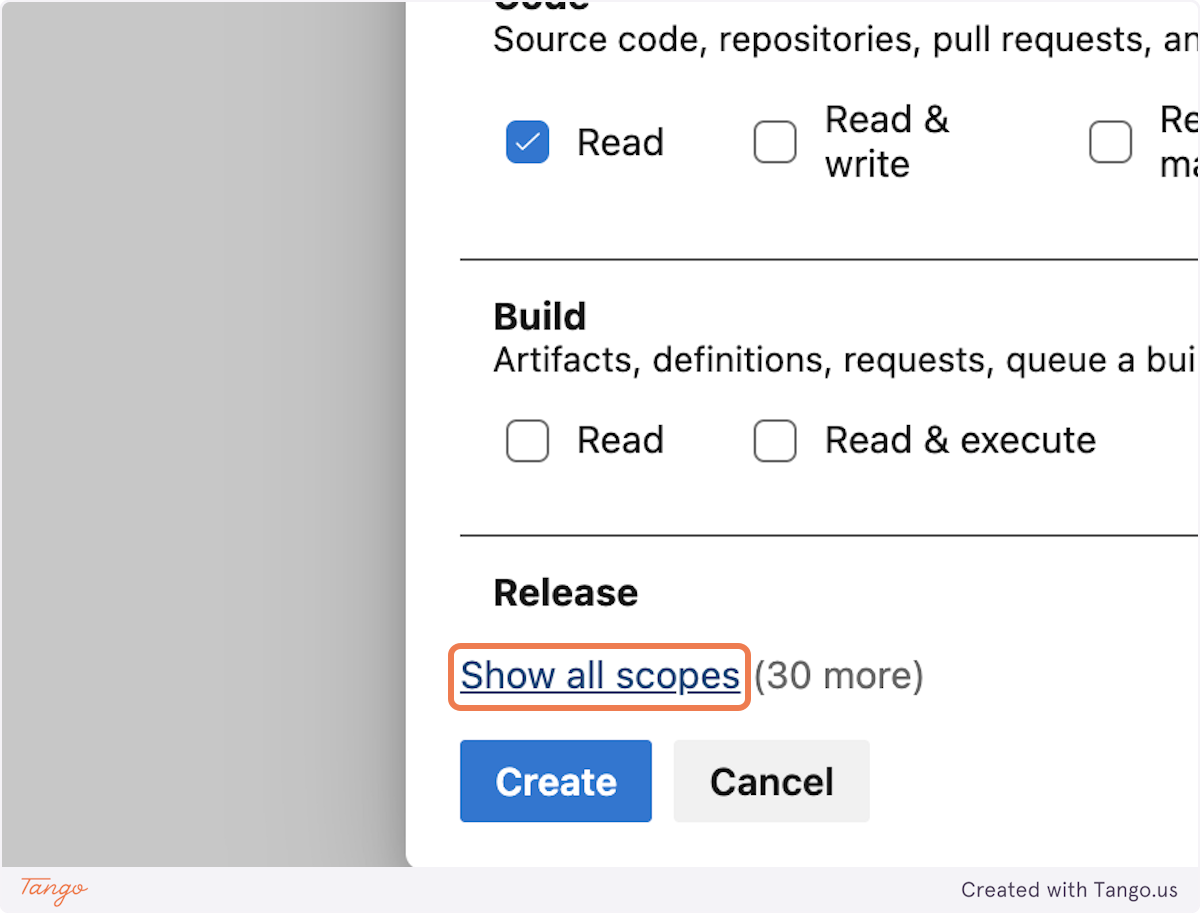
24. Click on Show all scopes
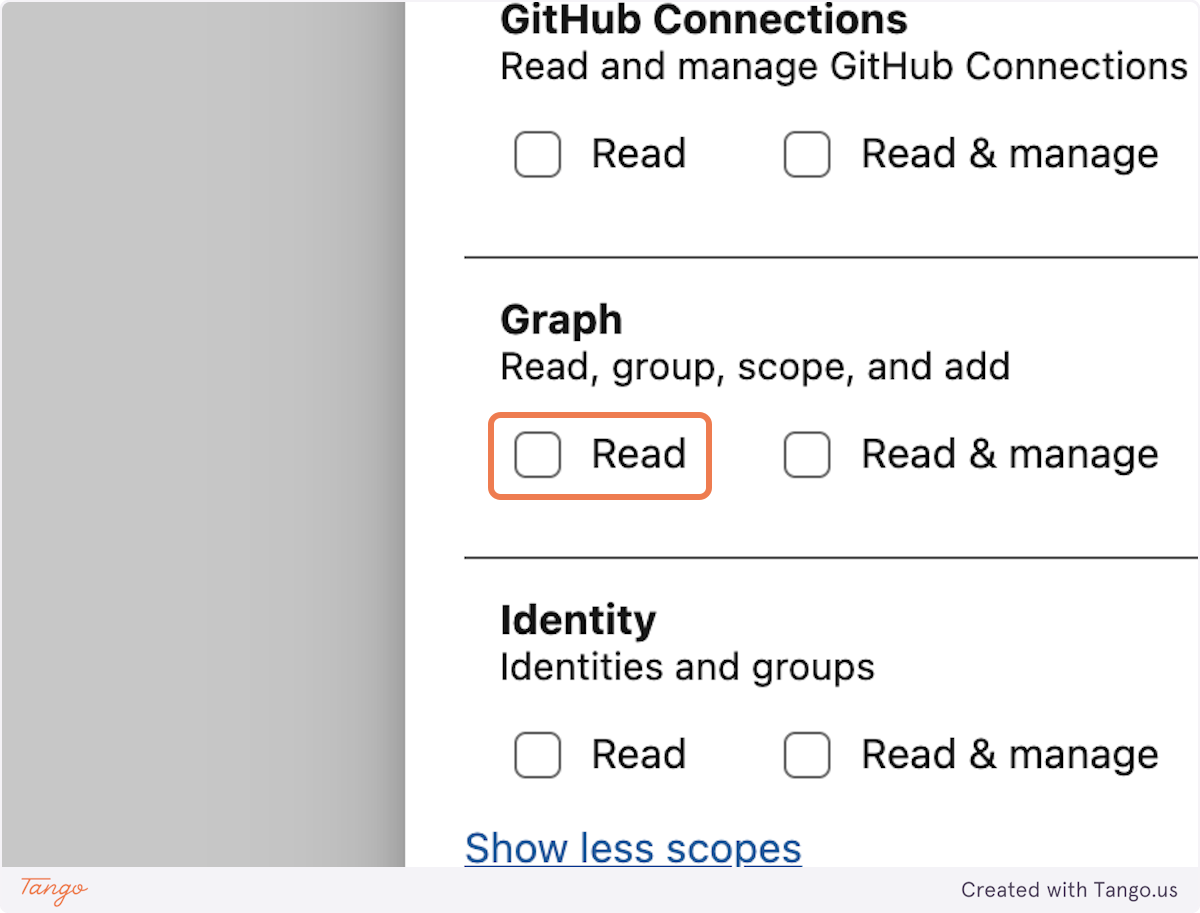
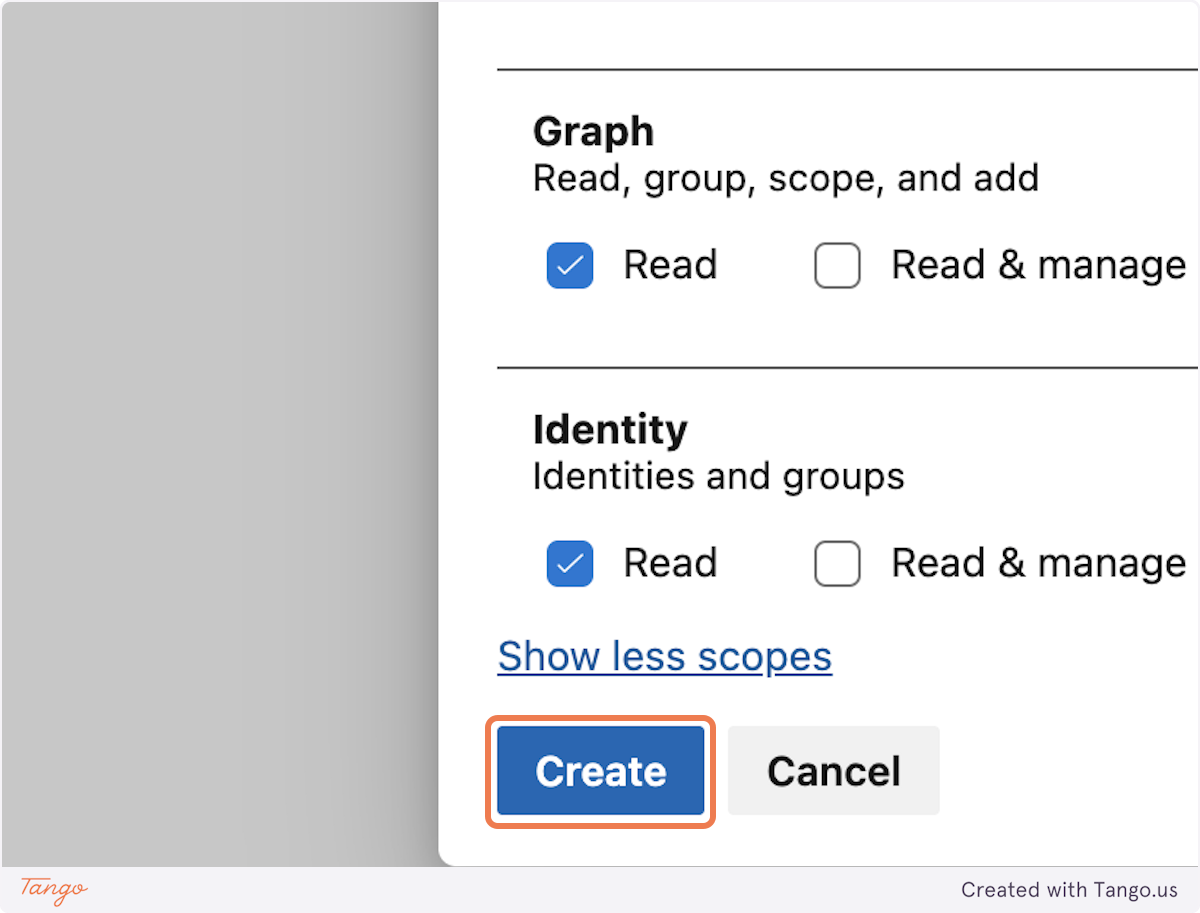
25. Click on Graph Read
26. Click on Identity Read
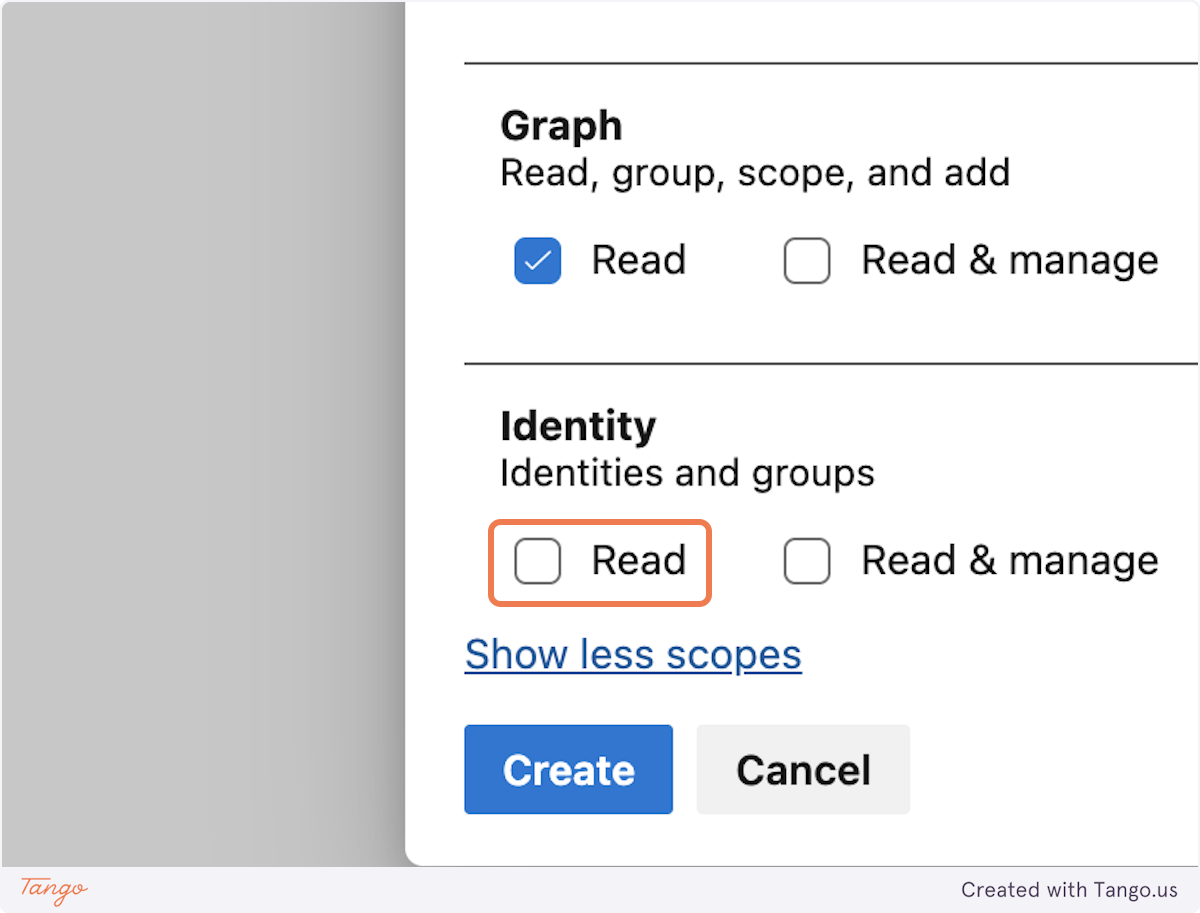
27. Click on Create
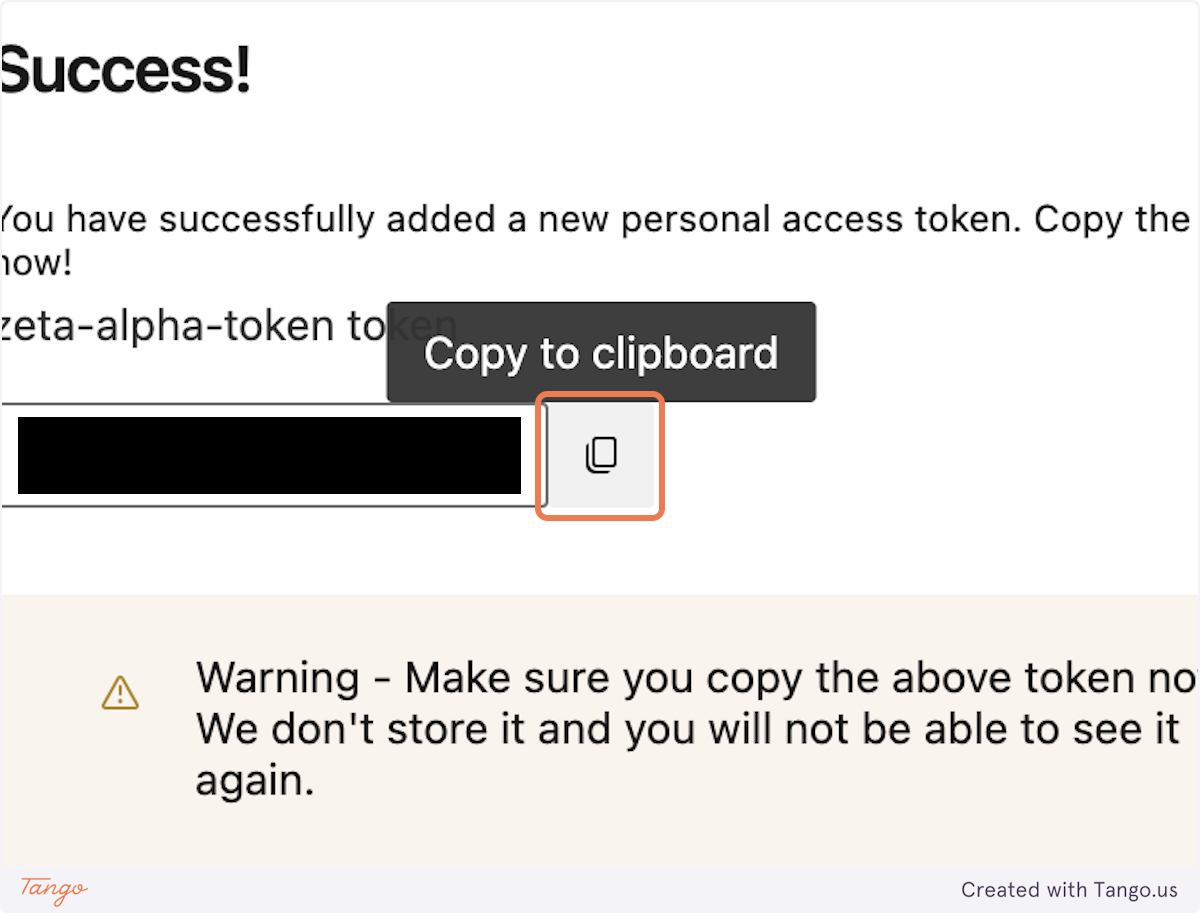
28. Click on Copy to clipboard
Don't forget to copy the token. You can only access it once. If you happen to lose this token, don't worry, you will just need to create a new one.
Share necessary information with Zeta Alpha
Please share the following required information with Zeta Alpha:
- Your Azure DevOps organization URL:
https://dev.azure.com/my-organization - The projects you want Zeta Alpha to crawl (inside the organization)
- The repo's you want Zeta Alpha to crawl (inside the projects)
- The Personal Access Token you copied in step 28
- Any limitations to file name (or file types) and folders you specifically do or do not want to crawl