How to Create Custom Connectors
Custom connectors enable you to ingest data from your own sources and configure processing behavior specific to your use case. This guide shows you how to create and configure custom connectors for your data ingestion workflows.
This guide uses the index example from "Create a custom index".
Prerequisites
Before you begin, ensure you have:
- Access to the Zeta Alpha Platform UI
- A tenant created
- An index created
Step 1: Create the Custom Connector Configuration
To create a custom connector, define a configuration file with the following fields:
is_document_owner: (boolean) Indicates whether this connector "owns" the crawled documents. When set totrue, other connectors cannot crawl the same documents.content_source_name: (string) The name that identifies the content source.field_mappings: (array) Maps fields from your source documents to index fields. This is useful when your source contains fields with different names than those in the index. For example, you can map a product SKU from your source to theproduct_idfield in the index.
Example Configuration
{
    "name": "my_custom_connector",
    "description": "My custom connector for product data",
    "is_indexable": true,
    "connector": "custom",
    "connector_configuration": {
        "is_document_owner": true,
        "content_source_name": "my_custom_connector",
        "field_mappings": {
            "content_source_field_name": "SKU",
            "index_field_name": "product_id"
        }
    }
}
For a complete set of configuration options, see the Custom Connector Configuration Reference.
Step 2: Create the Custom Connector
To create your custom connector in the Zeta Alpha Platform UI:
- Navigate to your tenant and click View next to your target index
- Click View under Content Sources for the index
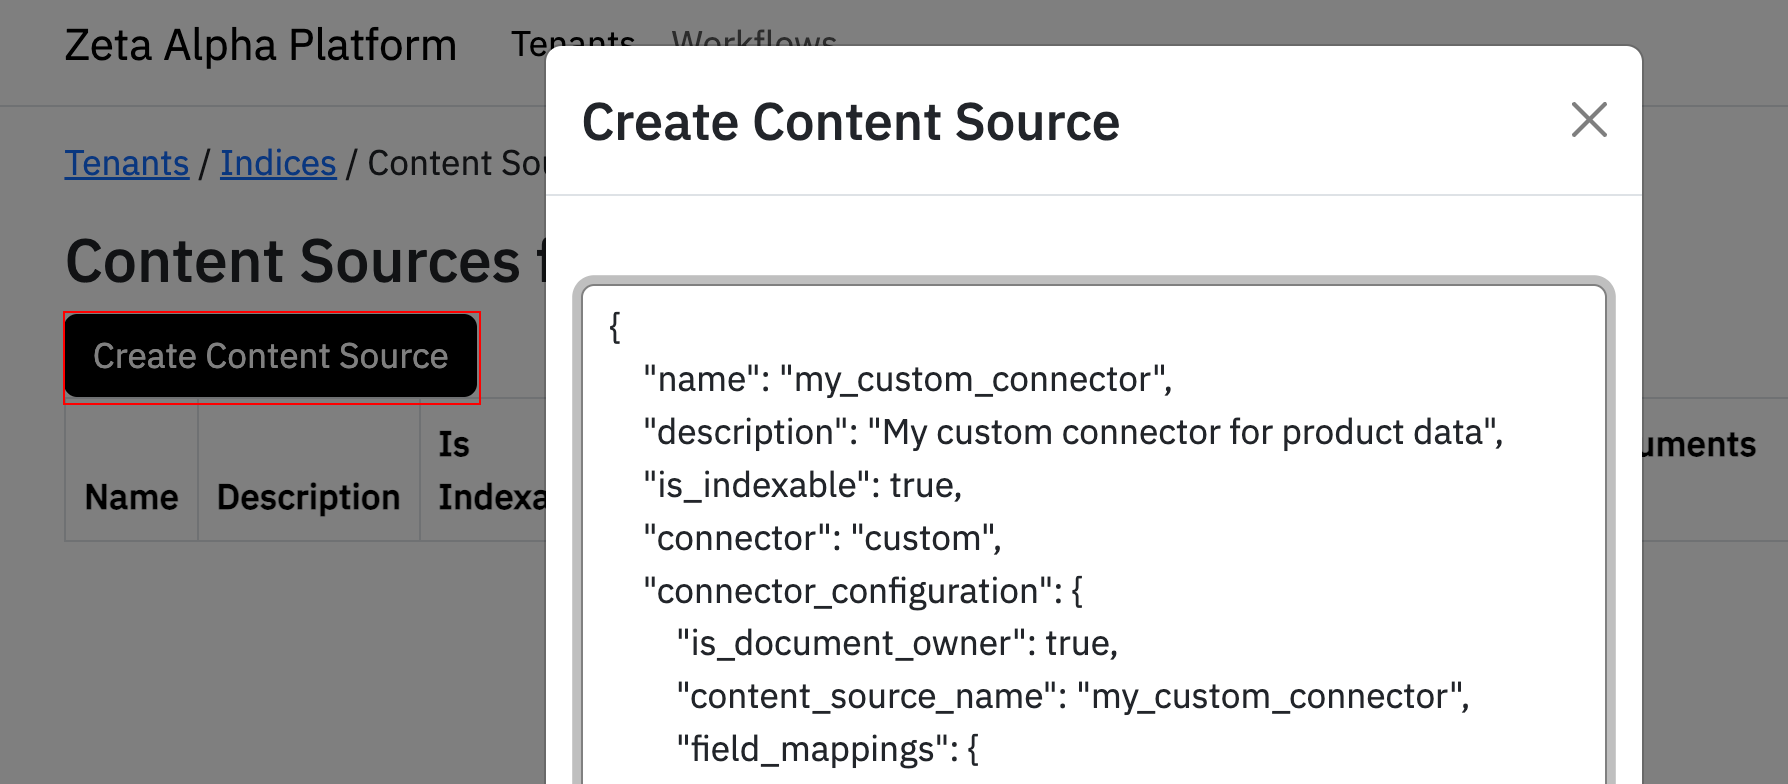
- Click Create Content Source
- Paste your JSON configuration
- Click Submit
Step 3: Verify the Custom Connector
After creating the connector:
- Refresh the page to see the custom connector in the list of content sources
- Click the connector name to view the
idin the connector configuration (you'll need this value to send documents for ingestion) - Navigate back to the connector list and click View under Ingested Documents to see ingested documents
- Click Create Ingestion Batch to send a document for ingestion

Example Document
Here is an example document for this index:
{
    "documents": [
        {
            "uri": "https://zeta-alpha.com",
            "document_content": "The iPhone 16 Pro is the latest and greatest iPhone model. It features a 6.7-inch Super Retina XDR display, a triple-camera system, and the A16 Bionic chip.",
            "allow_access_rights": [
                {
                    "name": "'my_access_rights'"
                }
            ],
            "document_id": "'this_is_my_document_id'",
            "custom_metadata": {
                "product_id": "iph16pro",
                "product_name": "iPhone 16 Pro",
                "product_price": 499.99,
                "product_description": "The iPhone 16 Pro is the latest and greatest iPhone model. It features a 6.7-inch Super Retina XDR display, a triple-camera system, and the A16 Bionic chip.",
                "brand": "Apple"
            }
        }
    ]
}