Exploring the Dev Sandbox
The dev sandbox is where you spend most of your time while building an agent. It lets you chat with the agent, override its configuration on the fly, and review past conversations. This tutorial walks you through the sandbox so you can iterate quickly.
Prerequisites
Complete the Getting Started tutorial and have a project ready.
Step 1: Start the Sandbox
From your project directory:
za agents dev --reload
The --reload flag picks up code changes automatically so you don't have to restart.
Step 2: Explore the UI

Left Panel: Agent Selection and Configuration
The left panel lets you select an agent and override its configuration. This is useful for trying different configurations without editing agent_setups.json.
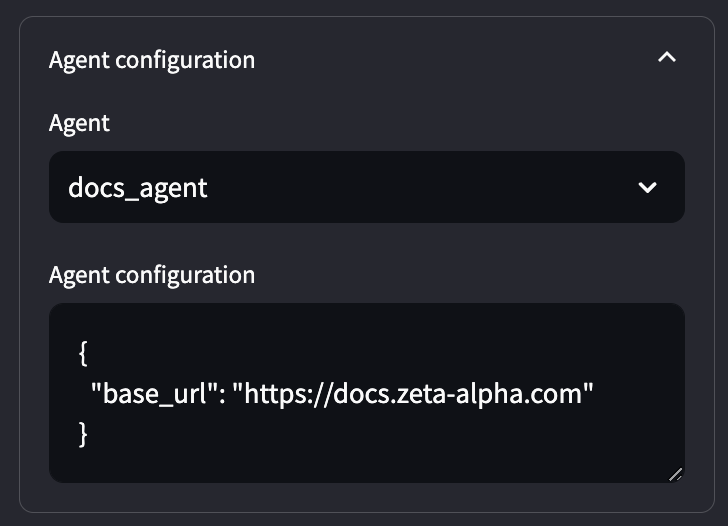
- Agent Selector: Pick which agent to talk to.
- Agent Configuration: Override any configuration field. Changes apply immediately to the next message.
See Configuring Capabilities with the CLI for a step-by-step walkthrough of enabling tools, web access, and sub-agent delegation.
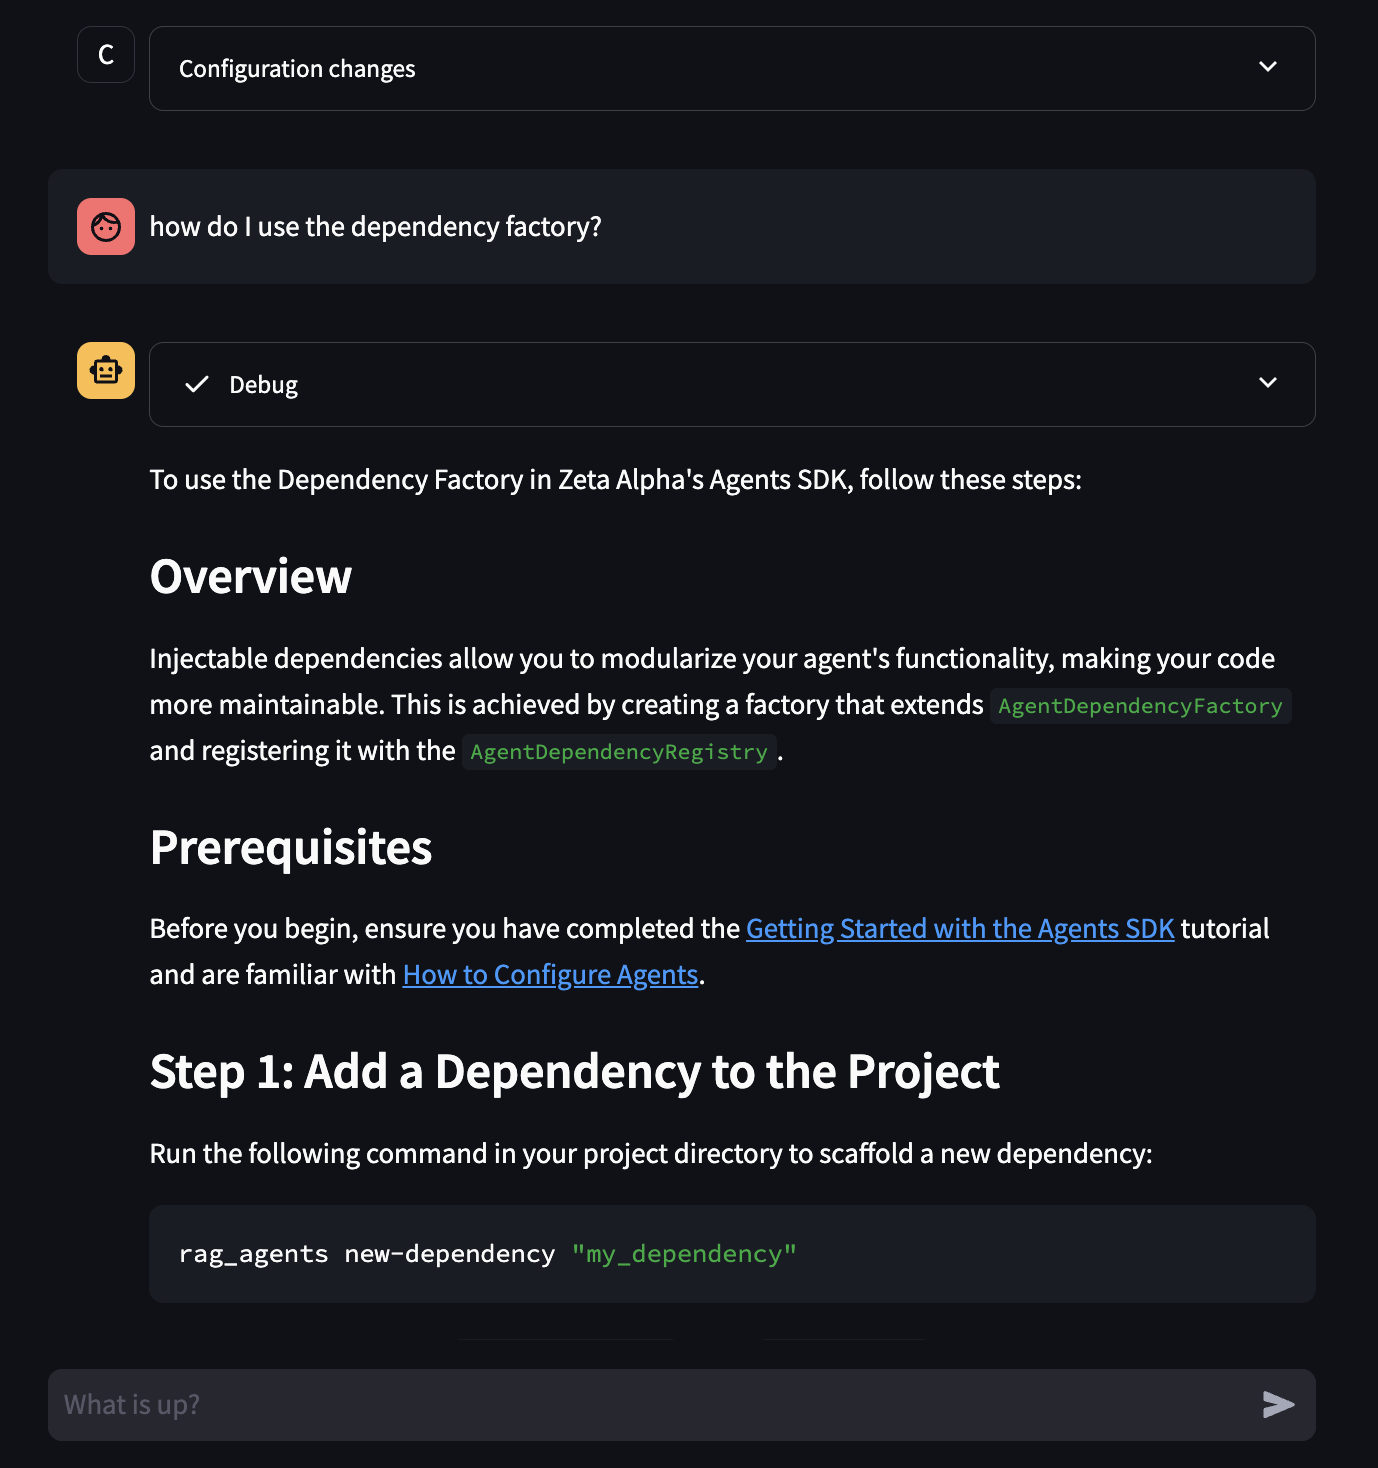
Right Panel: Conversation
The right panel shows the conversation with the selected agent.
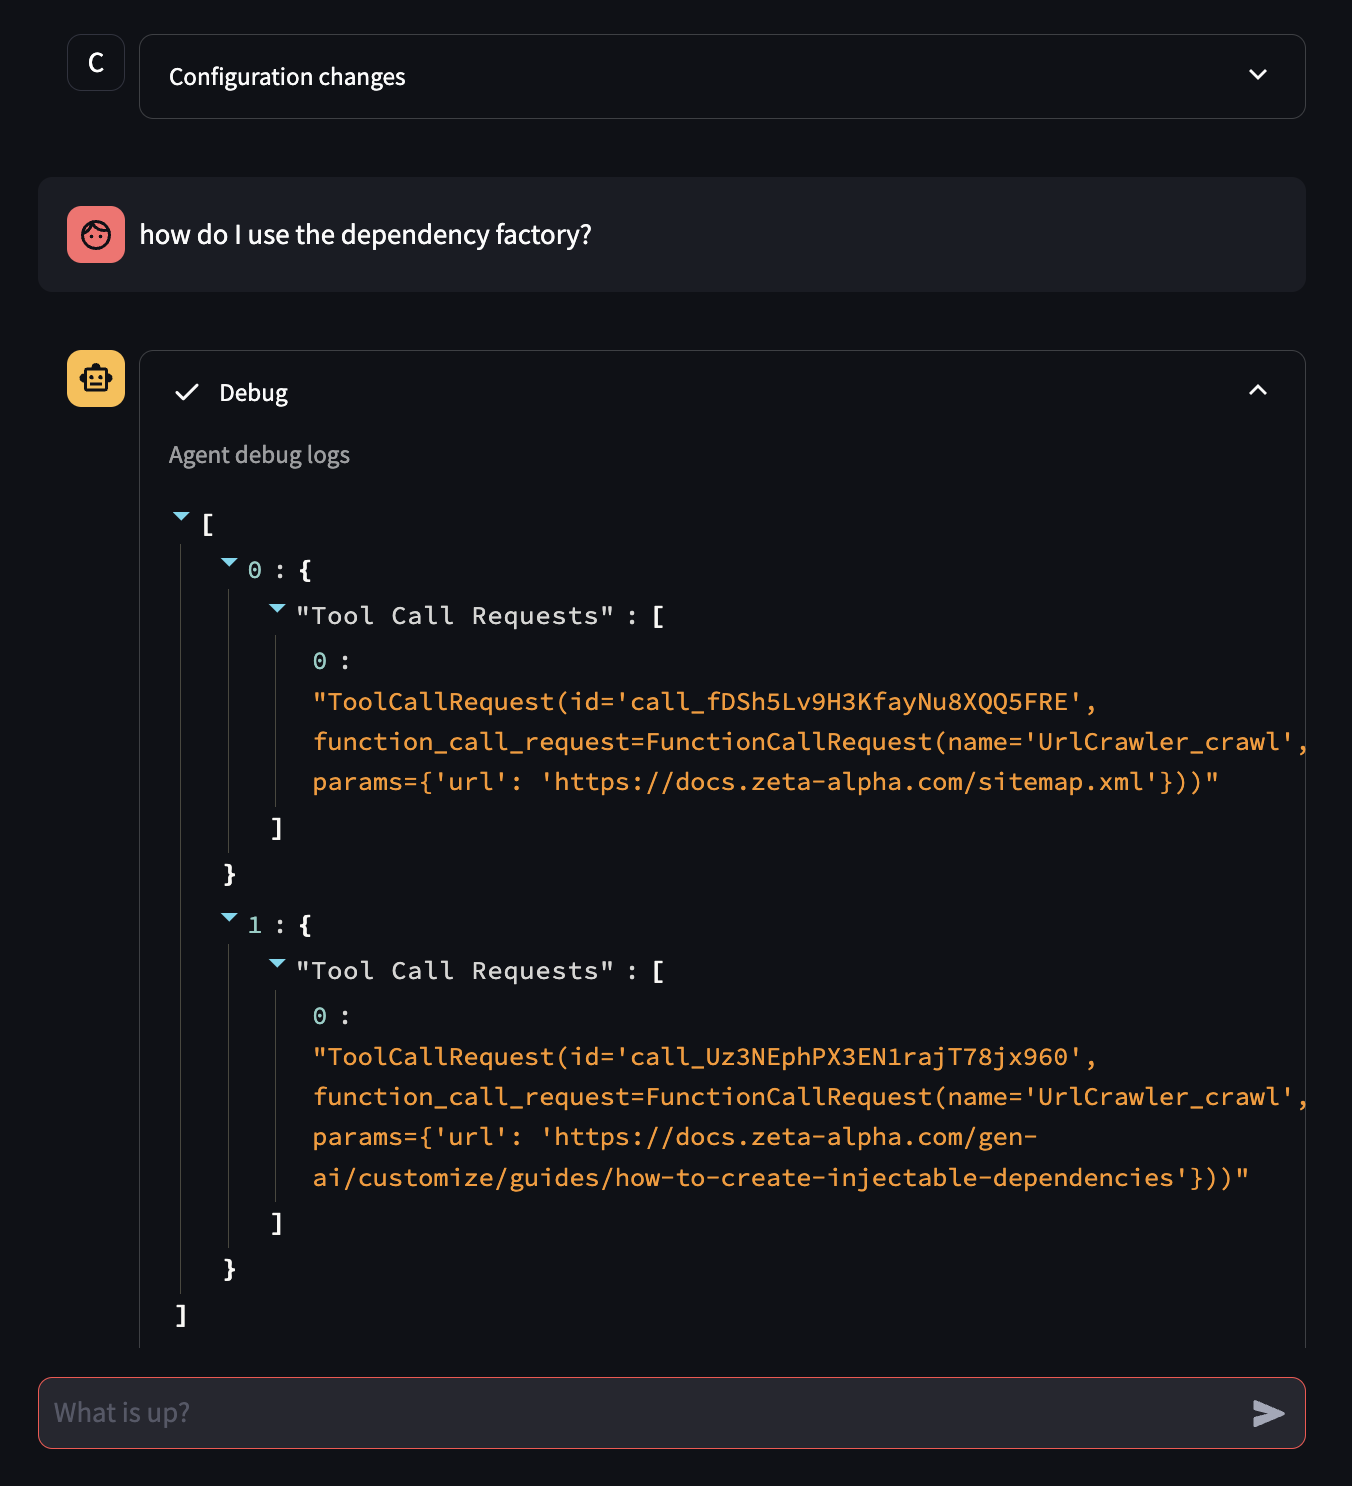
- Configuration Summary: The first element shows the active configuration (including overrides). Start a new conversation if you change the configuration mid-chat.
- Message Input: Type your messages here.
- Agent Response and Debug Panel: The agent's response includes a collapsible section showing internal debug information, useful for understanding what the agent is doing.
Step 3: Review Past Conversations
The left panel has a conversation history selector.
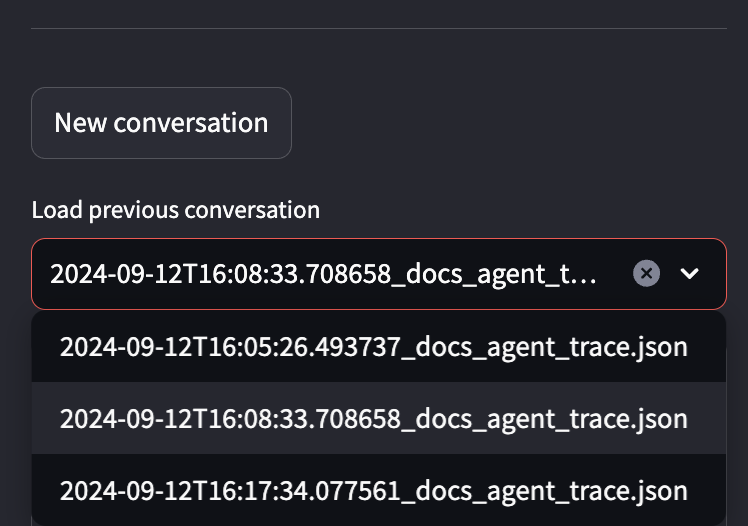
Conversations are stored locally by default. Since each conversation records its configuration, you can resume any previous conversation with the exact same settings.
Shared Storage
Use the --storage-backend and --storage-path flags to share conversations across a team:
za agents dev --storage-backend "<backend>" --storage-path "<path>"
--storage-backend: Storage backend (disk,s3,azure).--storage-path: Path in the backend where conversations are stored.