How to Debug Agents Locally
Debugging agents locally is a crucial part of the development process. The Agents SDK provides a powerful UI that allows you to interact with your agents, override configurations, and see real-time changes. This guide will walk you through the features of the UI and how to use them effectively.
Prerequisites
Before you begin, make sure you have completed the Getting Started with the Agents SDK tutorial and have an agent set up.
Step 1: Starting the Debugging UI
To start the debugging UI, run the following command in your project directory:
rag_agents dev --reload
The --reload flag ensures that any changes you make to the agent's code are reflected in real-time.
Step 2: Exploring the UI

Image: The main UI of the debugging tool.
Left Panel: Agent Selection and Configuration
The left panel of the UI allows you to select an agent and override its configuration. This is useful for testing different configurations without modifying the agent_setups.json file directly.
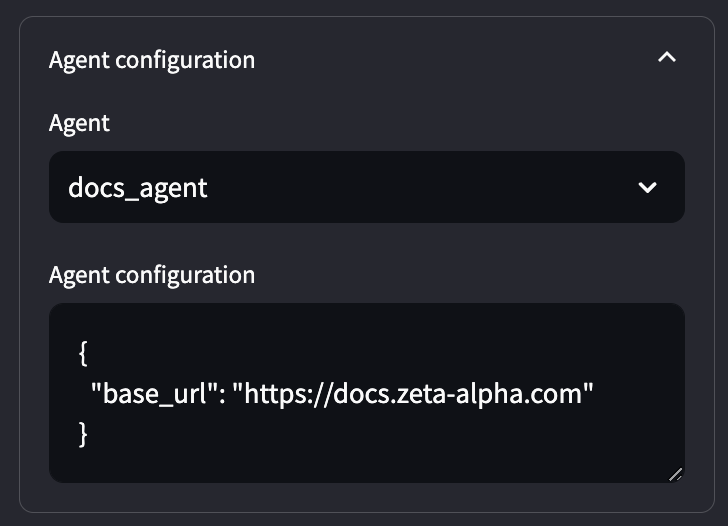
Image: The left panel showing agent selection and configuration options.
- Agent Selector: Use the dropdown to select the agent you want to debug.
- Agent Configuration: Override the agent configuration defined in the
agent_setups.jsonfile. This allows you to test changes in real-time without modifying the actual configuration file.
Refer to the How to Configure Agents guide for more details on how this configuration is passed to the agent.
Right Panel: Conversation and Debug Information
The right panel shows the conversation between you and the selected agent.
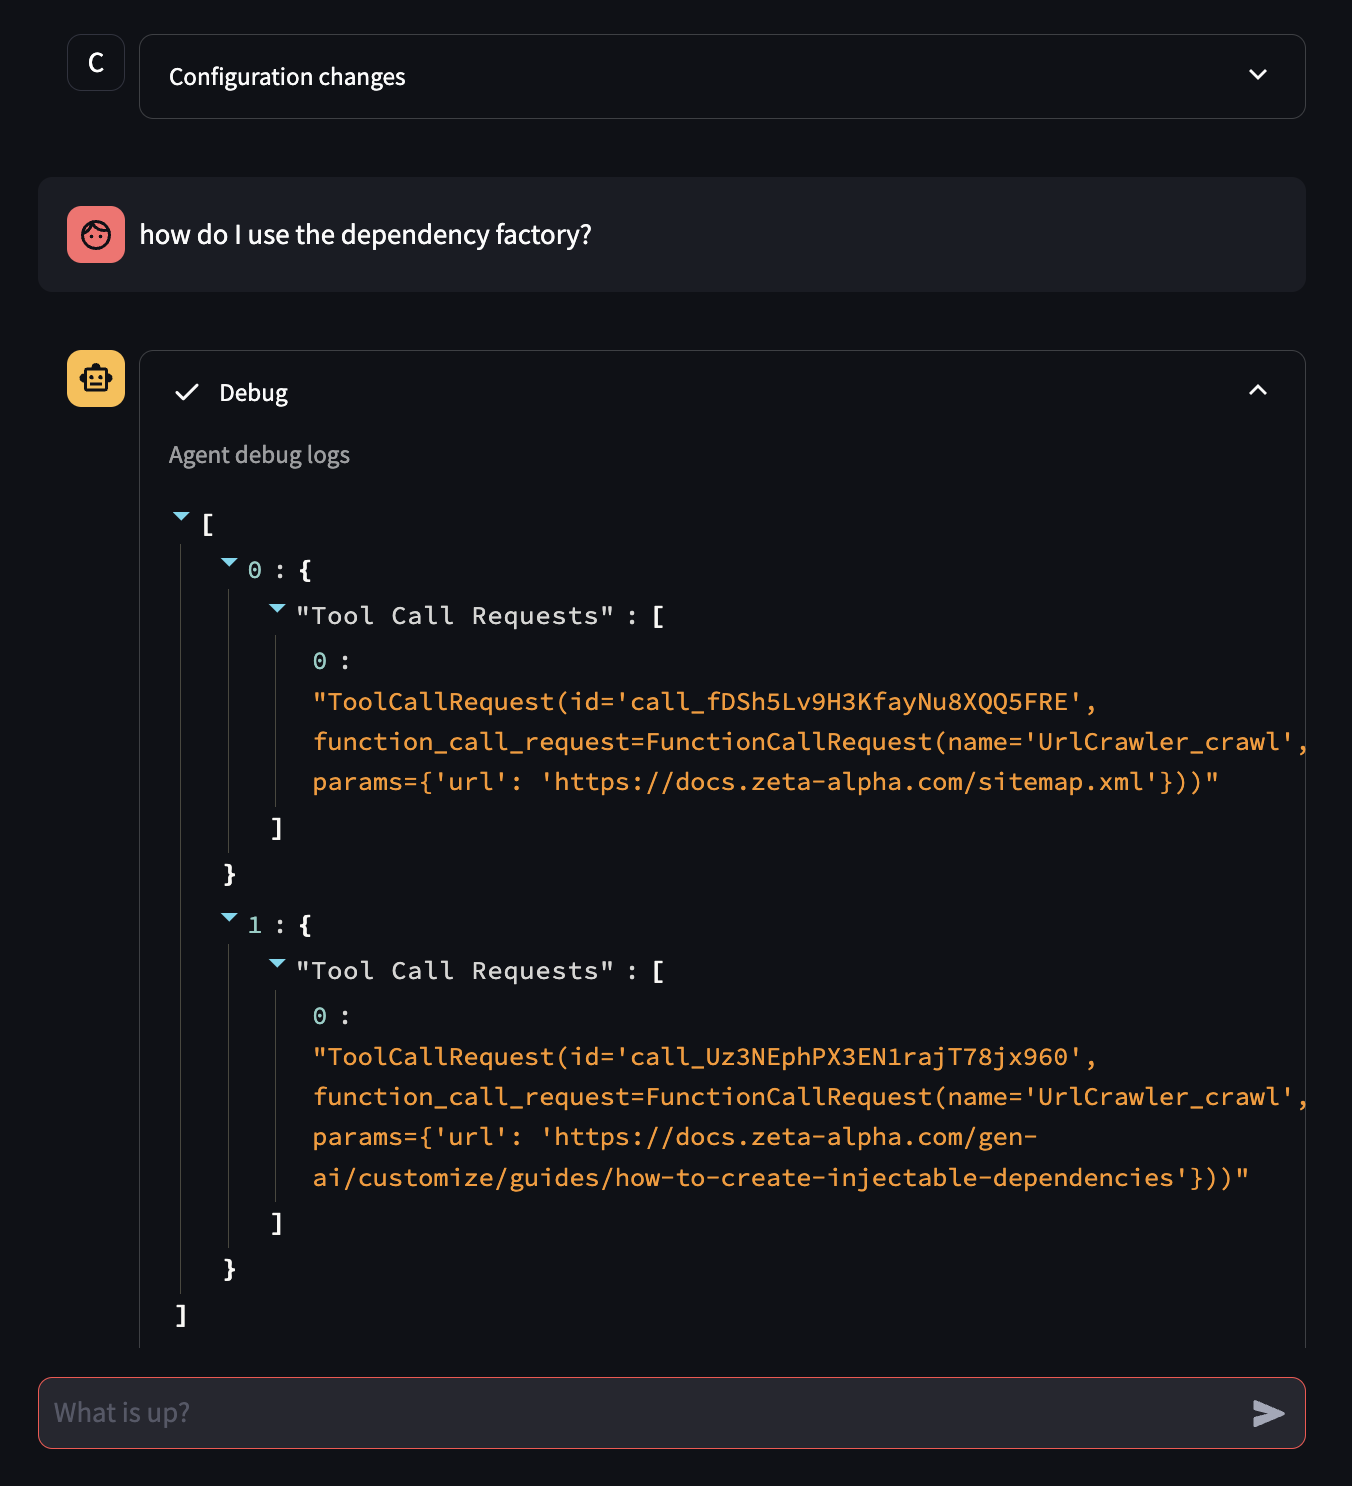
Image: The right panel showing the conversation and debug information.
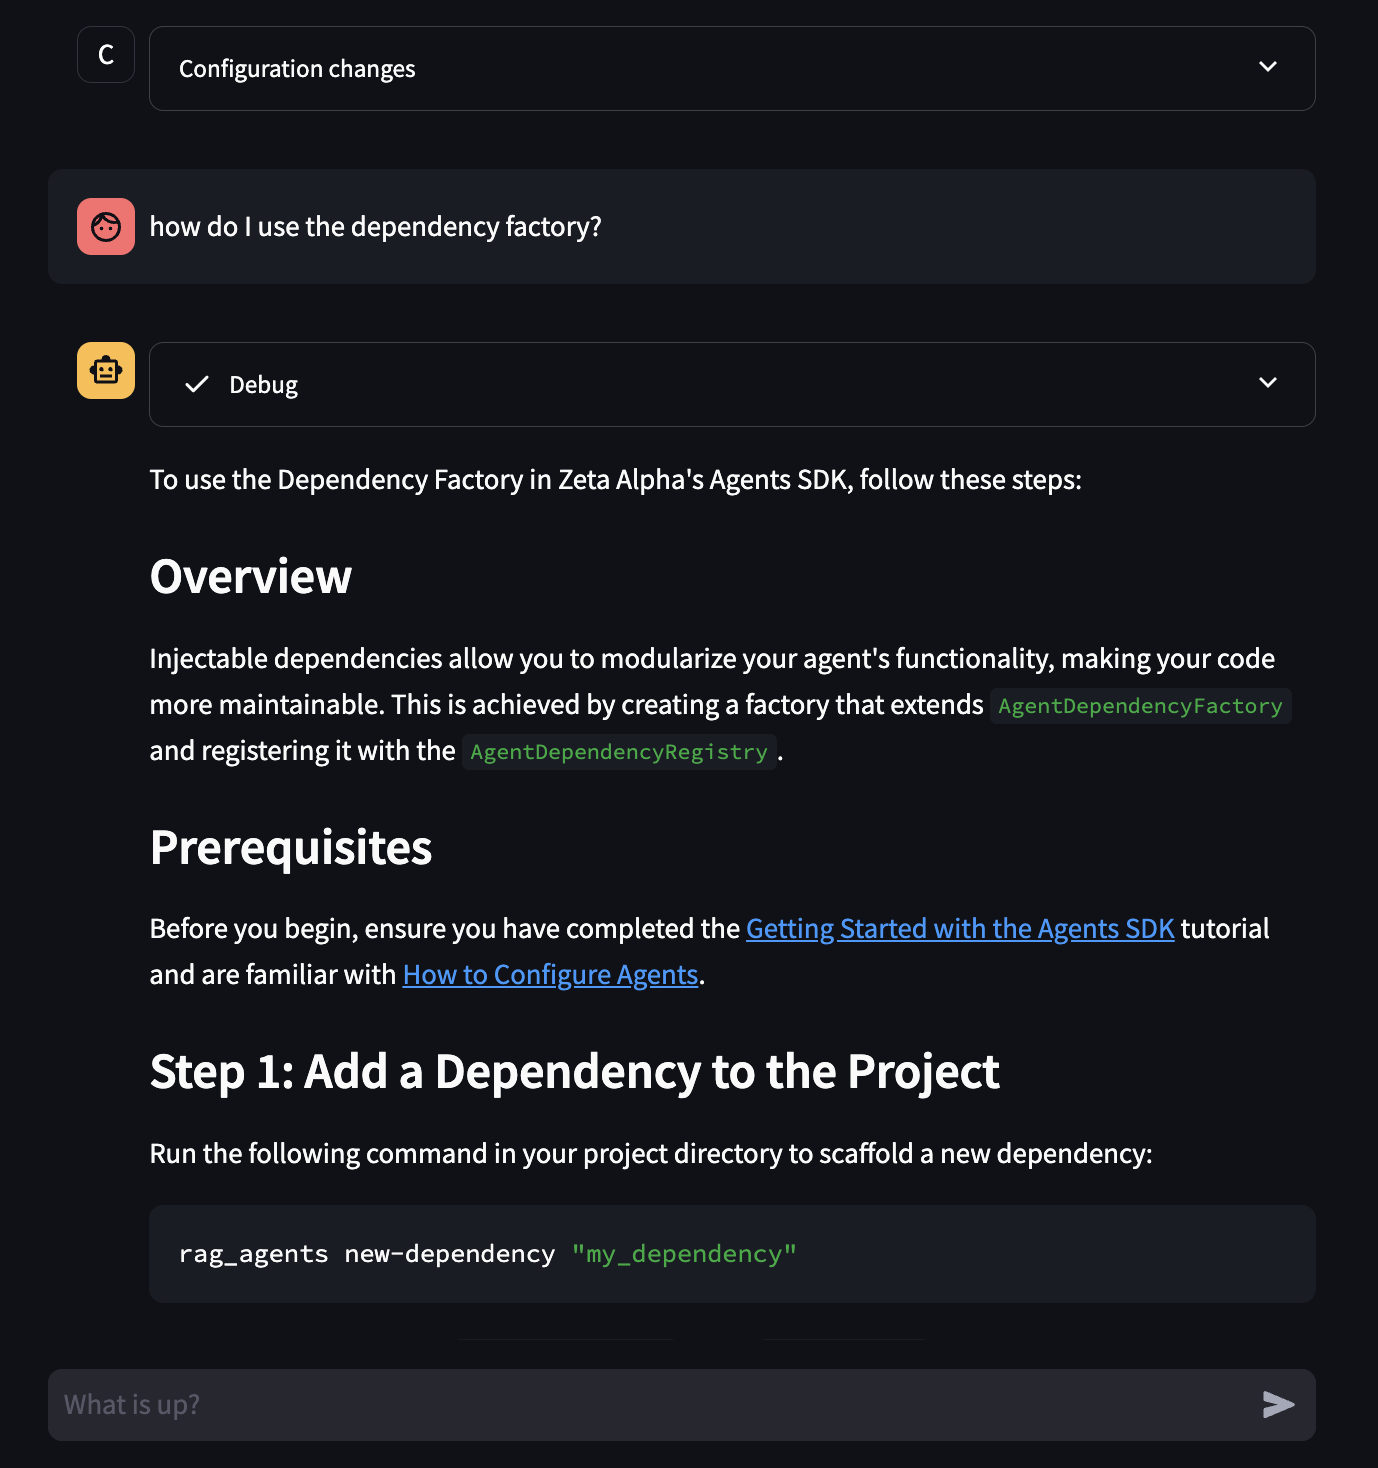
Image: The right panel showing the conversation with debug information collapsed.
- Configuration Summary: The first element of the conversation describes all the configurations that are applied to the currently speaking agent. This includes any overrides you have made. Once the conversation starts, it's recommended that you don't change the configuration to avoid inconsistencies. Instead, click the "New conversation" button to start a fresh conversation.
- Message Input: Type your messages here to interact with the agent.
- Agent Response and Debug Information: The agent's response, which includes a collapsible section that streams anything passed to the
debugmethod of the agent. This is extremely useful for understanding what the agent is doing internally and for troubleshooting issues.
Step 3: Using the Debug Method
The debug method is a powerful tool for logging information during the agent's execution. You can use it to log any relevant information that can help you understand the agent's behavior.
Here's an example of how to use the debug method in your agent:
from zav.agents_sdk import ChatAgent, ChatAgentClassRegistry, ChatMessage, ChatMessageSender

@ChatAgentClassRegistry.register()
class MyDebugAgent(ChatAgent):
    agent_name = "my_debug_agent"

    async def execute(self, conversation: List[ChatMessage]) -> Optional[ChatMessage]:
        self.debug({"message": "Starting execution"})

        # Your agent logic here

        self.debug({"message": "Finished execution"})
        return ChatMessage(sender=ChatMessageSender.BOT, content="Hello, world!")
When you run this agent in the UI, you will see the debug messages in the collapsible section of the agent's response.
You can override the debug method in your agent to customize how the debug information is displayed in the UI. For example, you can render pydantic models with the following code:
def debug(self, msg: Any) -> Any:
    super().debug(msg.dict() if isinstance(msg, BaseModel) else msg)
    return msg
Step 3: Loading Historic Conversations
The left panel also has a selector for loading historic conversations. This feature allows you to review past interactions and debug issues that occurred previously.
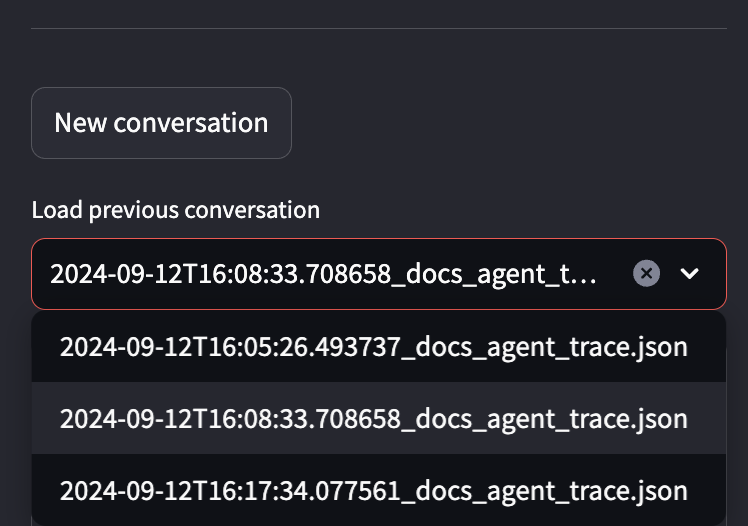
Image: The historic conversations selector in the left panel.
By default, these conversations are stored locally. Since the first message in the conversation is the configuration, you can continue any previous conversation while maintaining the exact same configuration.
Storage Backend and Path
The CLI has flags --storage-backend and --storage-path that control where these conversations are stored. This means that a team can easily store and share these conversations.
rag_agents dev --storage-backend "<backend>" --storage-path "<path>"
--storage-backend: Specifies the storage backend (e.g.,disk,s3,azure).--storage-path: Specifies the path in the backend where conversations are stored.